What Should Buyers Check When Inspecting Kids’ Sunglasses?
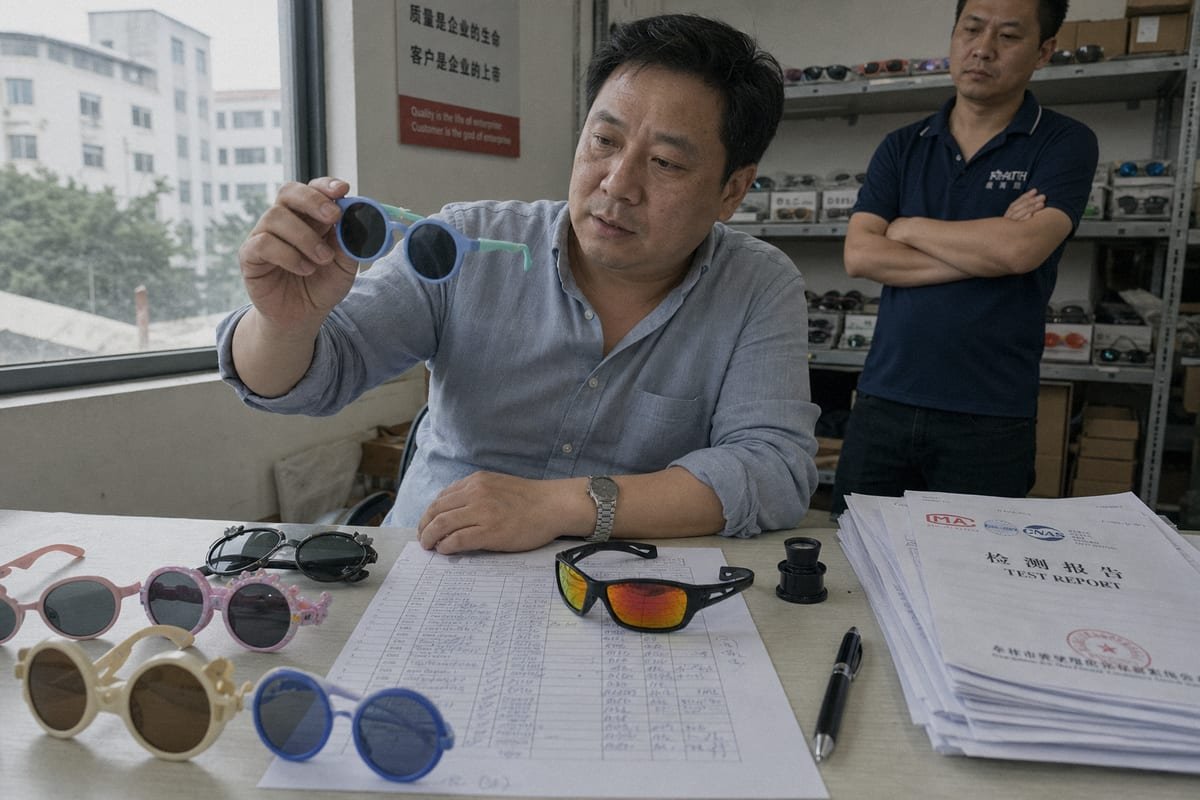
Inspecting kids’ sunglasses is where I have seen buyers lose the most money. One skipped check, one shipment of dark-tinted lenses with no real UV protection, and a brand’s reputation cracks overnight. On our production line in Taizhou, we have watched inexperienced importers approve samples by look alone — then face returns, complaints, and even safety recalls. The fix is a disciplined inspection routine, and that is exactly what I want to walk you through here.
When inspecting kids’ sunglasses, buyers should verify UV400 protection labels and test reports, check lenses for scratches, bubbles, and optical distortion, flex-test frames and hinges for durability, confirm a snug child-safe fit, and review packaging, markings, and cosmetic finish before approving shipment.
That is the short answer. Now let me break each check into practical steps you can use at the factory, in a third-party inspection, or when reviewing pre-shipment samples at your desk.
What Safety Standards Should I Verify During Inspection?
A buyer from Australia once asked me why two suppliers quoted wildly different prices for "the same" kids' sunglasses. The answer was simple: only one pair actually met a recognized safety standard.
Verify that kids' sunglasses carry documented UV400 or 100% UVA/UVB protection, meet the standard for your market — CE EN ISO 12312-1 in Europe, ANSI Z80.3 in the US, AS/NZS 1067 in Australia — and confirm BPA-free, phthalate-free material certificates for children's products.
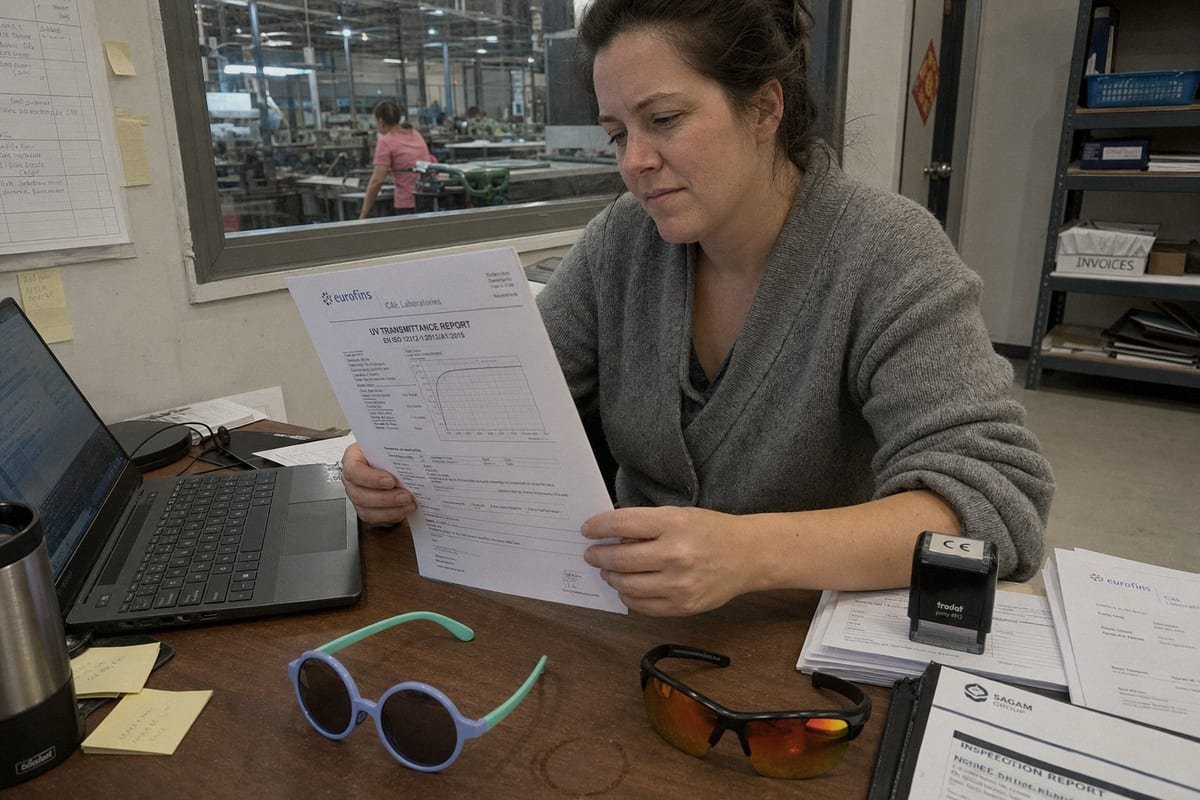
Standards are not decoration. They are the legal and commercial backbone of your product, and every inspection should start with paperwork before you ever touch a sample. In our fifteen years supplying children's brands across more than twenty countries, the buyers who ask for documents first are the ones who never get surprised at customs.
Match the Standard to Your Market
Different regions enforce different rules. A pair that passes in one market can fail in another. Here is the quick reference table I share with new buyers:
| Market | Key Standard | What It Covers |
|---|---|---|
| European Union / UK | CE, EN ISO 12312-1 1 | UV filtering, optical quality, mechanical safety |
| United States | ANSI Z80.3 standards, FDA drop-ball | Impact resistance, UV transmittance, lens quality |
| Australia / New Zealand | AS/NZS 1067 | Lens categories, UV protection, mandatory labeling |
| Children's chemical safety | EN 71-3, CPSIA 2, REACH 3 | BPA-free materials, phthalates, heavy metals |
What to Request Before Inspection Day
Ask your supplier for three things: a valid UV transmittance test report from an accredited lab, a chemical test report covering BPA-free 4 and phthalate-free compliance, and the correct conformity marking on the product or packaging. Do not accept "our lenses are UV400" as a verbal claim. A dark tint alone tells you nothing — tint controls visible light transmission, while UV protection comes from the lens material and coating. The two are completely separate properties, and confusing them is the single most expensive mistake a kids' eyewear buyer can make.
Also check the lens category marking. Category 3 lenses suit bright outdoor use; category 0–1 lenses are fashion tints. For children playing outside, category 3 with full UV400 protection is the sensible baseline.
How Can I Test Frame Flexibility and Durability Before Approving an Order?
Our engineers have a habit that surprises visiting buyers: they twist sample frames into a full spiral before any order leaves the workshop. Kids' eyewear that cannot survive that will not survive a toddler.
Test frame durability by twisting temples 90 degrees or more, opening hinges past their natural stop, pressing the bridge flat, and checking for whitening, cracking, or loose lenses. Quality TR90 and TPEE frames should return to shape instantly with no stress marks or hinge play.
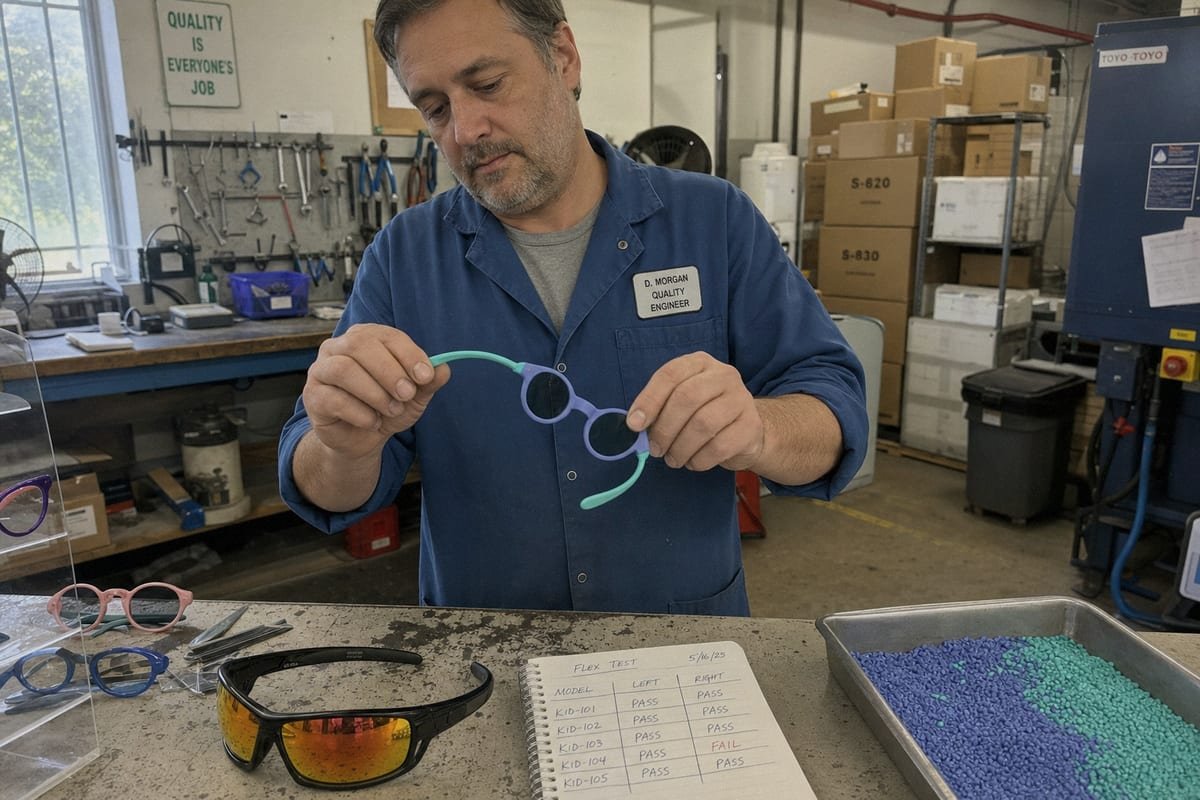
Children drop, bend, sit on, and chew their sunglasses. So flexible frame durability is not a bonus feature — it is the core spec. We build most of our roughly 800 existing styles in TR90 with TPEE temples precisely because those materials bend without snapping and stay comfortable on small faces. When you inspect samples, you are checking whether the supplier actually understands these materials or just bought cheap injection stock.
A Five-Step Hands-On Durability Check
- Twist test. Hold both temples and twist the frame like wringing a towel. TR90 should flex smoothly and spring back. Any white stress lines mean poor material or bad injection parameters.
- Temple splay test. Open the temples beyond their normal stop. Spring hinges should give and return; rigid hinges should resist without cracking at the joint.
- Bridge press test. Press the frame flat against a table. The bridge is the most common failure point on cheap kids' frames.
- Lens retention test. Push each lens firmly from behind with your thumb. Lenses that pop out easily are a safety hazard and a return magnet.
- Hinge cycle test. Open and close each temple twenty times. Screws should stay tight and movement should stay smooth, with no wobble.
Material Comparison at a Glance
| Material | Flexibility | Weight | Best Use for Kids |
|---|---|---|---|
| TR90 | High — bends and recovers | Very light | Frame fronts, all-day wear |
| TPEE | Very high — nearly unbreakable | Light, soft touch | Temples, baby and toddler frames |
| Standard PC frame | Low — rigid | Light | Budget lines, less active use |
| Acetate | Low–medium | Heavier | Style-driven older kids' lines |
Also check add-on parts. Rubberized temple tips should grip without stickiness, and adjustable head straps for baby styles should attach securely and release under moderate pull for safety.
What Lens Quality Checks Should I Perform to Ensure UV Protection?
There is one trade-off I weigh on every new lens order: coating cost versus optical consistency. Cutting a few cents per pair on lens stock almost always shows up later as distortion complaints.
Check lenses with a UV transmittance meter to confirm UV400 protection, then inspect against light for scratches, bubbles, and uneven tint. Perform the straight-line test — view a window frame through the lens and move it side to side; wavy lines mean optical distortion and rejection.
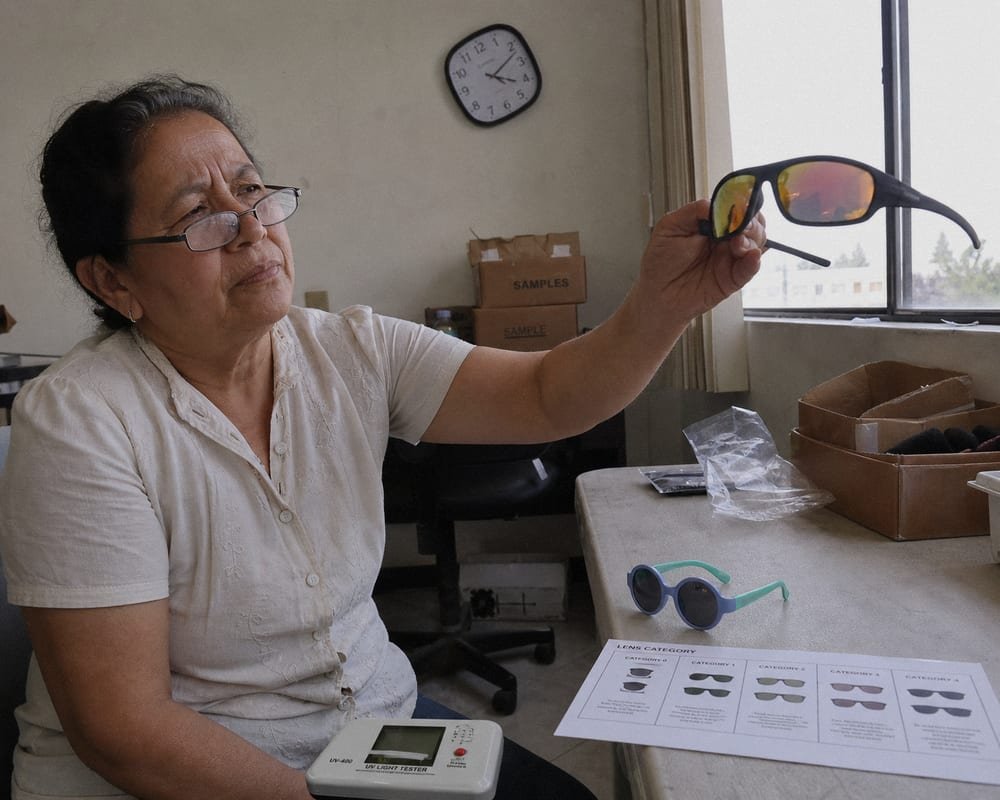
Lenses are where safety claims live or die. In our QC room, every lens batch passes through a UV transmittance meter before assembly, because a supplier certificate covers the batch that was tested — not necessarily the batch in your shipment. If you use a third-party inspector, ask them to bring a UV400 tester and check pairs from multiple cartons, not just the top row.
The Straight-Line Distortion Test
This test costs nothing and catches the most common optical defect. Hold the sunglasses at arm's length. Look through one lens at a straight edge — a door frame, a tile line, a window bar. Move the glasses slowly side to side and up and down. If the line stays straight, the lens is optically sound. If it bends, ripples, or jumps, the lens has distortion and will cause eye strain or headaches for a child. Reject the pair and widen your sampling.
Cosmetic and Coating Checks
Under a strong light, inspect for scratches, embedded bubbles, coating haze, and orange-peel texture. Check that the tint is uniform — decorative gradient tints may look attractive, but uneven density creates inconsistent viewing for young eyes, and gray or brown uniform tints remain the safest choice for color perception.
For material, insist on polycarbonate 6 lenses for children. Polycarbonate offers the best impact resistance of any common lens material and will not shatter into fragments the way glass does. Glass lenses have no place in kids' eyewear.
If your line includes polarized styles, verify the polarizing film with a simple screen test: rotate the lens in front of an LCD screen, and the view should darken sharply at ninety degrees. Remember that polarized lens benefits are about glare reduction near water and roads — polarization is a comfort feature layered on top of UV400 protection, never a substitute for it.
Which Packaging and Cosmetic Details Should I Look For Before Shipment?
A Japanese buyer once rejected an otherwise flawless shipment over one detail: hangtags glued two millimeters off-center. That lesson changed how we run final packaging QC — retail-ready means every visible detail is right.
Before shipment, inspect logo print quality and placement, hinge screw finish, mold flash, and color consistency across the batch. Verify UV400 labeling on hangtags, correct barcodes, protective pouches, carton markings, and drop-test one packed carton to confirm products arrive undamaged.
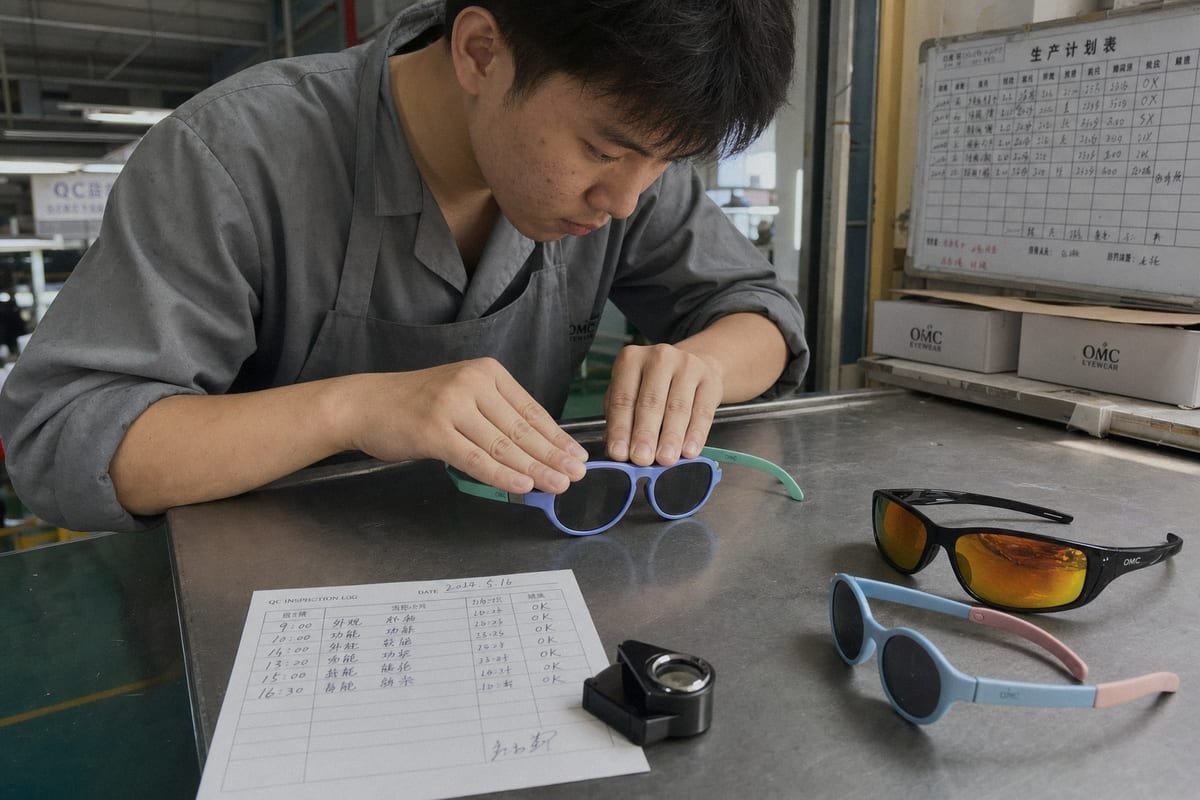
Packaging is your brand's first handshake with the retail customer, and cosmetic defects are the most common reason buyers file complaints even when the product itself is safe. When we prepare OEM orders — custom colors, printed logos, branded pouches and boxes — final inspection covers both the product surface and everything wrapped around it.
Cosmetic Checklist on the Product
Work through each sample under good lighting. Check logo pad printing for sharp edges, correct Pantone color, and adhesion — rub the print firmly with a cloth; it should not smear. Look for mold flash along the frame edges, especially inside the temples where it can scratch a child's skin. Confirm the two-tone or pastel color matches your approved sample, because color drift between batches is a real risk when resin lots change. On mirrored sport styles with wraparound design, inspect the coating for pinholes and rainbow blotches, since mirror coatings show every flaw.
Packaging Checklist Before Loading
| Item | What to Verify | Common Defect |
|---|---|---|
| Hangtag / label | UV400 protection claim, lens category, CE or market mark | Missing UV wording, wrong standard cited |
| Barcode / SKU | Scans correctly, matches PO and color | Wrong sticker on wrong colorway |
| Pouch / case | Clean, correct logo, lens-safe lining | Ink transfer onto lenses |
| Inner box | Artwork version, no crush damage | Outdated artwork printed |
| Master carton | Shipping marks, quantity, drop-test pass | Under-packed cartons crushing boxes |
Finally, pull random pairs from sealed cartons — not the golden samples set aside for you. Statistical sampling from real shipping cartons, using an AQL plan 7, is the only honest picture of what your customers will actually receive.
Conclusion
Skipping inspection steps invites returns, recalls, and lost trust. Verify standards, flex-test frames, meter the lenses, and audit packaging — then approve. That discipline is what protects your kids' eyewear brand.
Footnotes
1. Official ISO standard reference for sunglasses UV filtering and mechanical safety requirements. ↩︎
2. US federal law governing children’s product safety testing referenced as a compliance standard. ↩︎
3. Authoritative EU chemical safety regulation cited for children’s product material compliance. ↩︎
4. FDA resource on bisphenol A safety supporting BPA-free material certification claims for children’s products. ↩︎
5. WHO fact sheet explains UV exposure risks relevant to UV400 protection claims discussed. ↩︎
6. Background reference on the impact-resistant material recommended for children’s sunglass lenses. ↩︎
7. Background concept explaining statistical sampling standard used in final shipment inspections. ↩︎
More Articles You Might Like

Looking for a Reliable Kids Eyewear Partner?
Explore 800+ ready styles and full OEM/ODM support tailored to your brand.
Get in Touch English
  Español de México
  Deutsch
  Français
  日本語
日本語  العربية
  Português do Brasil