How to Prepare Print Files and Request Packaging Samples for Kids Sunglasses?
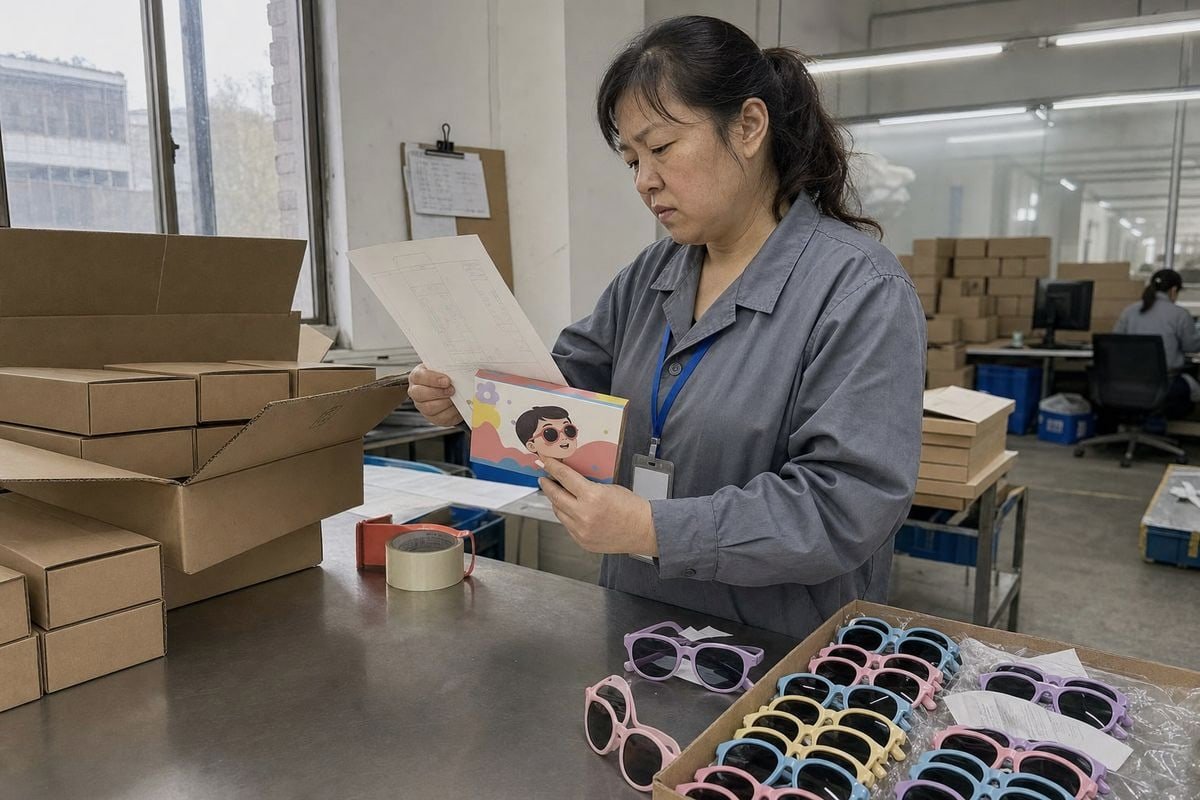
Preparing print files and requesting packaging samples 1 for kids sunglasses sounds simple — until a buyer approves artwork on screen, waits six weeks, and opens a carton of boxes with the logo shifted 4mm off-center. I have seen that exact scenario play out at our Taizhou factory, and the cost is never just money UV400 protection claims 2. It is a delayed launch, an awkward call to retailers, and a brand that looks careless in a category where parents demand care. The good news? Almost every packaging disaster we have helped fix over 15 years of kids’ eyewear production was preventable with the right file specs and a disciplined sampling process.
To prepare print files for kids sunglasses packaging, supply vector artwork (AI, EPS, or PDF) at 300 DPI in CMYK or Pantone, built on the factory’s dieline with 3mm bleed. Then request a structural white sample, followed by a printed pre-production sample, and approve both before mass production.
This guide walks you through each stage in order importer contact details 3. First, the file specs. Then, how to request a physical sample. After that, what to check on your proof, and finally, how long the whole approval process takes.
What File Format and Specs Should I Send for My Kids Sunglasses Packaging Artwork?
A buyer from Australia once sent us her logo as a screenshot pulled from her website. It looked fine in the email. On a printed box, it turned into a blurry smudge. Our team rebuilt it in vector format for her, but that step cost a week she did not have.
Send vector-based files in AI, EPS, or print-ready PDF format, with all images at 300 DPI resolution. Use a CMYK color profile or Pantone Matching System codes, build the design on the manufacturer's dieline, and include a 3mm bleed with a 5mm safe zone.
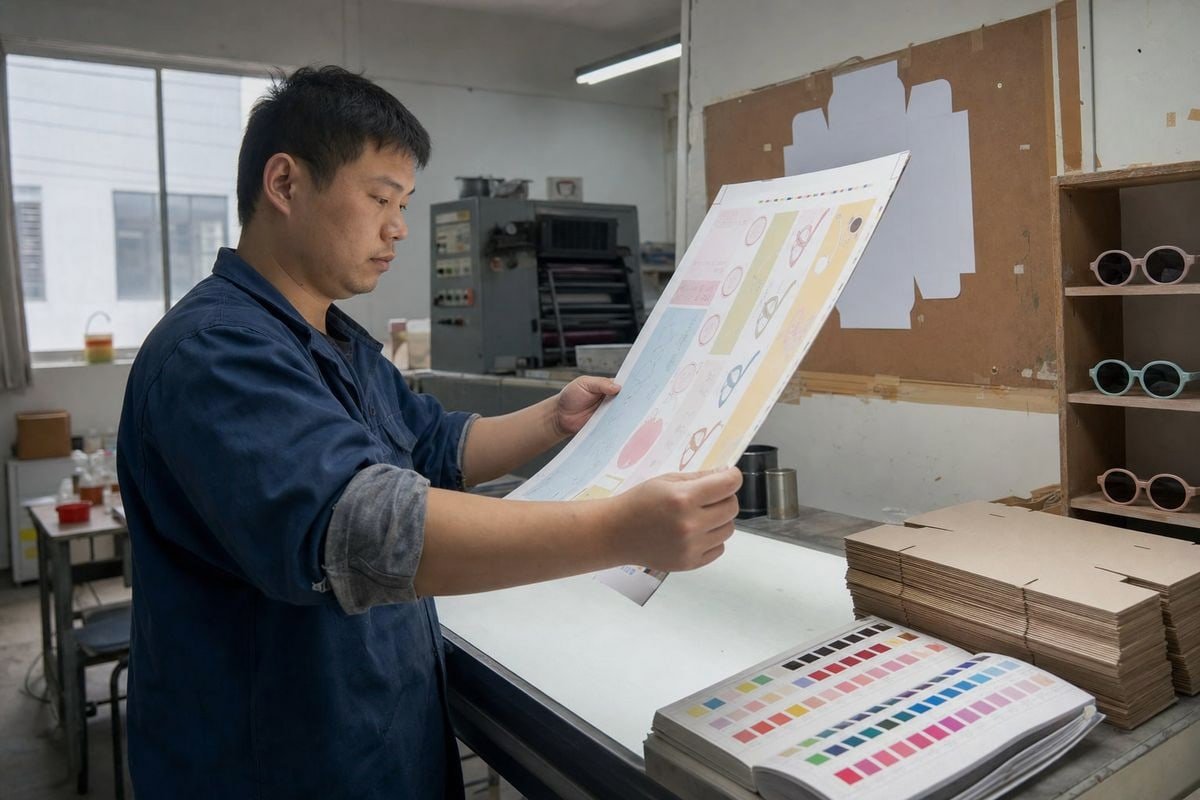
Let me break down why each spec matters, because small-format kids' packaging is far less forgiving than a large retail box. Fine text — like a UV400 protection claim or CPSIA compliance wording — sits in tiny point sizes. Low-resolution files destroy that text first.
Start With the Factory's Dieline
Never design your box first and ask the factory to fit it later. Request our vector dielines 4 before your designer opens a single file. The dieline shows the exact cut lines, fold lines, glue tabs, and panel dimensions for your chosen box style. Designing on the wrong dieline is the single most common reason artwork gets rejected and reworked.
Color: CMYK vs. Pantone
Your screen shows RGB. Printing presses do not. If your brand color must match exactly across every production run — and for private label sunglasses brands, it should — specify Pantone Matching System 5 codes for your key brand colors. Use CMYK for photographic elements and gradients.
| Specification | What to Send | Warum es wichtig ist |
|---|---|---|
| File format | AI, EPS, or print-ready PDF | Vector art scales without quality loss |
| Resolution | 300 DPI for all placed images | Keeps fine text and graphics sharp |
| Color mode | CMYK profile + Pantone codes for brand colors | Prevents color shift from screen to press |
| Bleed | 3mm beyond the cut line | Avoids white slivers at box edges |
| Safe zone | 5mm inside the cut line | Protects logos and legal text from trimming |
| Fonts | Outlined/converted to curves | Eliminates font-substitution errors |
Do Not Forget the Regulatory Layer
For children's eyewear, your artwork must carry more than branding. Depending on your market, that means CE or UKCA markings 6, UV400 protection claims, age grading, importer contact details, and safety notes like "BPA-Free" or "Non-Toxic Inks." We flag missing compliance text during our artwork review, but the responsibility for market-specific claims sits with the brand. Confirm minimum legible font sizes for your target market before you finalize the layout, because shrinking legal text to fit a small kids' box is a compliance risk, not a design choice.
Finally, label your file versions clearly — for example, "BrandX_Box_V3_FINAL_20250601.pdf." Half the artwork errors we catch come from a factory and a buyer working from two different "final" files.
How Do I Request a Physical Packaging Sample Before Placing My Bulk Order?
In our experience exporting kids' sunglasses to buyers in 20+ countries, the smoothest projects share one habit: the buyer asks for samples in stages, not all at once. The rushed projects ask for one "perfect final sample" and hope.
Email your supplier a clear sample request specifying the exact frame style, artwork files, box structure, material, insert requirements, and quantity. Ask first for a white structural sample to test fit, then a printed pre-production sample. Budget roughly $50–$200 and confirm the revision process upfront.

The key is knowing that "sample" is not one thing. There are four distinct types, and each answers a different question. Requesting the right one at the right stage saves both time and sampling fees.
| Sample Type | What It Tests | When to Request It |
|---|---|---|
| White / structural sample | Box size, insert fit, lens protection | Before any printing is paid for |
| Printed mockup | Branding, color accuracy, finish | After artwork approval on screen |
| Pre-production sample | Near-final version in real materials | Just before confirming mass production |
| Shipping sample | Carton strength, transit protection | Alongside pre-production approval |
Write a Complete Request, Not a Vague One
A weak request says, "Please send a packaging sample." A strong request tells the factory everything needed to build it right the first time. When buyers email us at OKAY EYEWEAR, we ask them to confirm:
- The exact frame model — a wraparound sport shield with a mirrored gradient lens needs a deeper insert than a slim round pastel frame.
- Final artwork files with Pantone references.
- Box style and material preference — tuck-end carton, magnetic rigid box, drawer box, or hang-card blister.
- Insert requirements — cleaning cloth, pouch, hang tag, or case.
- Whether the sample should be blank, digitally printed, or fully finished.
- Sample quantity and shipping address.
- Your approval timeline and how revisions will be handled.
Why the White Sample Comes First
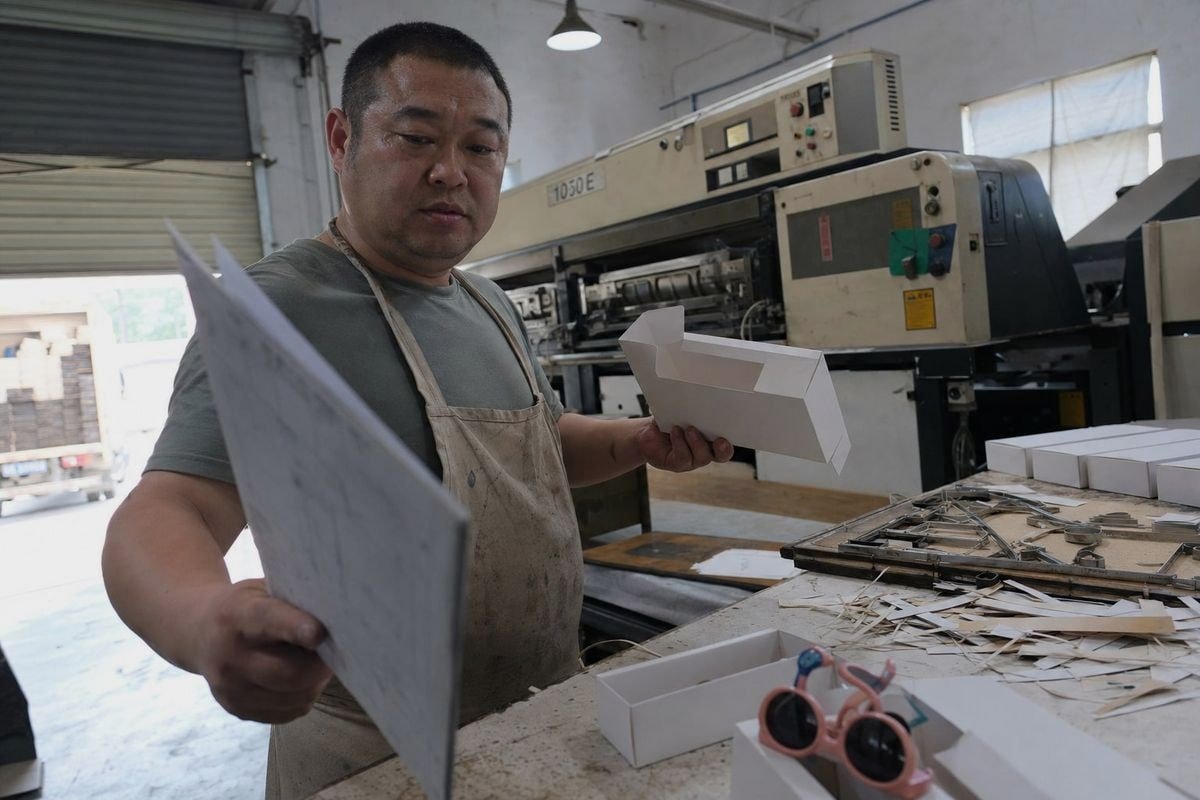
The unprinted structural prototype 7 is cheap and fast, and it answers the most expensive question: does the box physically protect the sunglasses? We place the actual frame into it and check that the lens does not touch a printed surface, the frame does not rattle, and the temple arms are not forced into a bend. Only after structure passes do we recommend paying for custom-printed prototype development. Printing on a flawed structure just gives you a beautiful box that fails.
What Details Should I Double-Check on My Print Proof to Avoid Branding Errors?
There is a trade-off I weigh with every buyer: how thorough the proof review is versus how fast they want to launch. My honest advice, after 15 years running our workshop, is that one extra day of careful checking beats one month of reprints every single time.
Check spelling, logo placement, Pantone color accuracy, barcode scannability, dieline alignment, bleed coverage, and all compliance text such as UV400 claims and CE markings. Verify insert fit with the actual sunglasses, then approve the proof in writing with a dated file version reference.
A print proof is your last low-cost exit ramp. Once you sign it, the factory prints thousands of boxes from it, and every error on the proof becomes an error multiplied. So treat the review as a formal checklist, not a glance.
The Three-Layer Review
I encourage buyers to review the proof in three passes, because different errors hide in different layers.
| Review Layer | What to Verify | Common Errors Caught |
|---|---|---|
| Brand layer | Logo size, position, Pantone match, font accuracy | Off-center logos, color drift, substituted fonts |
| Legal layer | UV400 claim, CE/UKCA marks, CPSIA compliance text, importer details, age grading | Missing marks, illegible font sizes, wrong market wording |
| Physical layer | Dieline alignment, 3mm bleed, fold positions, barcode placement, insert fit | Graphics cut at edges, text lost in folds, barcodes on curved surfaces |
Test With the Real Product, Not a Ruler
Numbers on a spec sheet do not catch everything. When we produce a pre-production sample, we insert the actual frame — say, a glossy white sport shield with an orange-to-teal mirrored lens — and hand it to several people. Does the mirrored coating touch any surface that could scratch it? Does the frame shift when the box is shaken? Can a child's smaller hands open the closure without a struggle, and does the closure still hold securely in transit? For our flexible TPEE and TR90 frames, we also confirm the insert does not hold the temples in a stressed position for weeks in a warehouse.
Approve in Writing, With Version Numbers
Verbal approval creates disputes. Reply by email stating the exact file name and version you approve, and ask the factory to confirm that version enters production. If you request any change — even one word — request a fresh proof. A "small text fix" applied without re-proofing is how typos reach retail shelves.
How Long Does the Sampling and Approval Process Take Before Mass Production Starts?
A product manager from Japan once asked me to compress her entire sampling phase into one week before a trade show. We tried, and we got close — but the lesson we both took away is that realistic scheduling beats heroic scheduling.
Expect 14–21 days for a standard sampling cycle: roughly 3–7 days for factory production of the packaging sample, 5–7 days for international express shipping, and several days for your review. Add 7–10 days for each revision round before mass production can start.
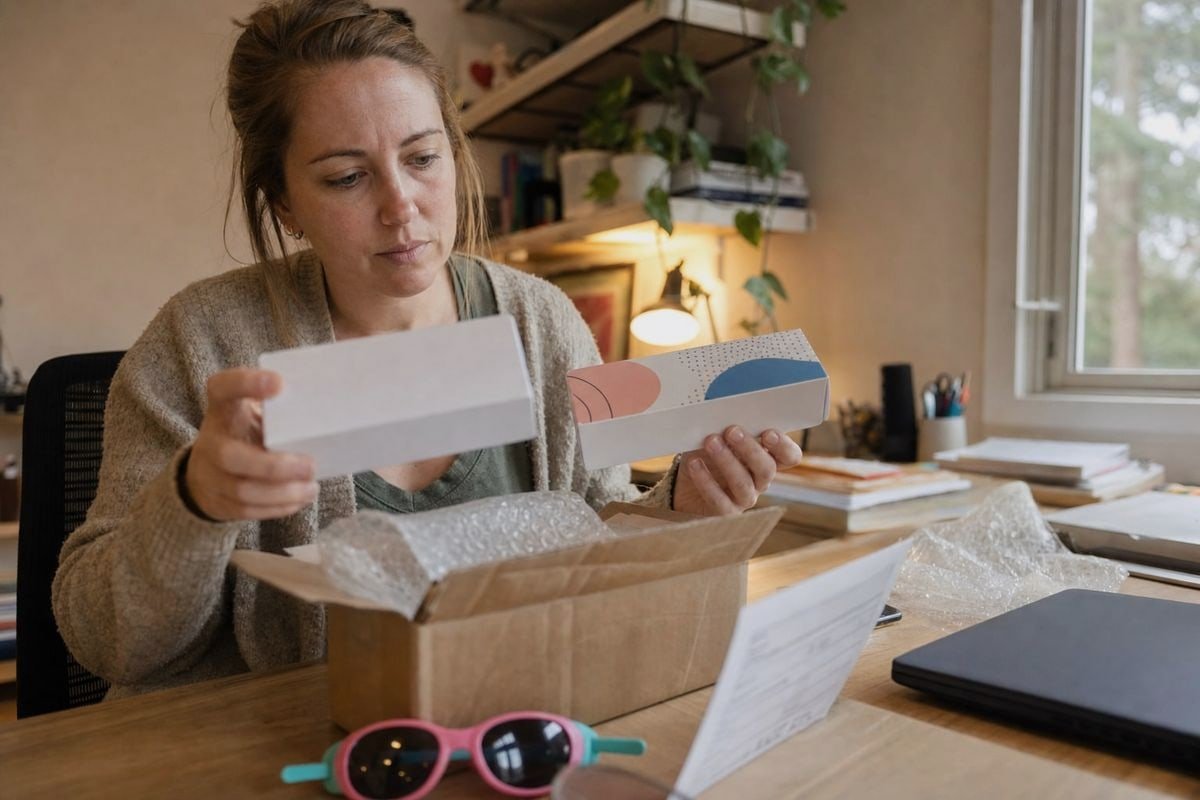
The timeline is rarely one straight line. It is a sequence of dependent steps, and any delayed approval on your side pauses everything downstream. Here is how a typical project flows through our production planning.
A Realistic Stage-by-Stage Timeline
| Phase | Typische Dauer | Who Drives It |
|---|---|---|
| Artwork preparation on our dieline | 2–5 days | Buyer + designer |
| Factory artwork review and digital proof | 1–3 days | Factory |
| White structural sample production | 3–5 days | Factory |
| Printed pre-production sample | 5–7 days | Factory |
| International express shipping | 5–7 days | Courier |
| Buyer review and written approval | 2–5 days | Buyer |
| Revision round (if needed) | 7–10 days each | Both |
Run smoothly, that lands in the 14–21 day window most suppliers quote. Add one revision round and you are closer to a month. That is why I tell buyers planning a seasonal launch — sunglasses are brutally seasonal — to start packaging sampling at least 60 days before their target production date.
What Speeds the Process Up
A few habits consistently shorten the cycle. Send complete vector files with Pantone codes on day one, so no rebuild is needed. Approve the structural sample by photo and video where possible, and ship only the printed pre-production sample. Choose an existing box structure from our range instead of custom tooling — the same logic behind our 800 existing frame styles applies to packaging: proven structures need no new dies. And respond to proofs within 48 hours, because buyer-side silence is the most common hidden delay.
What Slows It Down
Custom rigid boxes with magnetic closures need new tooling. Special finishes — foil stamping 8, spot UV, soft-touch lamination, or novelty options like photochromic sun-reactive inks — add setup days. Peak season courier congestion adds transit days. Budget for these deliberately, and the timeline stays predictable rather than painful.
Schlussfolgerung
A great kids' sunglasses launch can fail over a 1mm dieline error or a loose insert. That risk stings most when the product itself is excellent. The fix is discipline: send proper vector files with 300 DPI artwork and Pantone codes, sample in stages, proof against a checklist, and protect a realistic 14–21 day approval window. Do that, and your packaging protects both the lenses and your brand. At OKAY EYEWEAR, we walk B2B buyers through this exact process every week — from dieline to retail-ready box — so if you are preparing your first custom eyewear packaging project, reach out and we will help you get the files and samples right the first time.
Fußnoten
1. Authoritative Wikipedia entry explaining the packaging design and development process. ↩︎
2. The international standard for sunglasses and related eyewear, specifying requirements for UV protection and labeling. ↩︎
3. Official US Customs and Border Protection guidance on the requirements for importing eyewear into the United States. ↩︎
4. Wikipedia entry explaining the use of dies and dielines in the manufacturing and packaging industries. ↩︎
5. The global authority on color communication, explaining how their system ensures consistent color reproduction across different materials. ↩︎
6. Official UK government guidance on the mandatory product marking required for goods sold in Great Britain. ↩︎
7. A leading packaging manufacturer explaining the role of structural design and prototyping in the product development cycle. ↩︎
8. Detail
Weitere Artikel, die Ihnen gefallen könnten
August 2026
Sollte die Fabrik die Verpackung und Kennzeichnung von Kinder-Sonnenbrillen übernehmen oder einen bestimmten Lieferanten nutzen?
August 2026
Eigenes Lager vs. Direktlieferung durch den Lieferanten: Was senkt die Retourenkosten für Marken von Kinder-Sonnenbrillen?
August 2026
Direkt zum Lagerhafen oder Lagerung in Übersee: Was spart mehr bei den Versandkosten für Kinder-Sonnenbrillen?
Auf der Suche nach einem zuverlässigen Partner für Kinderbrillen?
Entdecken Sie über 800 sofort verfügbare Modelle und umfassenden OEM/ODM-Support, der auf Ihre Marke zugeschnitten ist.
Kontakt aufnehmen English
  Español de México
  Deutsch
  Français
  日本語
日本語  العربية
  Português do Brasil