How to Confirm Kids’ Optical Frame Base Curve Matches Your Lab’s Lens Curvature?
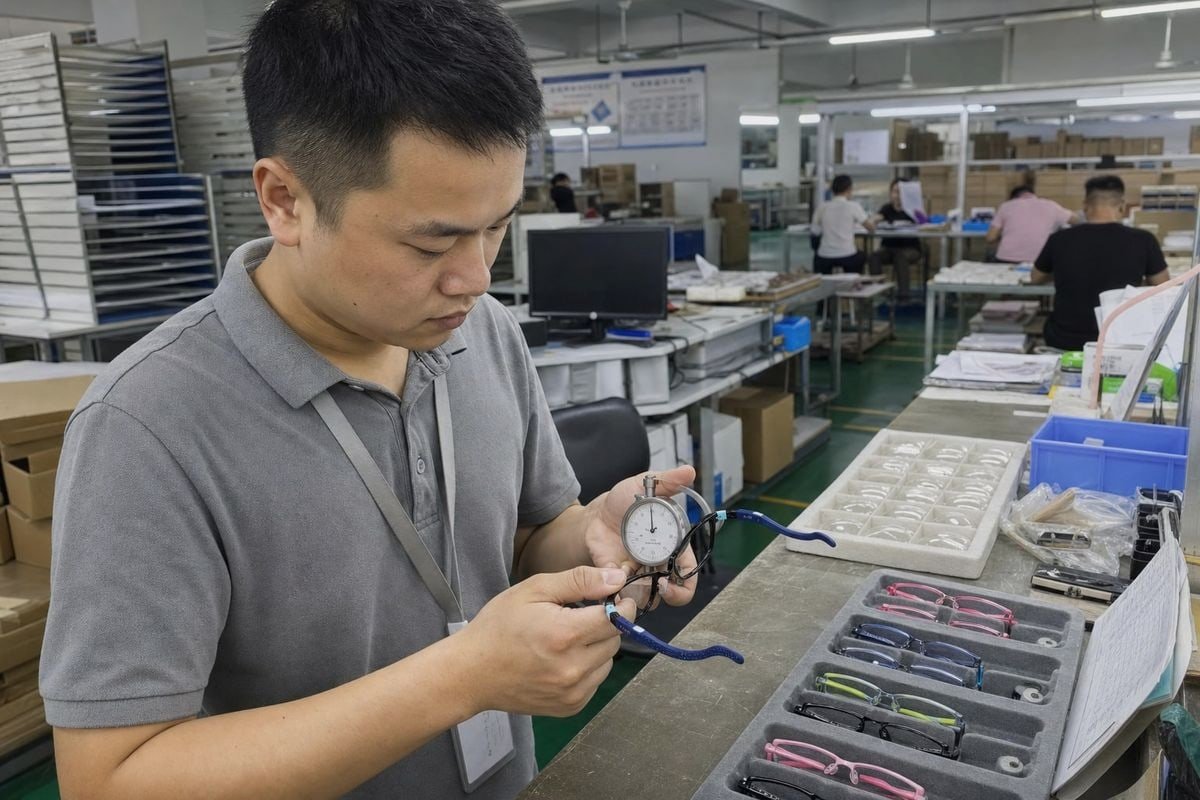
On our production line, kids’ optical frame base curve mismatches are the hidden killer of remake rates. Lenses pop out, bridges splay, and returns pile up. There is a fix.
To confirm a kids’ optical frame base curve matches your lab’s lens curvature, request the frame’s base curve spec from the manufacturer, measure the demo lens with a lens clock, compare it against your lab’s base curve selection chart, and verify the bevel seats flush after edging.
That is the short answer. Below, I walk through each step in detail, from the specs you should demand upfront to what to do when curves cannot match.
What Base Curve Specs Should I Request from My Frame Manufacturer Before Ordering?
A buyer from Australia once asked us for "the curve number" of a TR90 1 frame. That one question saved her lab three rounds of remakes, and it changed how we document specs.
Before ordering, request the frame's nominal base curve (usually 4-base or 6-base for kids), the frame wrap angle in degrees, the frame groove profile dimensions, the demo lens curvature, and the manufacturer's recommended lens base curve range for that specific model.

At our factory in Taizhou, we keep a technical data sheet for every one of our roughly 800 existing styles. When a brand or importer asks, we can tell them exactly what curvature each front was molded to. Not every supplier does this. So you need to know what to ask for, and why each number matters.
The Five Specs That Matter
First, ask for the nominal base curve of the frame front. Most children's optical frames are designed around a 4-base or 6-base curve. This tells your lab the starting point for prescription lens edging.
Second, ask for the frame wrap angle. This is the face-form curvature seen from above. Flat dress frames sit around 0–5 degrees. Sporty kids' styles can reach 8–15 degrees or more. Wrap directly affects how much face form compensation your lab must apply.
Third, request the frame groove profile. The groove depth and angle determine how the lens bevel seats. A shallow groove with a steep lens is a recipe for pop-outs during active play.
Fourth, ask about the demo lens curvature. The demo lens usually reflects the intended finished lens curve. Your optician can confirm it with a quick lens clock measurement on arrival.
Fifth, ask for the recommended base curve range, not just a single number. Kids' lenses have small apertures. Because of small-aperture sag, a nominal 6-base curve on a 44mm child's lens has less physical depth than the same curve on an adult lens. That gives your lab more flexibility than the spec sheet alone suggests.
| Spec to Request | Typical Kids' Frame Value | Por Que Importa |
|---|---|---|
| Nominal base curve | 4-base or 6-base | Sets the lab's starting lens curve |
| Frame wrap angle | 0–8° (dress), 8–15° (sport) | Drives face form compensation |
| Groove profile | Depth ~0.5–0.8mm, V-groove | Controls bevel seating and retention |
| Demo lens curve | Matches nominal base | Quick verification target |
| Recommended lens range | ±1 base from nominal | Gives the lab safe working room |
One more point from our export experience: if your frame uses flexible materials like TPEE 2 or TR90, ask how much curve tolerance the material allows. Flexible frames forgive small mismatches better than rigid acetate, but their elastic memory punishes large ones by widening the bridge over time.
How Do I Verify Base Curve Compatibility with My Optical Lab's Lens Edging Equipment?
During a 5S audit of our workshop last year, our QC team traced a batch of loose lenses back to one thing: nobody had compared our groove data with the customer's lab tracer output.
Verify compatibility by measuring the demo lens with a calibrated lens clock, sending 3D digital trace files (VCA/OMA format) to your lab, confirming their edger supports the frame's bevel and groove profile, and cross-checking the result against the lab's base curve selection chart.
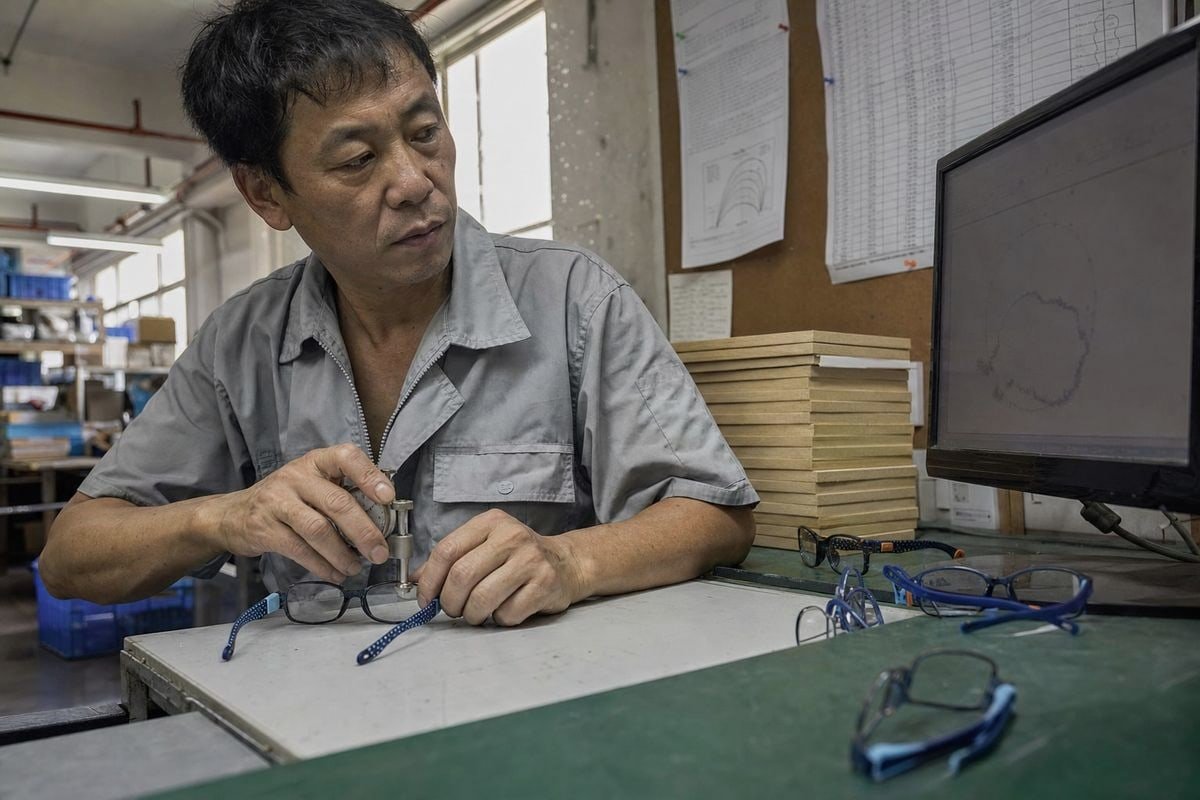
Verification is a workflow, not a single check. In our experience supplying optical companies across 20+ countries, the shops with the lowest remake rates all follow a version of the same process. Here is that process, step by step.
A Five-Step Verification Workflow
Step 1: Take a lens clock measurement. Place a Geneva lens measure on the front surface of the demo lens. Read the dioptric curve directly. A spherometer 3 reading gives you the same data with more precision if your lab has one. Record the value against the manufacturer's stated spec. A difference over 0.50 D is worth a phone call.
Step 2: Trace the frame digitally. Manual gauges miss subtle groove geometry. A 3D digital trace exported as a VCA/OMA file sends exact groove coordinates to your lab. The lab's software then calculates a best-fit curve for optical lens beveling. This matters most for wrapped sport styles where the groove curvature changes across the eyewire.
Step 3: Confirm edger capability. Ask your lab what bevel profiles their edger supports. Some older machines struggle with high-base bevels or step bevels. If the frame needs a 6-base bevel path and the edger tops out at flatter work, you will see gaps at the temporal edge.
Step 4: Check the lab's base curve chart. Every lab maintains its own optical lab standards. Their chart maps prescription power and lens material to a preferred base curve. Compare the frame's recommended range against the chart output for typical pediatric prescriptions 4.
Step 5: Run a test job. Before committing to a full program, have the lab edge one pair in the actual frame. Inspect the bevel seating, edge appearance, and retention. We always encourage buyers to sample this way before a container order.
What Your Lab's Chart Typically Shows
| Frame Type | Wrap Angle | Typical Lens Base Curve |
|---|---|---|
| Flat dress frame | 0–5° | 2–4 base |
| Standard kids' frame | 5–8° | 4–6 base |
| Moderate sport frame | 8–15° | 6–8 base |
| High-wrap sport frame | 15–25° | 8–9 base |
A useful heuristic many labs quote: every 2 diopters of frame wrap corresponds to roughly 1 diopter of additional lens base curve. Treat it as a starting point, not a rule. Your lab's own design software and the manufacturer's recommendation always override generic tables.
What Happens If the Frame Base Curve Doesn't Match My Lens Curvature?
The worst sample we ever dissected came back from a European distributor. The child's frame had splayed temples and a flattened bridge. The cause was a 4-base lens forced into a 6-base front.
A mismatched base curve causes the lens to bulge forward or sit recessed, forces the frame to splay or bow, creates gaps in the bevel seating, increases lens pop-outs during play, and can introduce unwanted tilt that degrades the child's optical correction.
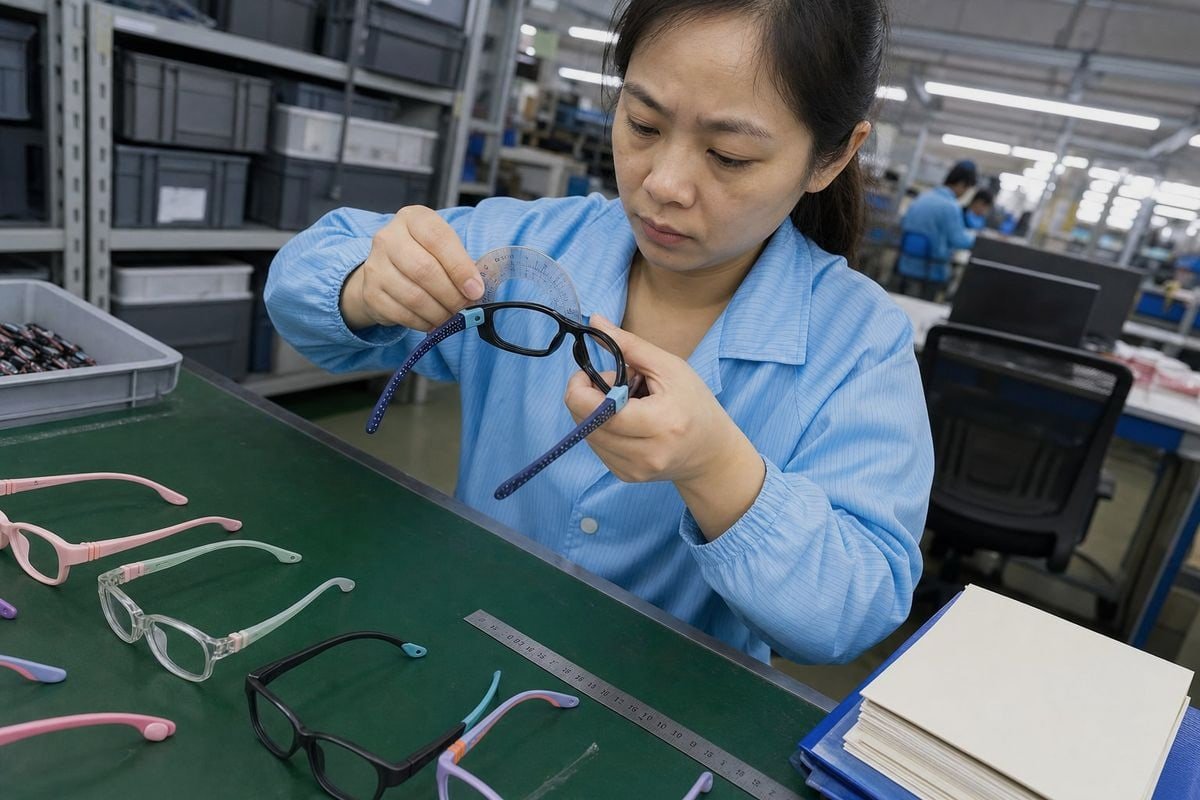
The consequences fall into three buckets: cosmetic, mechanical, and optical. For óculos infantis 5, the mechanical bucket is the dangerous one, because kids are the hardest wearers eyeglasses ever meet.
Cosmetic Problems
A lens that is too steep for the frame protrudes forward of the eyewire. A lens that is too flat sits recessed, showing a visible ledge. Parents notice. Retailers get returns. The edge appearance also suffers, since the bevel no longer hides the lens thickness evenly. Poor lens thickness calculation on top of a curve mismatch makes minus lenses look even thicker at the edge than they need to.
Mechanical Problems
This is where flexible pediatric materials behave differently. TPEE and TR90 have elastic memory. Force a wrong curve into the eyewire and the frame does not crack. Instead, it deforms slowly. The bridge widens. The temples flare. The glasses start sliding down the child's nose within weeks. We engineered our TR90 fronts with TPEE temples precisely because that flexibility protects kids in impacts, but it also means the lens curve must seat correctly, or the whole geometry drifts. Watch for these warning signs at dispensing:
- Temples that flare outward when the frame rests on a flat surface
- Visible gaps between the lens edge and the frame groove profile
- A lens that rotates or shifts under gentle thumb pressure
- A bridge that sits wider than the demo-lens version of the same frame
Optical Problems
A mismatched curve changes the lens position relative to the eye. Extra wrap or tilt that the prescription was not compensated for introduces unwanted cylinder and prism effects. Vertex distance shifts too. For a child adapting to a first prescription 6, these errors can cause rejection of the glasses entirely. Sagittal depth calculation errors compound the issue: if the lab underestimates the sag of a steep lens in a small pediatric aperture, the bevel lands in the wrong place and the lens sits proud of the frame.
Can I Request Custom Base Curve Options for My Kids' Optical Frame Program?
When we developed a sport-optical hybrid for a Japanese kids' brand, their lab wanted a flatter front than our standard tooling produced. That project taught me where customization is easy and where it gets expensive.
Yes, most manufacturers can adjust base curve within their existing mold range at low or no cost, while fully custom curves require new tooling; alternatively, digital freeform surfacing lets your lab match any frame curve by compensating the prescription on the lens back surface.
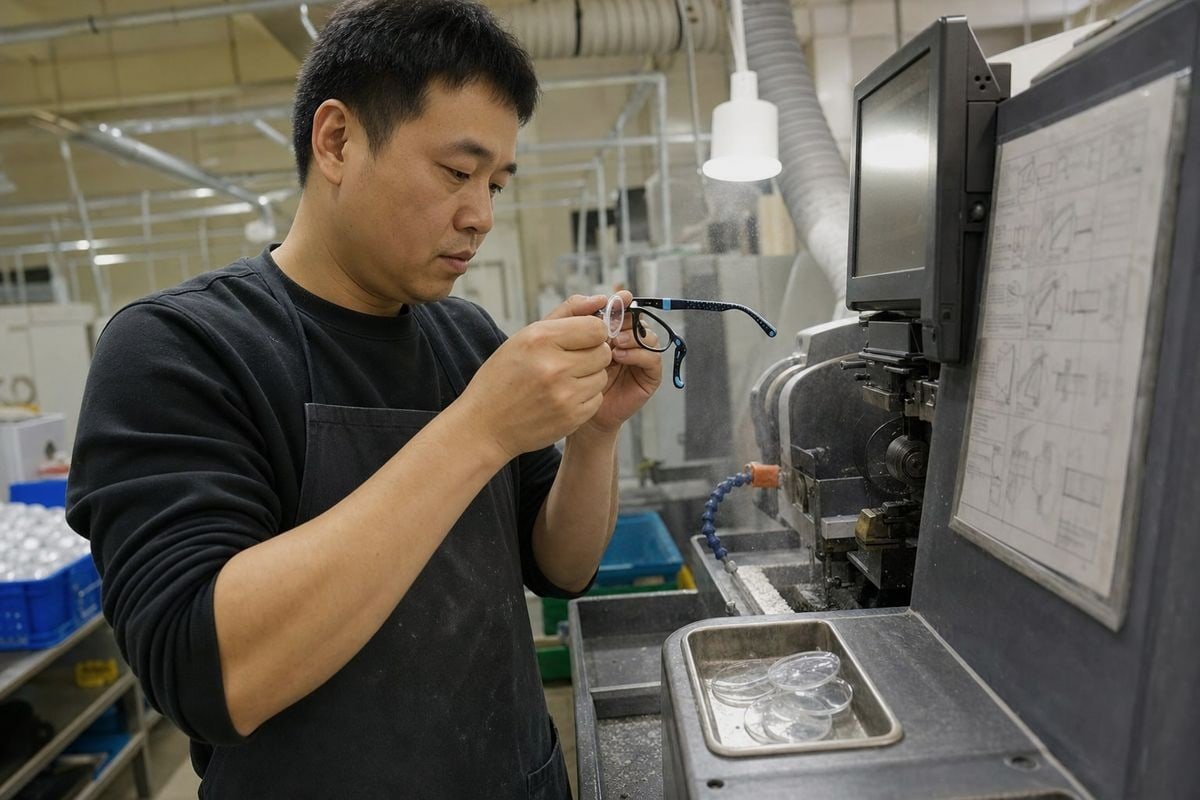
There are really three routes to a custom curve, and they carry very different costs and timelines. I will lay them out honestly, because I have seen buyers over-invest in tooling when a smarter lab-side solution existed.
Route 1: Choose Within an Existing Range
With around 800 existing styles in our catalog, we can usually offer the same silhouette in more than one front curvature. A brand launching its first optical line can pick a 4-base version for standard pediatric prescriptions and a 6-base version for a sportier sub-line, all without any mold investment. This is the lowest-risk path, and it is why we built the catalog this way: new brands can test the market before committing to custom development.
Route 2: Commission Custom Tooling
Full OEM development gives you an exact curve, wrap angle, and groove profile matched to your lab's optical lab standards. It costs more and takes longer, because a new front mold must be cut and validated. We recommend this only when your program volume justifies it, or when your lab has a locked-in lens design that no stock frame accommodates.
Route 3: Let the Lab Compensate Digitally
Modern digital freeform surfacing 7 changes the math. The lab keeps the front curve that matches the frame aesthetically, then compensates the prescription on the back surface for optical accuracy. Face form compensation software also accounts for wrap, pantoscopic tilt, and vertex distance. This route often removes the need for custom tooling entirely, especially for stronger prescriptions or high-index materials 8.
| Route | Custo | Lead Time | Melhor Para |
|---|---|---|---|
| Existing curve range | Low / none | Standard production | Market testing, first launches |
| Custom tooling | High (mold fees) | Adds weeks for mold work | Large committed programs |
| Freeform lab compensation | Per-lens lab cost | None on frame side | Strong Rx, high-wrap styles |
One caution worth raising. Some buyers assume the frame curve must always be matched exactly. Experienced labs disagree. If a child's new prescription is within about 1 diopter of the old one and the wearer is comfortable, keeping the previous base curve is often the better call. High-index materials and large decentration can also push the lab toward a flatter or steeper curve than the frame suggests. The right framework is a trade-off: frame fit versus optical performance versus manufacturing constraints. When those conflict, defer to your lab's design spec, and choose a frame material flexible enough to accommodate the compromise. That is exactly where our TPEE and TR90 expertise earns its keep.
Conclusão
Mismatched curves quietly destroy kids' eyewear programs through remakes and returns. Request specs upfront, verify with a lens clock and trace files, and let your lab compensate wisely.
Notas de rodapé
1. Background on nylon-based copolymer commonly used in flexible children’s eyewear frames. ↩︎
2. Explains elastomer properties that cause gradual frame deformation under stress. ↩︎
3. Authoritative Wikipedia entry explaining the precision measurement of curvature using a spherometer. ↩︎
4. CDC tracks children’s vision health needs relevant to pediatric prescription fitting. ↩︎
5. WHO highlights the importance of properly fitted eyewear for children’s vision health. ↩︎
6. NIH’s National Eye Institute provides guidance on children’s initial vision correction needs. ↩︎
7. Wikipedia section detailing the digital surfacing and manufacturing process for modern ophthalmic lenses. ↩︎
8. Wikipedia guide to corrective lens materials, specifically covering high-index plastic properties. ↩︎
Mais Artigos que Você Pode Gostar

5 de agosto de 2026
Acetato de Celulose Bio-Baseado vs. Regular: Qual a Diferença para Armações Infantis?

5 de agosto de 2026
Quão Recicláveis São os Materiais de Armações Ópticas Infantis e Quais Alternativas Ecológicas Existem?
5 de agosto de 2026
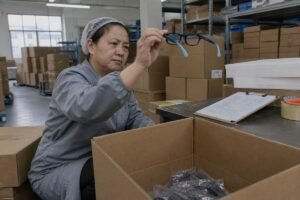
As Armações Ópticas Infantis Branqueiam ou Envelhecem em Armazenamento e Como Controlar as Condições do Armazém?
Procurando um Parceiro Confiável em Óculos Infantis?
Explore mais de 800 estilos prontos e suporte completo OEM/ODM adaptado à sua marca.
Entre em Contato English
  Español de México
  Deutsch
  Français
  日本語
日本語  العربية
  Português do Brasil