Private Label · OEM / ODM
Kids Optical Frames
A collection built around fit.
Choose frame styles, refine the fit and coordinate your branding. Build a clear brief for samples and a quotation.
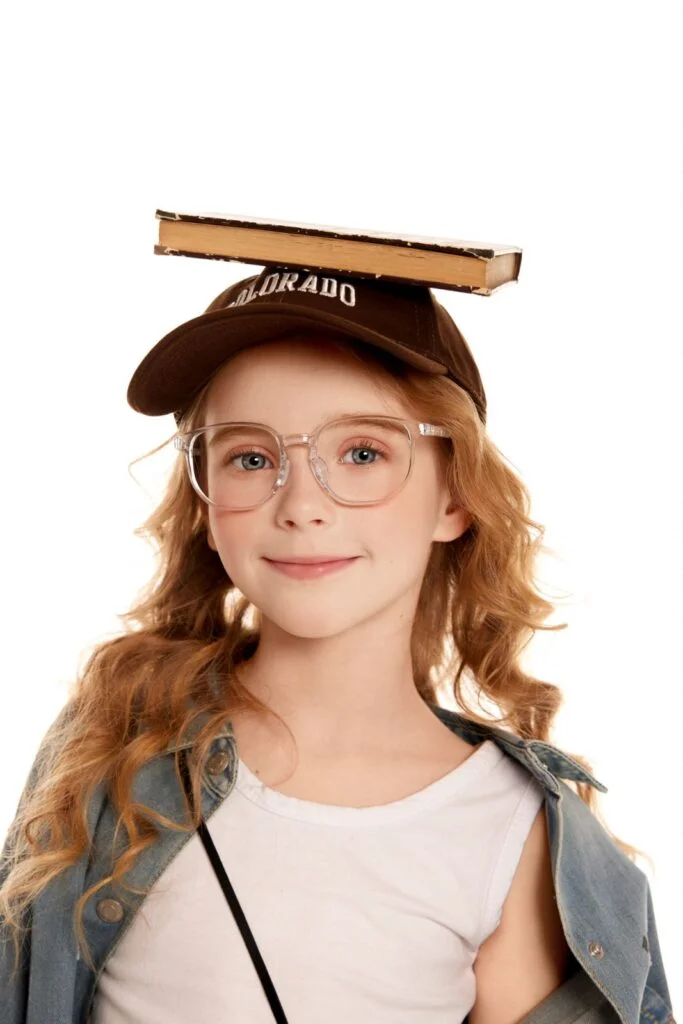
Start with a focused frame range
Compare shapes and colour combinations before choosing your sample shortlist.


- Pick a shape
- Compare colourways
- Request samples
Fit comes before the colourway
Age is a starting point--not a complete fit specification.


-
Front width
Compare the overall frame width with your target fit sample. -
Lens dimensions
Request model-specific lens width and height. -
Bridge & contact
Review bridge shape and nose contact on a physical sample. -
Temple length
Check side length and ear contact with your fitting professional.
Approve the fit on a sample
Ask your optician or dispensing partner to review the frame. Do not select by age alone.
Choose materials around the wearing experience
Match the material, contact zones and finish to your product brief.
TR90 frame options
- Trait
- Lightweight polyamide frame designs.
- Benefit
- A lighter-feeling collection without a bulky look.
- Confirm
- Resin maker, grade and finished-frame performance.
Contact zones
- Trait
- Nose and ear-contact design varies by model.
- Benefit
- Lets you review the feel and support where the frame touches.
- Confirm
- Soft components, fit and compatibility on the selected sample.
Colour & surface
- Trait
- Transparent, solid and selected surface effects.
- Benefit
- Create a recognisable, coordinated range.
- Confirm
- Colour, finish and process on your sample.

Explore colour, logo and component options.
See customization optionsAlign the frame with your optical lab
Agree the supply scope before sampling.
-
Frame supply
Confirm frame-only or demonstration-lens delivery.
-
Lens specification
Share the intended lens type with your dispensing partner.
-
Sample approval
Review a glazed sample before approving production.
-
Share frame dimensions
Step 1 of 3 -
Review tracing, rim and groove
Step 2 of 3 -
Check lens fit and final assembly
Step 3 of 3
Demo lenses are not prescription lenses.
Prescription suitability and glazing must be confirmed by your qualified optical partner for the chosen frame and lens.
One collection. A coordinated brand.
Carry your colours and identity from the frame to the unboxing.
-
Temple artwork
Confirm position, size and printing on your selected frame.
-
Colour palette
Coordinate front, temples and packaging.
-
Retail information
Agree model codes, labels and packing details.
-
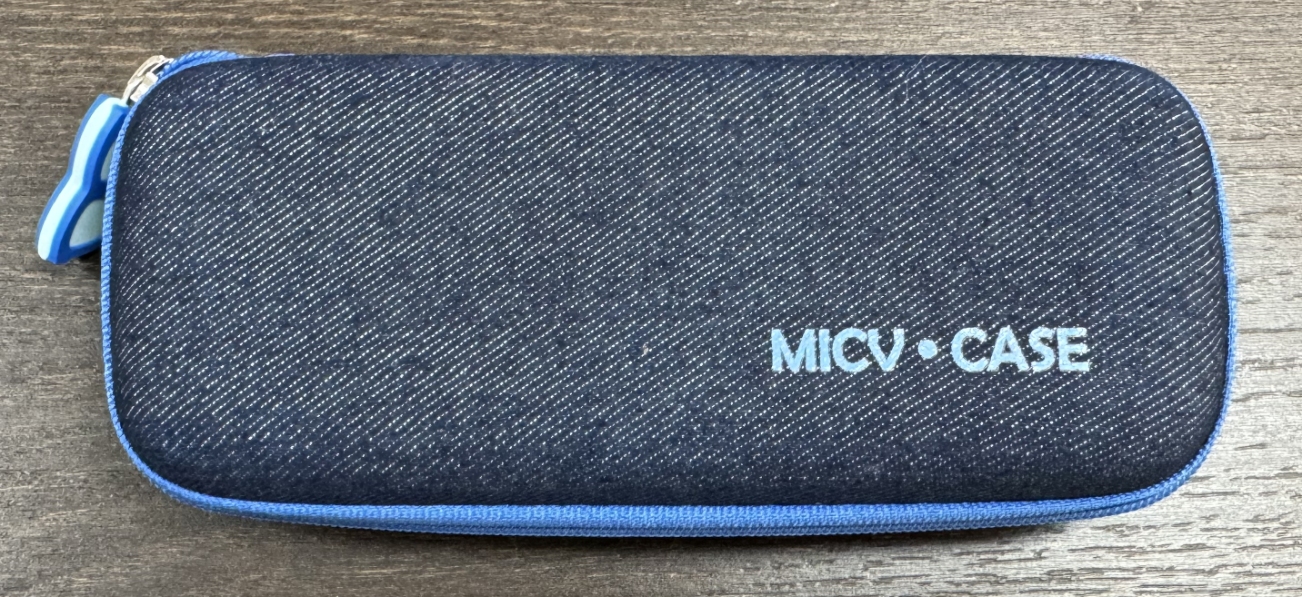
Protective case
Choose a case size around the approved frame.
-
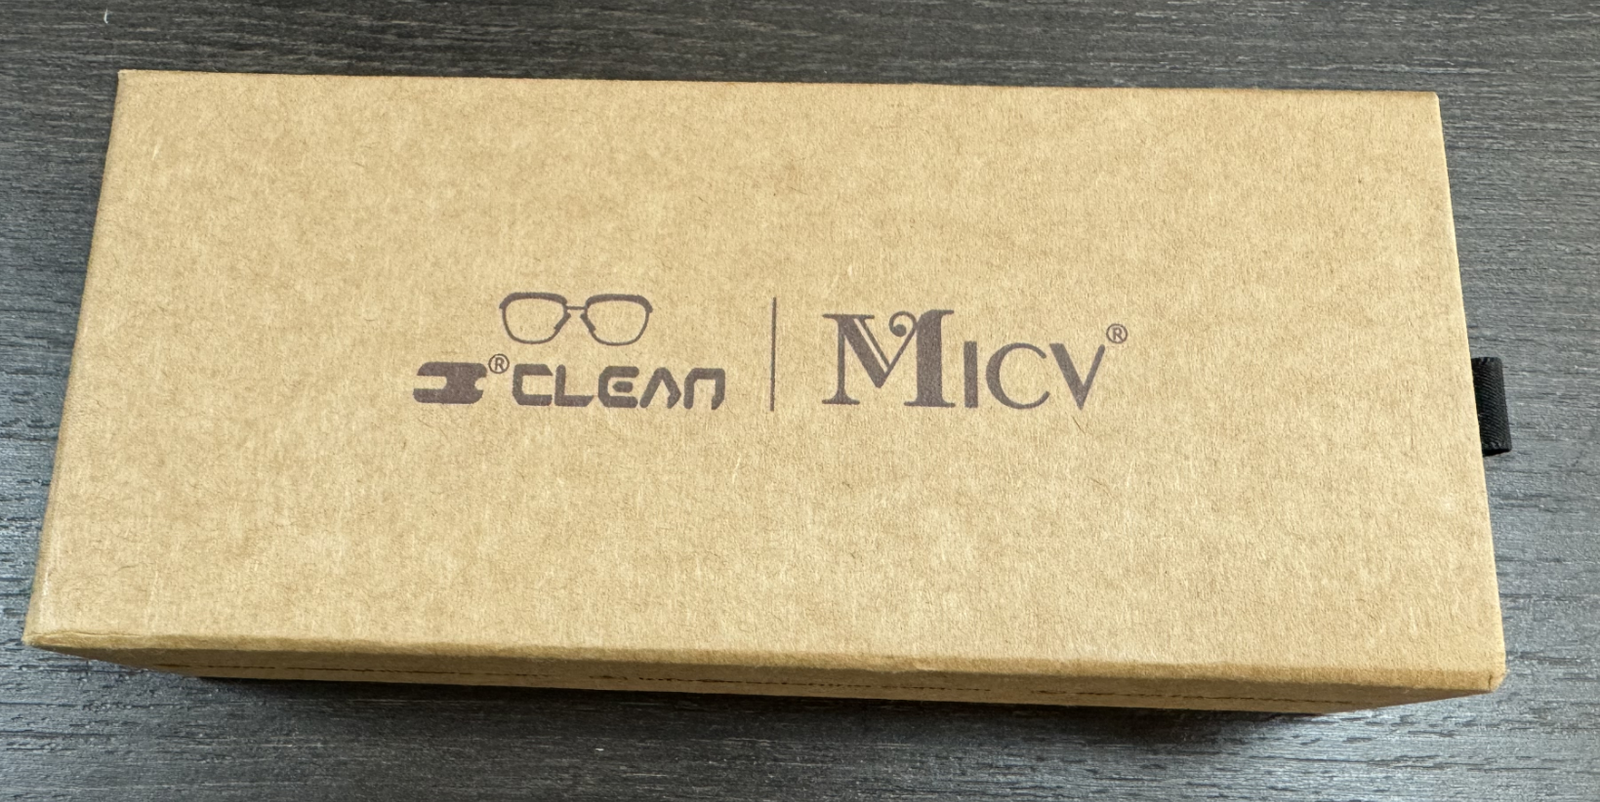
Printed box
Coordinate artwork and retail presentation.
-
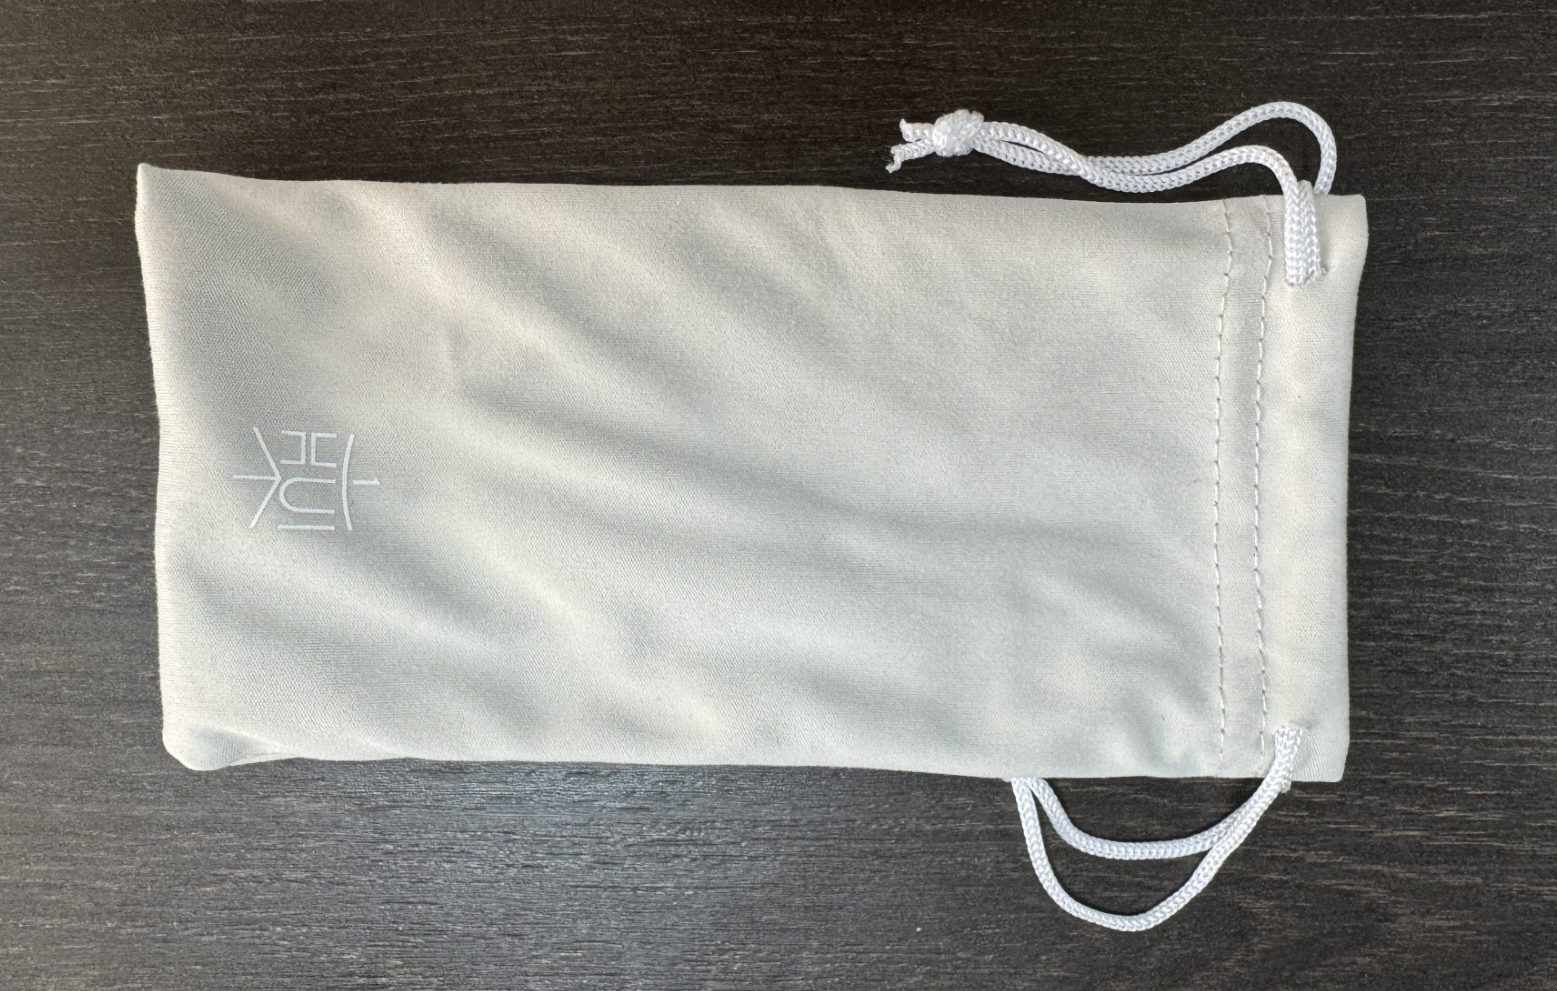
Microfiber pouch
Add a compact carry option.
-
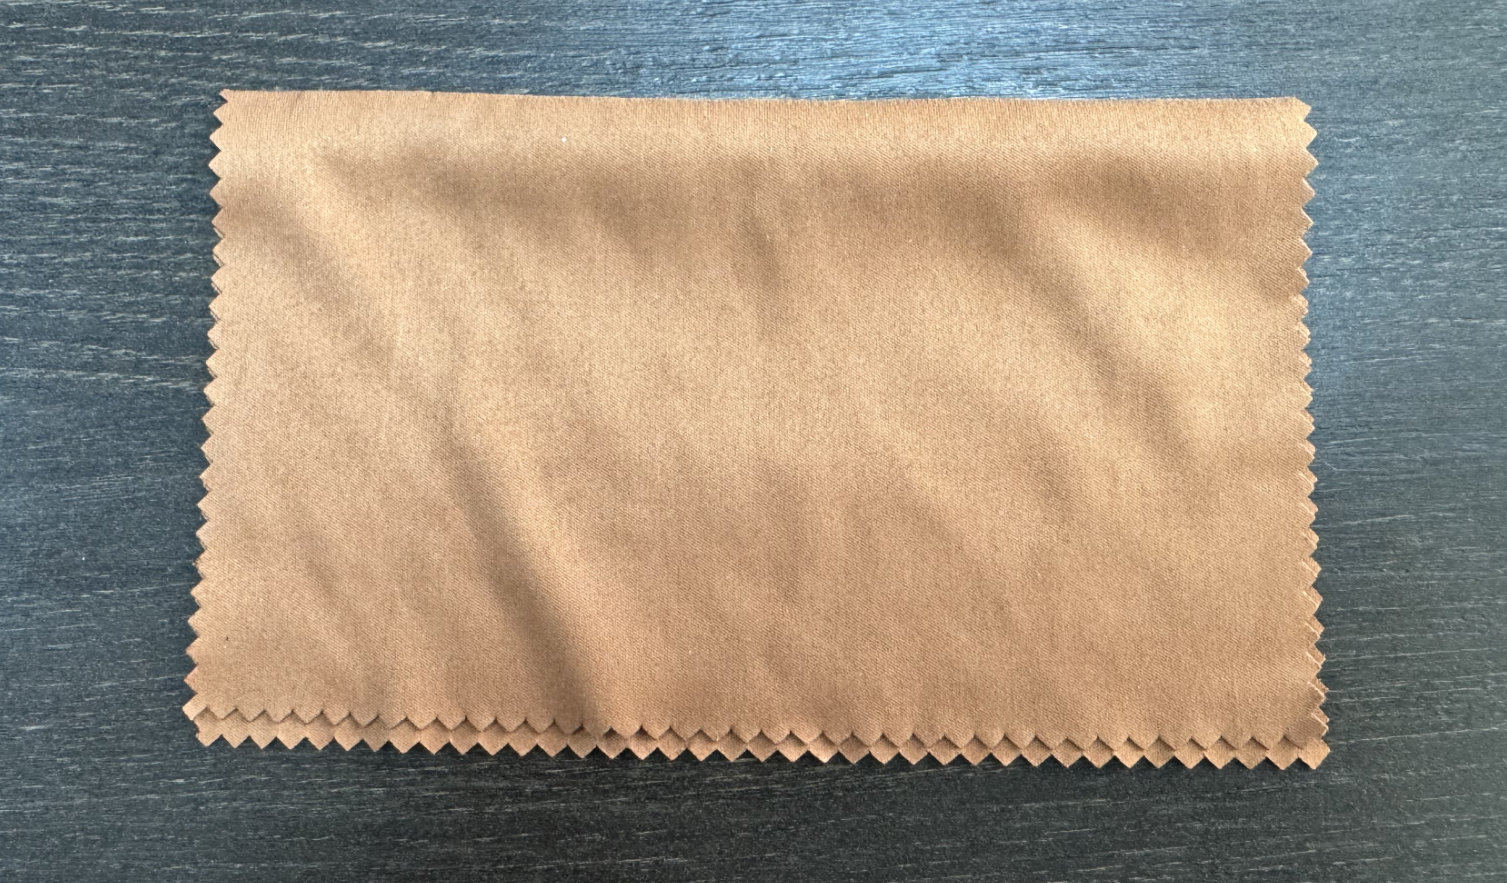
Cleaning cloth
Keep your branding in the care kit.


Optional retainers: confirm fit, length and target-age suitability.
From sample shortlist to approved order
Four clear steps. Each one is confirmed with you before the next begins.
-
Step 1: Share your brief
Target market, fit range, styles and quantities.
-
Step 2: Review samples
Check fit, material feel and optical-lab assembly.
-
Step 3: Sign off the details
Approve colour, artwork, packaging and model codes.
-
Step 4: Confirm the order
Agree quantities, price and delivery before production.
Before you request a quote
- Can I add my own brand?
- Share your artwork. Position and process are confirmed on the selected frame.
- What is the minimum order?
- MOQ depends on the model, colour and customization. Send your intended quantities for confirmation.
- Are prescription lenses included?
- Confirm the supply scope in your quotation. Prescription lenses and glazing require agreement with your qualified optical partner.
- Can I order sunglasses too?
- Yes--plan both ranges with coordinated colours and packaging. Explore kids sunglasses
Plan your kids optical frame collection
Share your styles, fit requirements and quantities. Our team will review your brief for samples and a quotation.
- Target market + fit range
- Models + quantity per colour
- Branding + packaging
 English
 Español de México
 Deutsch
 Français
 日本語
 العربية
 Português do Brasil