How to Review Printing and Marking Proof Samples for Kids’ Optical Frames?
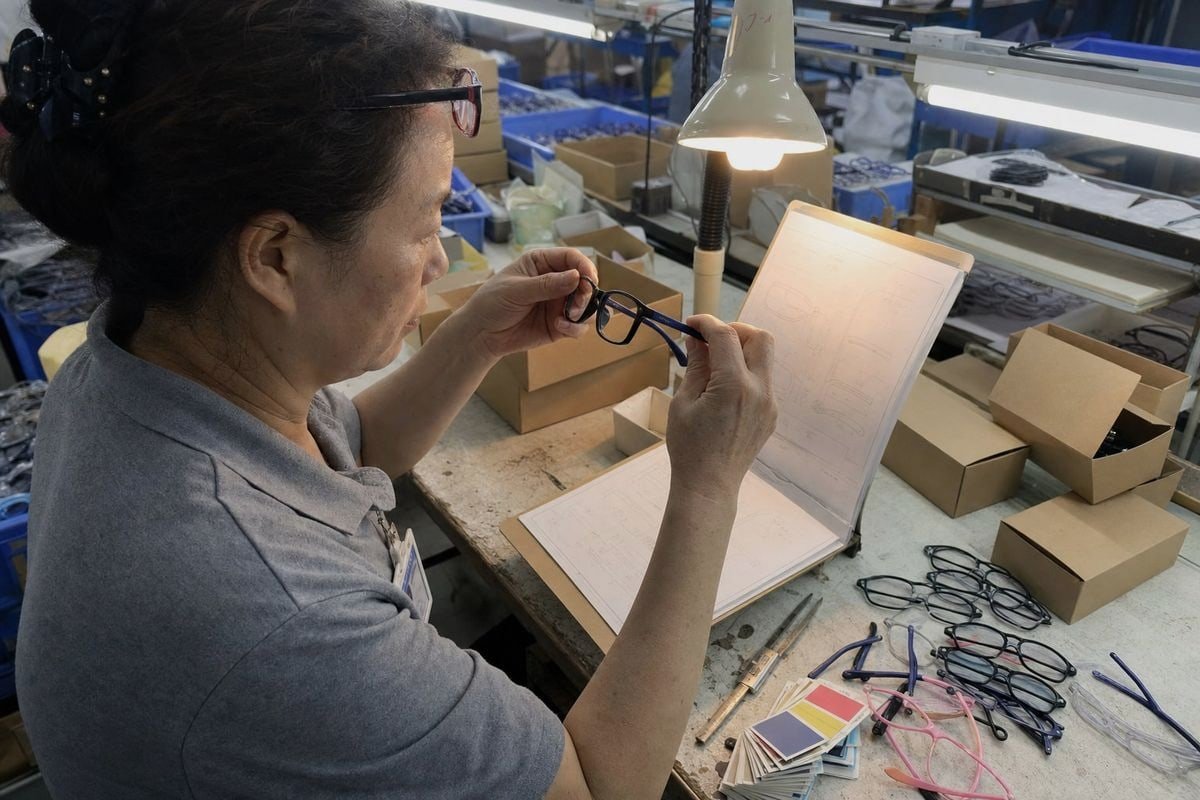
Reviewing printing and marking proof samples for kids’ optical frames is where our production line catches expensive mistakes ftalatos 1. Skip it, and a blurred logo can ruin thousands of finished frames.
To review printing and marking proof samples for kids’ optical frames, verify logo placement, size, and Pantone color accuracy against your artwork, test ink adhesion and abrasion resistance, confirm regulatory and size markings, and approve mass production only after a corrected physical sample passes every check.
That is the short answer. Below, I will walk you through each step in the order we actually use it at our factory, so you can apply the same process with any supplier.
What Should I Check First on a Printing or Marking Proof Sample?
Last year, our QC team stopped a batch because a temple logo sat 2 mm too high on one side. That tiny shift came from an unchecked proof sample, and it taught our client a lasting lesson.
First, check that the proof sample uses your exact artwork file and logo version. Then inspect placement, size, print clarity, and left-right symmetry. Confirm temple marking specifications, frame measurement markings, and model numbers match your tech pack before you look at anything else.
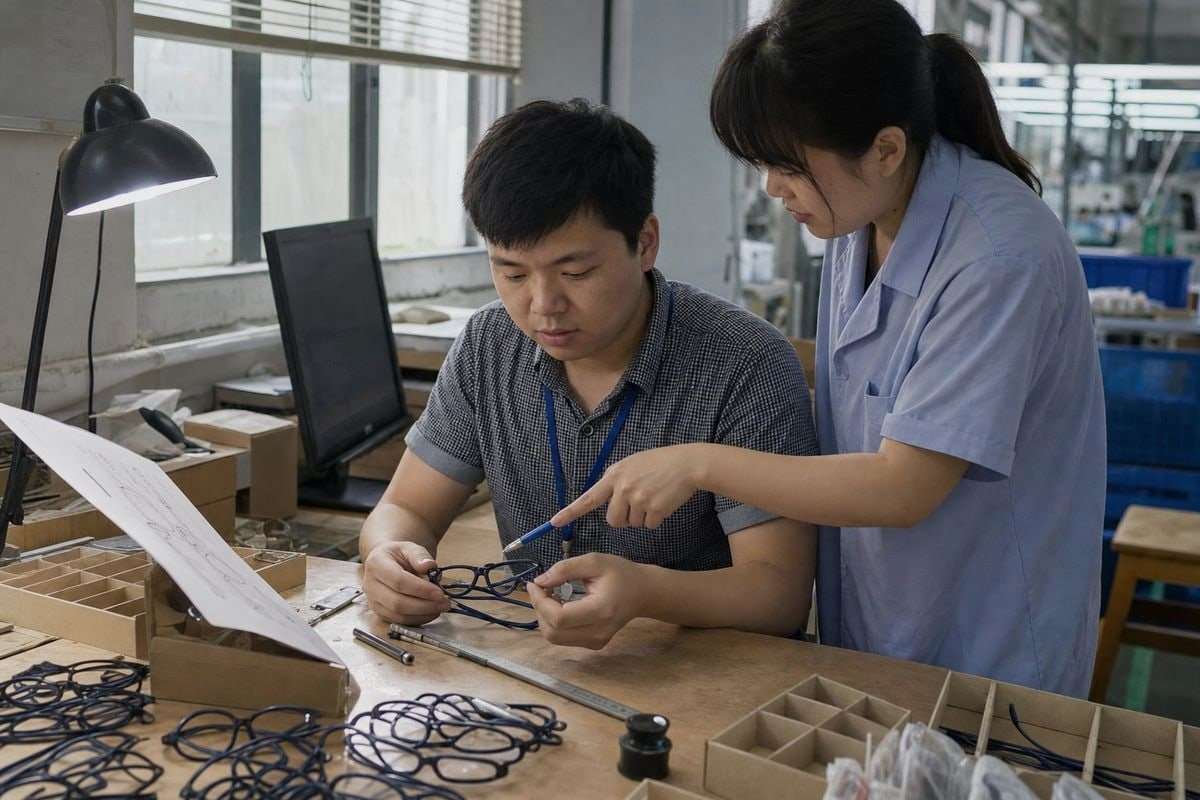
The first review is about accuracy, not beauty. In our 15 years making TR90 2 and TPEE kids' frames in Taizhou, most proof errors we catch are simple mismatches. The supplier used an old logo file. The color code was close but wrong. The size marking on the inner temple was copied from a different model. These errors are cheap to fix on a sample and very expensive to fix after tooling.
Start With the Artwork Source
Ask your supplier which file they printed from. Vector formats such as AI, EPS, PDF, or SVG hold sharp edges far better than raster images. If they worked from a screenshot or a low-resolution JPG, reject the proof before you even measure it. Fuzzy source files cause feathering, broken lines, and poor logo legibility standards on small temple surfaces.
Then Verify the Physical Details
Use this quick table as your first-pass checklist:
| Check item | What to verify | Typical working tolerance |
|---|---|---|
| Logo placement | Exact temple, inner-arm, or bridge position | ±1 mm from drawing |
| Logo size | Legible but proportionate | Around 15–25 mm width on temples |
| Symmetry | Identical position on both temples | Visually identical, measured |
| Frame measurement markings | Eye size, bridge width, temple length | 100% match to CAD data |
| Model and size codes | Correct SKU and child size range | Exact match to tech pack |
Also cross-reference the printed technical specifications against your original drawings. A wrong bridge width printed on the temple confuses opticians and can trigger returns. On kids' frames, where sizes run small and parents rely on markings, this data accuracy matters more than the brand logo itself.
How Can I Confirm Logo Placement and Color Accuracy Before Mass Production?
There is a real trade-off we weigh on every custom order: a multicolor logo looks great in the mockup, but it is harder to hold consistent on a curved TR90 temple than a single-color mark.
Confirm placement by measuring the logo position against your tech pack on both temples, using a ±1 mm tolerance. Confirm color by comparing the printed ink against physical Pantone chips under standardized D65 lighting, never against a screen, and document the approved reference for production.
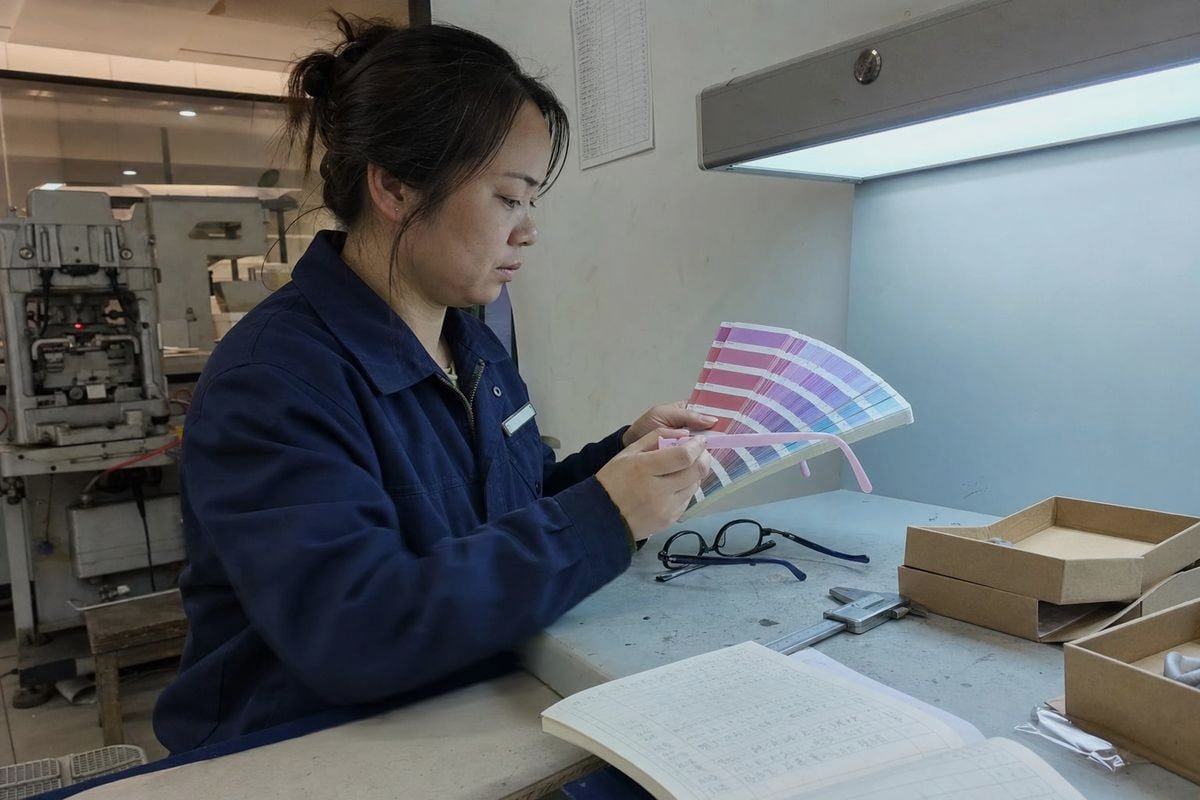
Placement and color are the two things buyers notice first, and the two things suppliers most often approximate. In our sample room, we keep Pantone 3 books and a D65 light box next to the pad printing station for exactly this reason. Screens lie. A navy that looks perfect on your monitor can print almost black on a glossy acetate temple.
A Practical Placement Check
Follow this sequence on the physical proof:
- Measure the logo's distance from the hinge on both temples with calipers.
- Check that the mark follows the curve of the temple without stretching or ghosting.
- Confirm the logo does not overlap flex zones, hinge screws, or silicone grip areas.
- Put the frame on a child-sized head form and check visibility at normal wearing angle.
- Photograph both temples side by side and attach the photos to your approval record.
Pad printing 4 is usually the right process for curved plastic temples, while silk screen suits flatter surfaces and laser engraving 5 suits metal parts. Each process drifts differently, so tell your supplier which method they used and ask how they control registration between runs.
Color Acceptance Criteria
Pantone color matching only works if you agree on limits in writing. Many eyewear suppliers work to roughly ±5% color variation as an internal target. That is a supplier-style QC benchmark, not a law, so state your own limit. For multicolor prints, inspect the registration between ink layers. Any bleeding or misalignment between colors on a 20 mm logo will be obvious at retail. If your logo has fine gradients, consider simplifying it for production reliability. We often advise brands to keep a one-color version for temples and save the detailed version for packaging, where flat surfaces make reproduction easy.
What Safety and Durability Tests Should I Request for Printed Markings on Kids' Frames?
A buyer from Australia once asked me why we scratch-test every silk-screened logo before shipping samples. My answer was simple: kids chew, bend, drop, and scrub their glasses daily, and the marking must survive all of it.
Request an ink adhesion test such as the 3M tape or cross-hatch adhesion test, abrasion and flex-crack testing on bent temples, sweat and sebum resistance checks, and batch-specific chemical reports confirming non-toxic ink standards free from lead, phthalates, and cadmium for CPSIA compliance.
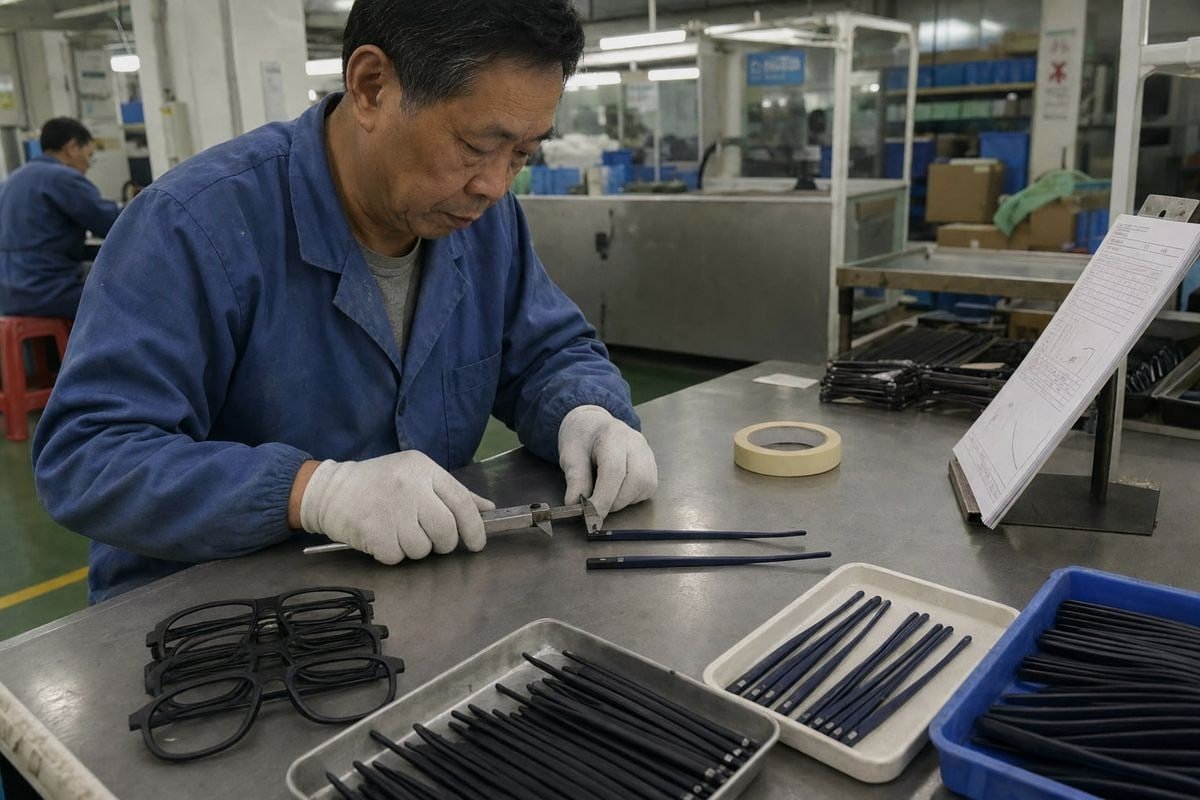
Durability testing is where kids' frames differ most from adult eyewear. An adult frame sits on a desk. A kids' frame gets thrown in a school bag, cleaned with a shirt sleeve, and occasionally chewed. Our TPEE temples flex almost flat, so any ink we apply must be elastic enough to flex with them. A rigid ink film on a flexible material will crack at the first hard bend.
The Core Test Set
Here are the tests we recommend every buyer request on printed proof samples:
| Teste | O que prova | Por que é importante para crianças |
|---|---|---|
| Cross-hatch adhesion test | Ink bonds to the substrate | Peeling flakes can irritate skin or be ingested |
| 3M tape test | Surface adhesion under pull | Simulates repeated handling and cleaning friction |
| Flex-crack test | Ink elasticity on TR90/TPEE | Kids bend temples far past normal wear angles |
| Sweat and sebum resistance | No leaching or fading | Children sweat more and chew temple tips |
| Abrasion/rub test | Wear resistance over time | Daily cleaning wears prints faster than UV does |
| Chemical migration report | Non-toxic ink standards | Required for conformidade com CPSIA 6 and EU markets |
Method-Specific Failure Modes
Different marking methods fail differently, so match the test to the method. Silk screen and pad printing durability depends on ink formula and curing, so adhesion and abrasion tests matter most. Laser engraving is permanent, but laser engraving depth must stay shallow. Deep engraving on inner temples creates crevices that trap dirt and bacteria, which is a hygiene issue on products children handle constantly. Hot stamping and foil look premium but flake under flexing, so we rarely recommend them on flexible kids' temples. Also confirm the finished mark is smooth to the touch. Any raised edge or rough deboss can rub a child's skin behind the ear during all-day wear.
How Do I Avoid Costly Mistakes When Approving My Final Proof Sample?
Early in my export career, I watched a client approve a sample by email photo alone. The bulk order arrived with a color shift no camera had shown. Since then, our workshop insists on physical sign-off.
Avoid costly mistakes by never approving from digital mockups alone, documenting every correction in writing, re-checking the revised physical sample, sealing an approved golden sample with both parties, and agreeing on acceptance criteria such as defect rates below 2% before production starts.
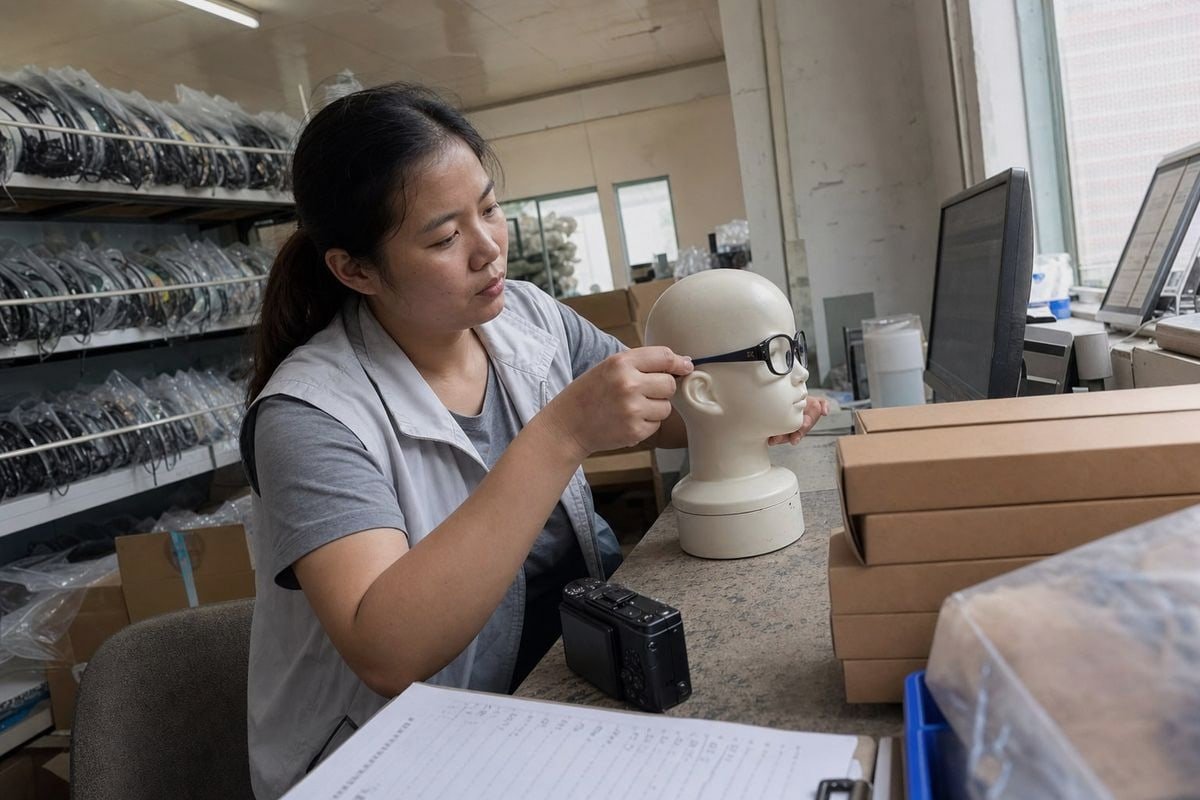
Approval is a process, not a moment. The safest workflow moves in stages: digital mockup, first physical proof, written corrections, revised proof, then final sign-off. Logo-applied pre-production samples typically take 7–10 days on existing styles, and 7–15 working days for OEM logo work on stock acetate or TR90 frames. Build that time into your launch plan so you are never tempted to skip a stage under deadline pressure.
The Mistakes We See Most Often
| Common mistake | Consequence | Prevention |
|---|---|---|
| Approving digital mockups only | Color shift and adhesion failures in bulk | Always require a physical proof |
| No documented color code | Supplier "matches by eye" each batch | Lock a Pantone reference in writing |
| Skipping the corrected re-sample | Old error repeats in production | Re-check every revision physically |
| Ignoring regulatory marks | Customs holds, retail rejection | Verify CE, UKCA, and CPSIA marks are legible and correctly placed |
| No defect-rate agreement | Disputes over acceptable variation | Agree acceptance criteria before production ISO standards 7 |
Keep a Golden Sample
Once the corrected sample passes every check, ask the supplier to seal two identical approved samples. They keep one, you keep one. Every future batch gets compared against that golden sample for placement, color, and finish. This single habit prevents most batch-to-batch drift, because the reference is physical and shared, not a memory or a JPEG. Also confirm that mandatory regulatory marks sit on the inner temple where the ear will not obscure them, scaled to legal proportions. Finally, consider high-contrast or tactile marking elements where they help children identify their own frames. Small universal-design touches like this add real value without adding cost, and they photograph well for your product listings too.
Conclusão
Reviewing printing and marking proof samples protects your brand before production begins. Check artwork, placement, color, durability, and safety, then approve only corrected physical samples against agreed criteria.
Notas de rodapé
1. EPA resource on phthalate chemicals restricted in children’s products for safety compliance. ↩︎
2. TR90 is a nylon-based polymer; Wikipedia explains the base material properties. ↩︎
3. Background on the standardized color matching system used throughout the proofing process. ↩︎
4. Background on the printing process used for curved plastic temple surfaces. ↩︎
5. Explains the laser marking method referenced as an alternative to printed inks. ↩︎
6. Authoritative Wikipedia overview of the CPSIA to replace the inaccessible CPSC business guidance page. ↩︎
7. Reliable Wikipedia entry for ISO, providing a stable alternative to the primary domain’s access issues. ↩︎
Mais Artigos que Você Pode Gostar

5 de agosto de 2026
Acetato de Celulose Bio-Baseado vs. Regular: Qual a Diferença para Armações Infantis?

5 de agosto de 2026
Quão Recicláveis São os Materiais de Armações Ópticas Infantis e Quais Alternativas Ecológicas Existem?

5 de agosto de 2026
As Armações Ópticas Infantis Branqueiam ou Envelhecem em Armazenamento e Como Controlar as Condições do Armazém?
Procurando um Parceiro Confiável em Óculos Infantis?
Explore mais de 800 estilos prontos e suporte completo OEM/ODM adaptado à sua marca.
Entre em Contato English
  Español de México
  Deutsch
  Français
  日本語
日本語  العربية
  Português do Brasil