How to Confirm Kids Optical Frames Are Compatible With Your Lab’s Edging Equipment?
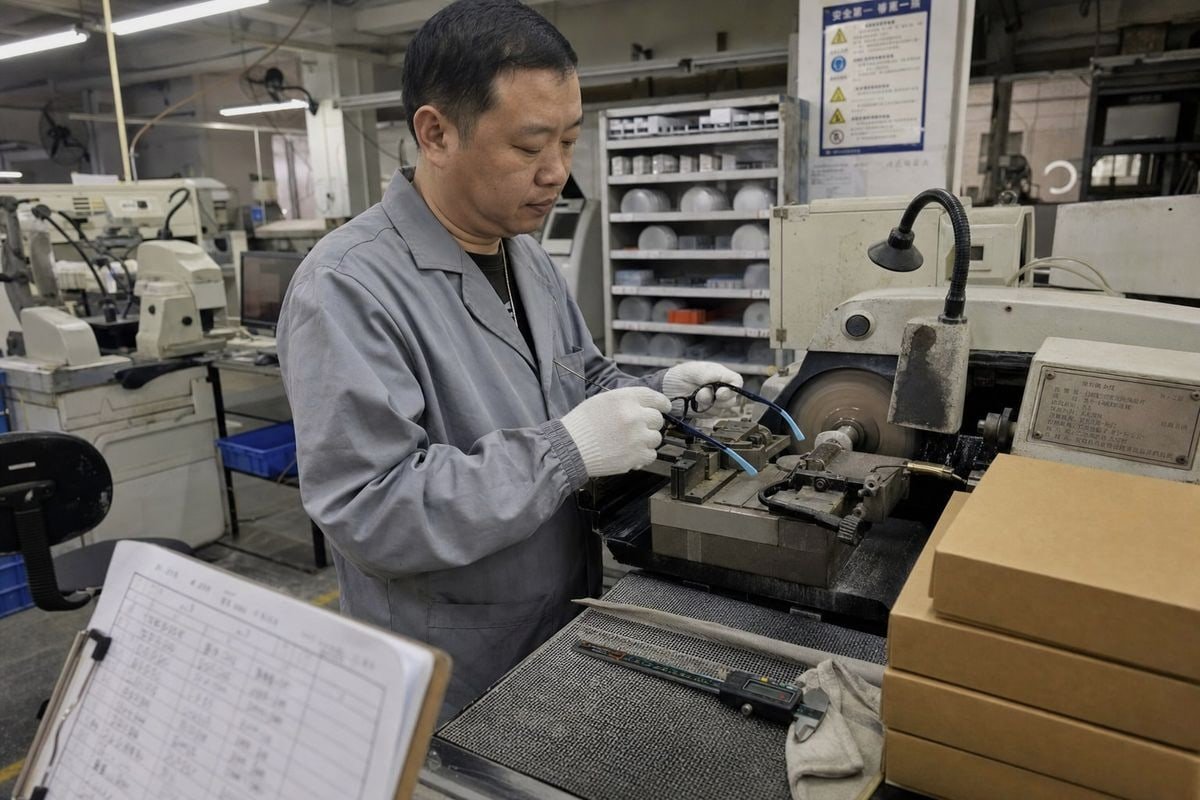
Kids optical frames that fail on your edger waste lenses, time, and trust OMA/VCA standard 1. In our Taizhou factory, we see this problem before buyers ever mention it.
Confirm kids optical frames are compatible with your lab’s edging equipment by checking bevel and groove specs, verifying frame material behavior, requesting OMA/DCS tracing data and base curve details from your supplier, and test-edging a pre-production sample before committing to a bulk order.
Each of those four steps deserves a closer look. Below, I walk through them in the order your lab should perform them.
How can I check if kids optical frame bevel and groove specs match my lab's edger?
A distributor in Australia once returned a whole test batch to us. Not because the frames were bad, but because their lab's edger produced bevels that would not seat in the groove. We fixed it in one afternoon — with data.
Check bevel and groove compatibility by measuring the frame's lens groove depth and width, confirming the groove angle matches your edger's standard V-bevel profile, and verifying the frame base curve is 6 or lower so your patternless edging system can place the bevel correctly.
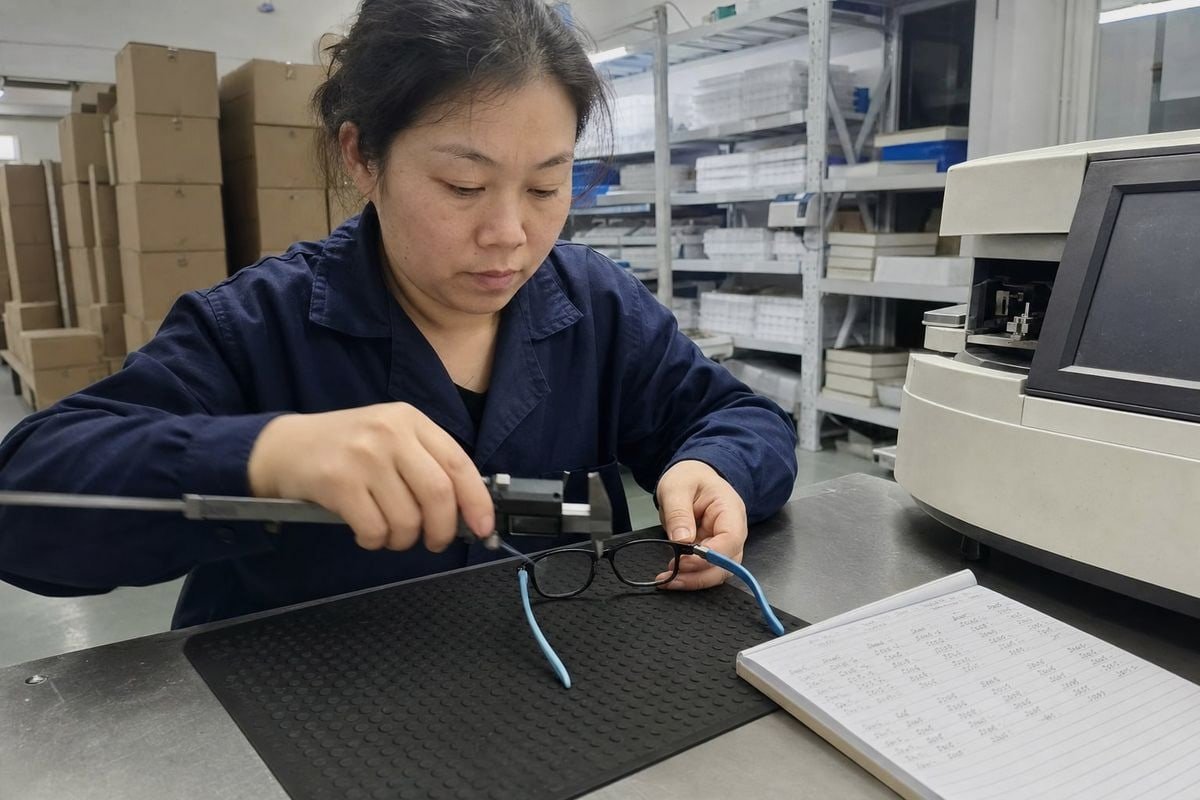
The bevel-to-groove match is the single most common failure point we see when labs edge children's frames in-house. Kids' frames are smaller, and their rims are often thinner. So the margin for error shrinks.
Start with three physical measurements
Before you run any job, measure the frame itself. You need three numbers.
| Medição | Typical safe range for kids' frames | Por que importa |
|---|---|---|
| Lens groove depth | 0.5–0.7 mm | Too shallow and lenses pop out; too deep and edges chip |
| Groove width | 0.6–1.0 mm | Must accept your edger's standard V-bevel apex |
| Frame base curve | 6 or lower | High wrap curves confuse standard bevel placement |
Most lens edger machines cut a standard V-bevel with an angle of roughly 110 to 120 degrees. If the frame groove was cut for a narrower profile, the lens sits proud of the rim. That is when parents come back with a lens in one hand and a frame in the other.
Watch the rim depth too
Pediatric prescriptions can be surprisingly strong. A shallow rim cannot conceal a thick lens edge. One lab guideline we work against sets a minimum lens height of 25 mm under the boxing system. If a frame's B measurement is below that, flag it before edging — especially for bifocals or any lens needing fitting height.
At our factory, we cut grooves to match standard V-bevel geometry precisely because so many of our B2B customers finish lenses in their own optical lab equipment. When a buyer tells us their edger brand, we confirm groove specs against it before production starts.
What frame material properties should I confirm before edging TR90 kids frames in-house?
Flexibility is exactly why we build children's frames in TR90 and TPEE — and exactly why some labs get nervous about mounting lenses into them. The material behaves differently from rigid acetate, and your process needs to respect that.
Before edging TR90 kids frames, confirm the material's glazing method (cold or hot), its flex recovery behavior, its safe heating temperature range, and whether the rim holds lens retention pressure after mounting. TR90 accepts both cold and hot glazing when handled within correct temperature limits.
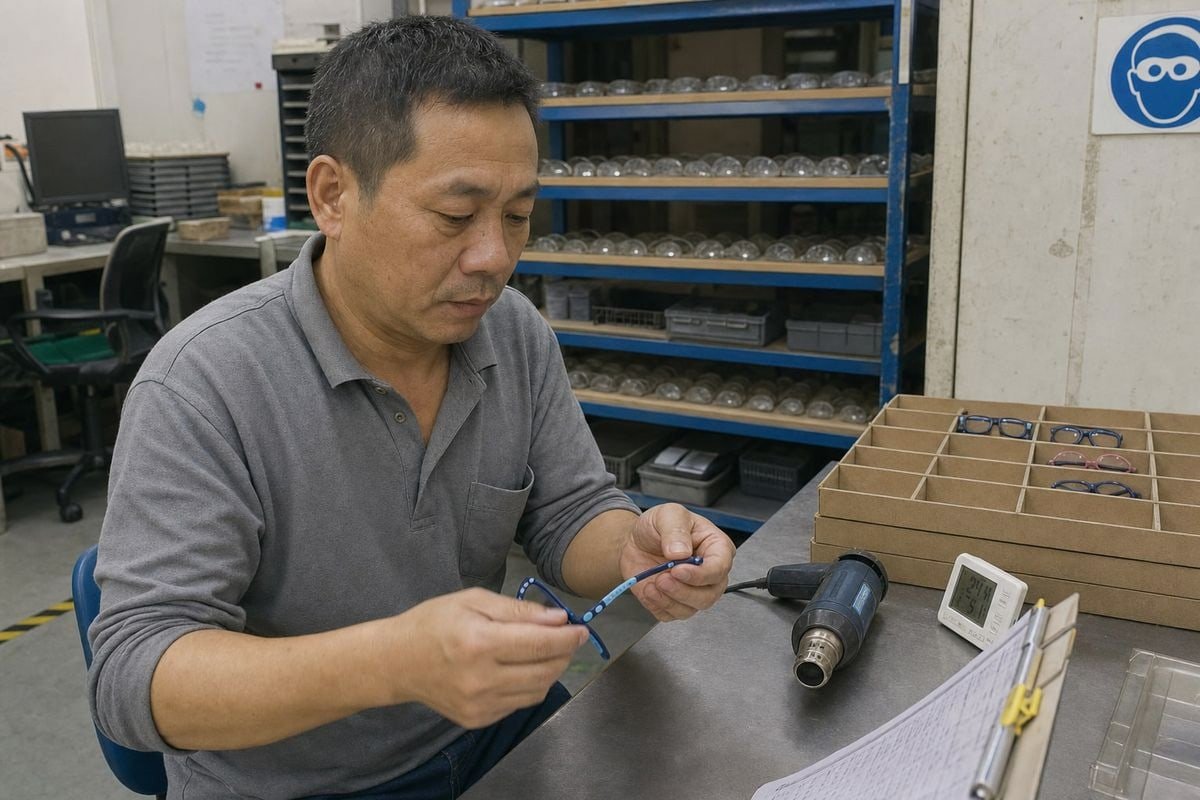
TR90 is a thermoplastic nylon 2. It is lightweight, memory-flexible, and impact-resistant — which is why we chose it for active kids fifteen years ago and never looked back. But those same properties change how your lab should handle mounting.
Cold glazing vs. hot glazing for TR90
Most quality TR90 frames accept cold glazing. The rim flexes enough to snap a correctly sized lens into place without heat. That said, some technicians prefer gentle warming for tight tolerances. Here is how the two approaches compare:
| Fator | Cold glazing | Hot glazing (gentle warming) |
|---|---|---|
| Risk of rim distortion | Muito baixo | Moderate if overheated |
| Lens size tolerance needed | Tight (accurate edging required) | Slightly more forgiving |
| Velocidade | Fast | Slower |
| Melhor para | Standard TR90 rims | Deep-grooved or high-tension rims |
If you do warm TR90, keep the temperature moderate and brief. Overheating causes the rim to whiten, deform, or lose its memory. Once TR90 loses shape, it does not recover the way acetate does under re-heating.
Match the lens material to the frame
Pediatric jobs almost always call for impact-resistant lenses. Polycarbonate lenses are the default choice, and Trivex is a close second. Confirm your edger's settings support these materials cleanly. Polycarbonate cuts differently from CR-39 — it needs sharper wheels or correct milling parameters to avoid edge melting and swarf buildup.
One more point from our production floor: many of our styles pair a TR90 front with TPEE temples for extra comfort and grip. The front is what your edger interacts with, so glazing behavior stays consistent. But your technicians should know the temples flex more than they expect. Ergonomic handling and a little training prevent accidental temple stress during mounting.
Which technical data should I request from my supplier to avoid edging compatibility issues?
Whenever a new optical company contacts us about our TR90 kids optical frames, the smartest ones send a data checklist before they send a purchase order. We answer every line — because incomplete data is how remakes happen.
Request digital frame tracing files in the OMA/VCA standard (DCS format), the frame base curve, lens groove depth and width, boxing measurements (A, B, DBL, ED), the RX-able confirmation, material specification, and recommended glazing method from your supplier before ordering.

Good suppliers do not treat this list as a burden. We treat it as the start of a serious partnership. Here is the full data set your lab should have on file for every pediatric style you plan to edge in-house.
The complete supplier data checklist
| Data item | Format to request | O que previne |
|---|---|---|
| Frame tracing file | OMA/VCA DCS file | Shape reproduction errors in patternless edging systems |
| Base curve | Numeric (diopter curve) | Bevel misplacement on curved fronts |
| Groove depth and width | mm, with tolerance | Loose lenses or chipped edges |
| Boxing measurements | A, B, DBL, ED in mm | Fitting-height failures and centration errors |
| RX-able confirmation | Written statement | Ordering fashion frames that cannot hold prescription lenses |
| Material spec | TR90, TPEE, acetate, etc. | Wrong glazing method and heat damage |
| Recommended glazing method | Cold / hot / either | Rim distortion during mounting |
Why the tracing file matters most
A DCS trace lets your lab load the exact frame shape into your edger software before any physical frame arrives. Your technicians can check minimum blank size against pupillary distance and decentration on screen. For highly curved or sport-style children's frames, ask whether 3D frame tracing data is available. Flat 2D traces lose accuracy on wrapped fronts, and 3D tracing captures the true lens plane.
There is a fair objection here: some buyers worry that requesting all this data slows down sourcing. In our experience exporting to 20+ countries, the opposite is true. Complete data up front eliminates the back-and-forth that actually delays launches. Alan on our sales team typically turns a full spec sheet around within a day or two, because we keep this data on file for our existing styles.
How do I test a sample frame with my lab equipment before placing a bulk order?
Years of OEM work taught us one lesson the hard way: a spec sheet is a promise, and a sample is proof. That is why we encourage every buyer to test-edge pre-production samples before confirming a bulk order — and why we build sampling into our workflow.
Test a sample frame by tracing it on your own tracer, comparing the trace against supplier DCS data, edging a real lens in your target material, mounting it, then checking lens retention, centration, bevel seating, and stress patterns. Only approve bulk orders after the sample passes all checks.
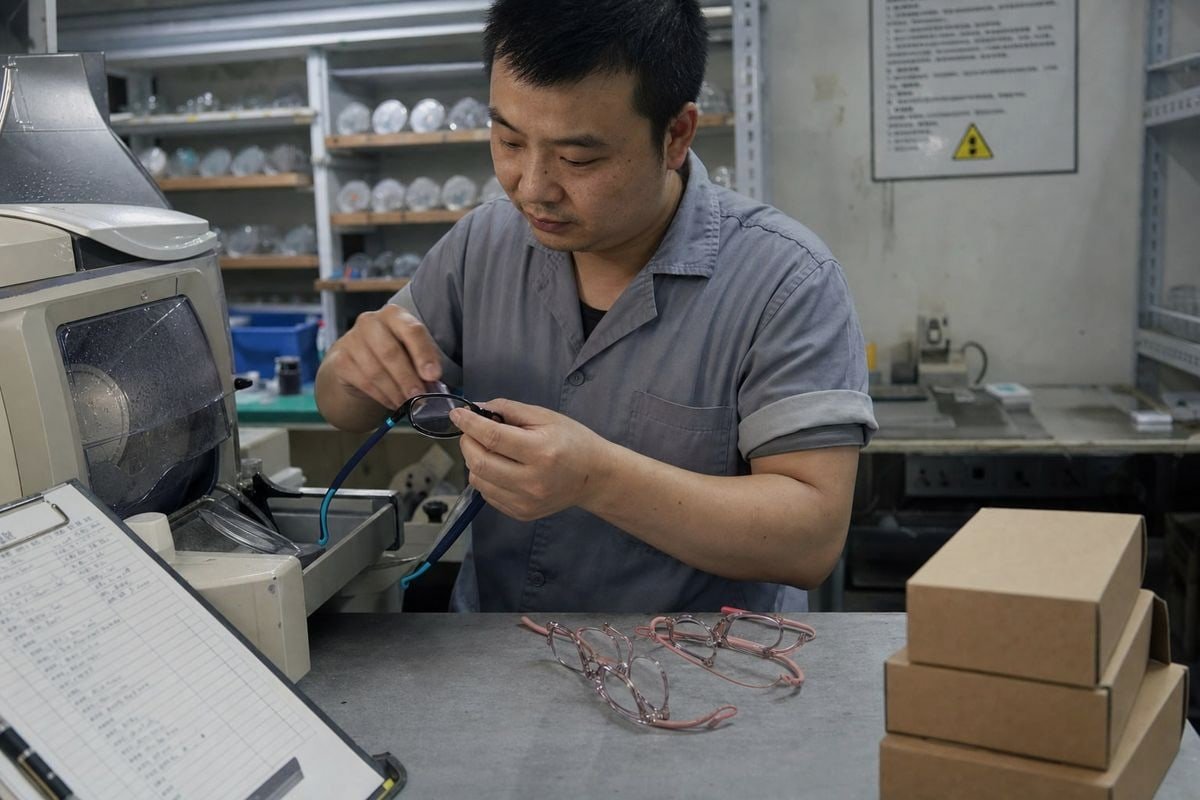
Sample testing is not complicated, but it must be systematic. A quick visual check is not a test. Here is the process we recommend to our B2B customers, refined over hundreds of new-style launches.
The five-step sample validation workflow
- Trace the physical frame. Run the sample through your own tracer. Make sure the frame seats correctly, the DBL is entered properly, and the orientation is right. Compare your trace against the supplier's DCS file. Small deviations are normal; large ones mean the tracer, the frame, or the file has a problem.
- Edge a real lens. Use the actual lens material you plan to sell — usually polycarbonate for kids. Cutting a cheap CR-39 blank tells you nothing about how polycarbonate will behave against this frame's bevel requirements. Use your lens blocking devices exactly as you would in production, and verify block placement against the pupillary distance on a real pediatric job ticket.
- Mount and stress-check. Glaze the lens using the supplier's recommended method. Then inspect under a polariscope if you have one. Look for stress rings near the rim, which signal an oversized lens or an over-tight groove.
- Run retention and durability checks. Flex the frame the way a child would. Twist the temples. Press gently on the lens from the back. A properly matched bevel and groove will hold through all of it. Kids do not treat glasses gently, so your bench test should not either.
- Verify final alignment. Check that the mounted frame sits level, the lenses are centered, and nothing distorted during mounting. This is your last gate before approving the order.
What to do when a sample fails
A failed sample is not a dead end. It is data. Tell your supplier exactly what failed — groove too shallow, bevel not seating, rim whitening under heat. A capable factory will adjust tooling or recommend a different style from their range. With around 800 existing styles in our catalog, we can usually offer an alternative that fits a buyer's edger without any new mold investment, which keeps their launch risk low.
Consider building an internal approved-styles list from your test results. Frames that pass become your standard pediatric offering. Frames that need manual review get flagged in your lab software with dedicated pediatric profiles — smaller blank sizes, adjusted bevel placement, and calibration settings tuned for small geometries that adult-frame defaults can miss.
Conclusão
Compatibility failures waste lenses and damage buyer trust. Verify bevel and groove specs, confirm TR90 material behavior, collect full supplier data, and always test-edge samples before bulk orders.
Notas de rodapé
1. Provides an overview of technical standards supported by The Vision Council. ↩︎
2. Defines the material class for TR90 frames. ↩︎
Mais Artigos que Você Pode Gostar

5 de agosto de 2026
Acetato de Celulose Bio-Baseado vs. Regular: Qual a Diferença para Armações Infantis?

5 de agosto de 2026
Quão Recicláveis São os Materiais de Armações Ópticas Infantis e Quais Alternativas Ecológicas Existem?
5 de agosto de 2026
As Armações Ópticas Infantis Branqueiam ou Envelhecem em Armazenamento e Como Controlar as Condições do Armazém?
Procurando um Parceiro Confiável em Óculos Infantis?
Explore mais de 800 estilos prontos e suporte completo OEM/ODM adaptado à sua marca.
Entre em Contato English
  Español de México
  Deutsch
  Français
  日本語
日本語  العربية
  Português do Brasil