How to Ensure Factory-Printed GS1/UPC Barcodes on Kids’ Sunglasses Scan Correctly?
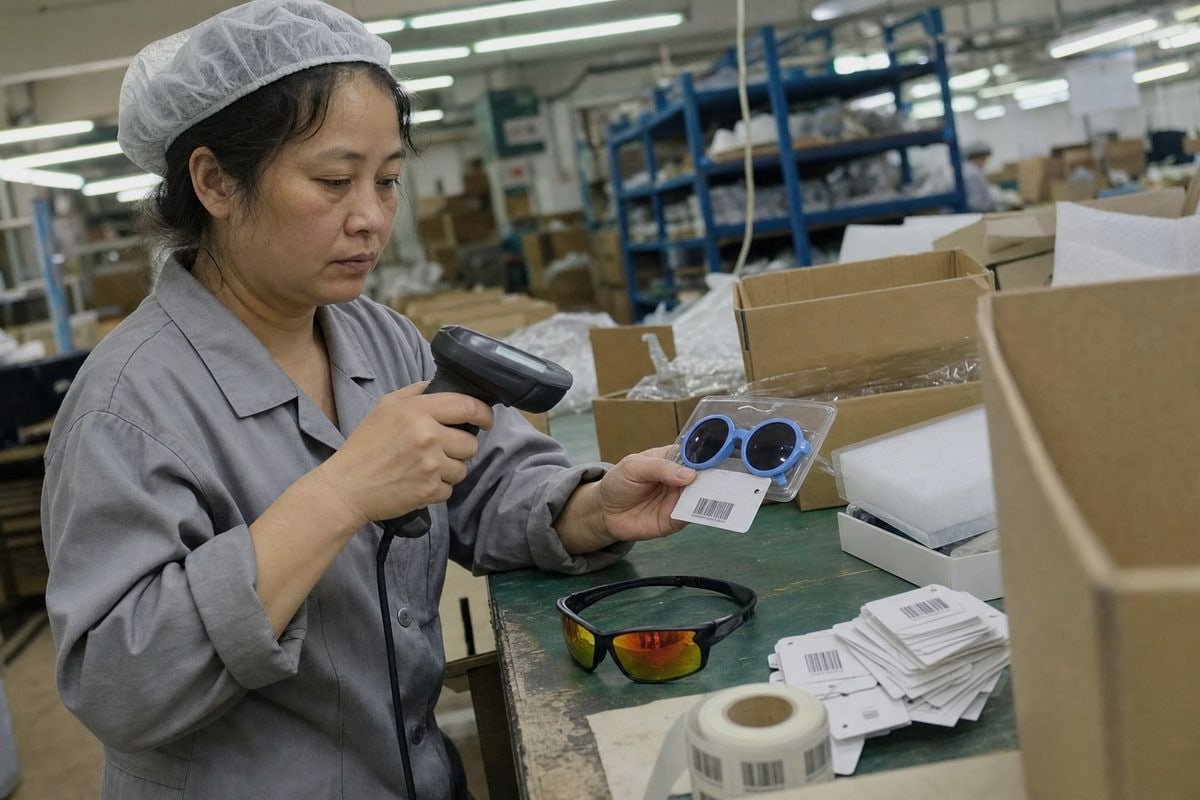
Factory-printed GS1/UPC barcodes on kids’ sunglasses fail more often than buyers expect. On our Taizhou production line, we have seen perfect artwork turn into unscannable labels — and rejected shipments.
To ensure factory-printed GS1/UPC barcodes on kids’ sunglasses scan correctly, verify the GTIN and check digit, keep the symbol within GS1 size limits, print dark bars on a light flat surface with full quiet zones, and require ISO verification to at least grade C before shipment.
That single sentence covers a lot of ground. Let me break it down step by step, from pre-production checks to final inspection, so your barcodes work at every checkout.
How can I verify my GS1/UPC barcodes are scan-ready before mass production starts?
A buyer from Australia once sent us a barcode file that looked flawless on screen. During our pre-production check, we found the check digit 1 was wrong. One digit almost cost a full retail launch.
Verify barcodes before mass production by confirming each GTIN is unique per SKU, recalculating the check digit, checking symbol size and magnification against GS1 specs, printing a physical sample on the actual packaging material, and running an ISO/IEC 15416 verification test.
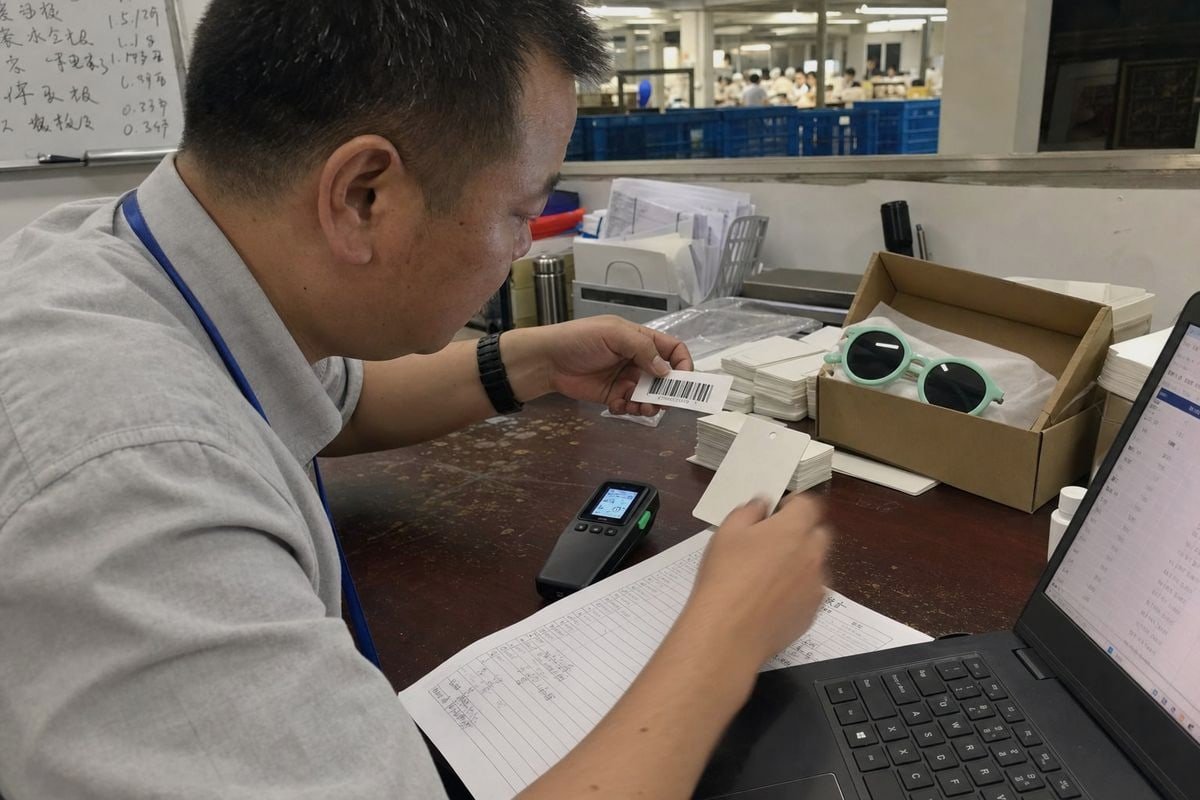
The most expensive barcode mistake is the one you discover after 10,000 units are packed. So we push every client through a short verification routine before we approve print files. It takes a day or two. It saves weeks.
Start with the data, not the print
A barcode is just a picture of a number. If the number is wrong, no printing skill can fix it. First, confirm that every SKU has its own GTIN 2. For kids' sunglasses, that means each color and lens option gets a unique code. A periwinkle round frame and a mint-green round frame are two GTINs, not one. Second, recalculate the check digit. Free GS1 calculators 3 do this in seconds. Third, confirm the GTIN is registered and active in your retailer's item setup. A barcode can scan perfectly and still fail at the register if the POS system does not recognize the item.
Then test the physical sample
Artwork approval is not sample approval. Ask your factory for a printed sample on the real substrate — the actual hangtag card stock, the actual sticker material. Then check these points:
| Pre-Production Check | What to Confirm | Common Failure |
|---|---|---|
| GTIN uniqueness | One code per SKU variant | Same code on two colors |
| Check digit | Recalculated and matching | Typo in digit entry |
| Magnification | 80%–200% of nominal UPC-A size | Shrunk to fit small tag |
| Bar height | Full height, not truncated | Cut down for aesthetics |
| Quiet zones | Clear margins both sides | Graphics crowding the code |
| Physical scan | Reads on multiple scanners | Only tested with one phone app |
A phone app scan is a useful first check. But it is not proof. Phone cameras are far more forgiving than a tired laser scanner at a busy register. Insist on a formal verification report before you sign off.
What printing methods should I request to keep barcodes accurate on curved sunglasses packaging?
There is a trade-off we discuss with almost every brand: they want the barcode small and discreet, but our wraparound sport frames and curved blister packs punish small, poorly placed codes hard.
Request high-resolution offset or thermal-transfer printing on a flat surface — a hangtag, header card, or flat sticker panel. Specify single-color black bars on white, matte finish over the barcode zone, and avoid printing directly on curved frames or glossy laminates.
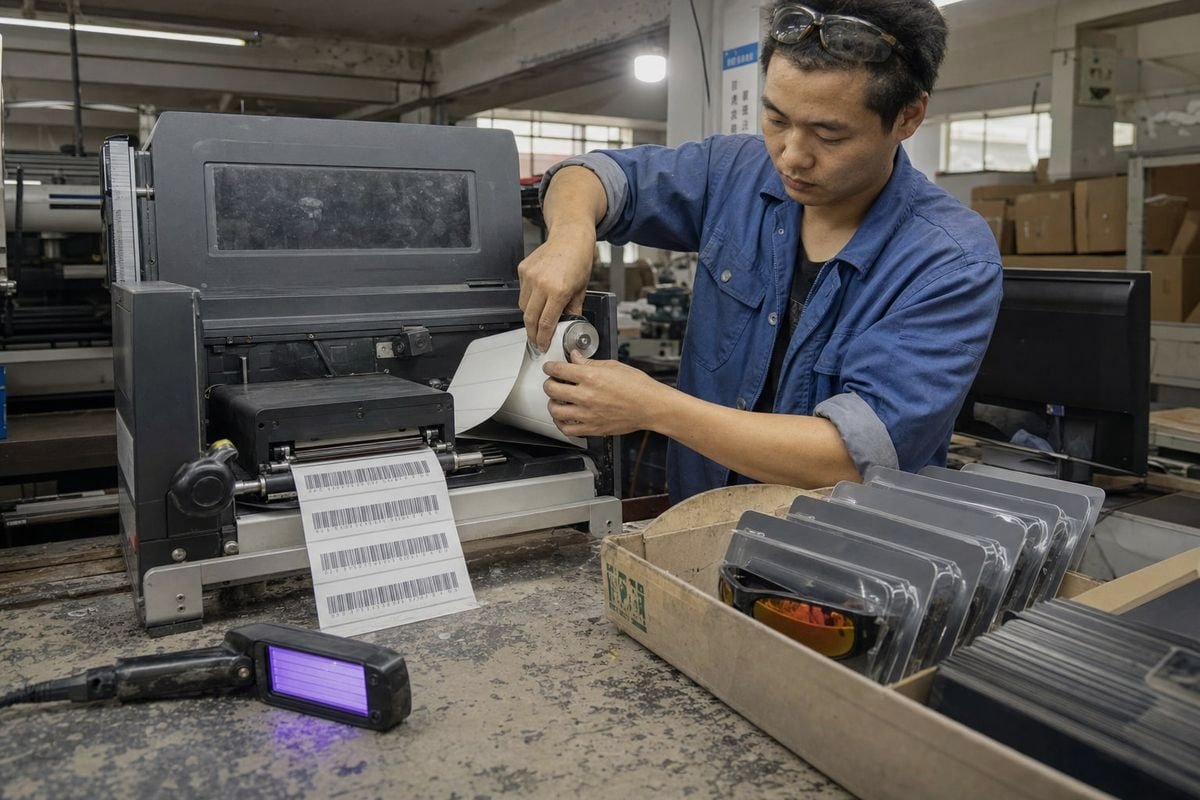
Curvature is the quiet killer of barcode accuracy. A UPC symbol 4 works because the scanner measures the exact ratio of bar widths and space widths. Wrap that symbol around a curved temple arm or a domed blister pack, and those ratios distort. The code may still look fine to your eye. The scanner sees stretched bars and compressed spaces, and it gives up.
Match the print method to the substrate
Different packaging parts need different print approaches. Here is what we recommend to our OEM clients when we prepare retail-ready packaging:
| Packaging Element | Recommended Print Method | Por Que Funciona |
|---|---|---|
| Paper hangtag or header card | Offset or digital press, 300+ dpi | Sharp bar edges, stable flat surface |
| Sticker labels | Thermal transfer | Durable, crisp, resists smudging |
| Glossy blister card | Print then matte varnish over barcode | Kills glare that blinds scanners |
| Poly pouch | Pre-printed label applied flat | Avoids film stretch distortion |
| Frame or case direct print | Avoid for the retail barcode | Curvature distorts bar ratios |
Color and contrast rules that never bend
Scanners mostly read with red light. So red or orange bars are nearly invisible to them — they read as "background." This matters for kids' brands, because playful pastel and bright packaging is the norm. Our design team regularly reworks client artwork where a mint or coral background sits behind the barcode. The safe formula is simple: black bars, white background, single ink color, no four-color process builds for the bars themselves. Four-color black can cause registration shifts that blur bar edges. Keep the barcode zone boring. Let the rest of the packaging carry the fun.
How do I avoid common barcode errors when my factory prints GS1 codes directly on frames or cases?
Fifteen years of running kids' eyewear production has taught us one uncomfortable truth: most barcode failures are not printing failures. They are layout and process failures that happen before the press ever runs.
Avoid direct-print barcode errors by keeping symbols at correct magnification, protecting quiet zones from surrounding graphics, placing codes away from edges and seams, using abrasion-resistant inks, and confirming placement on the assembled product — not just the flat artwork file.
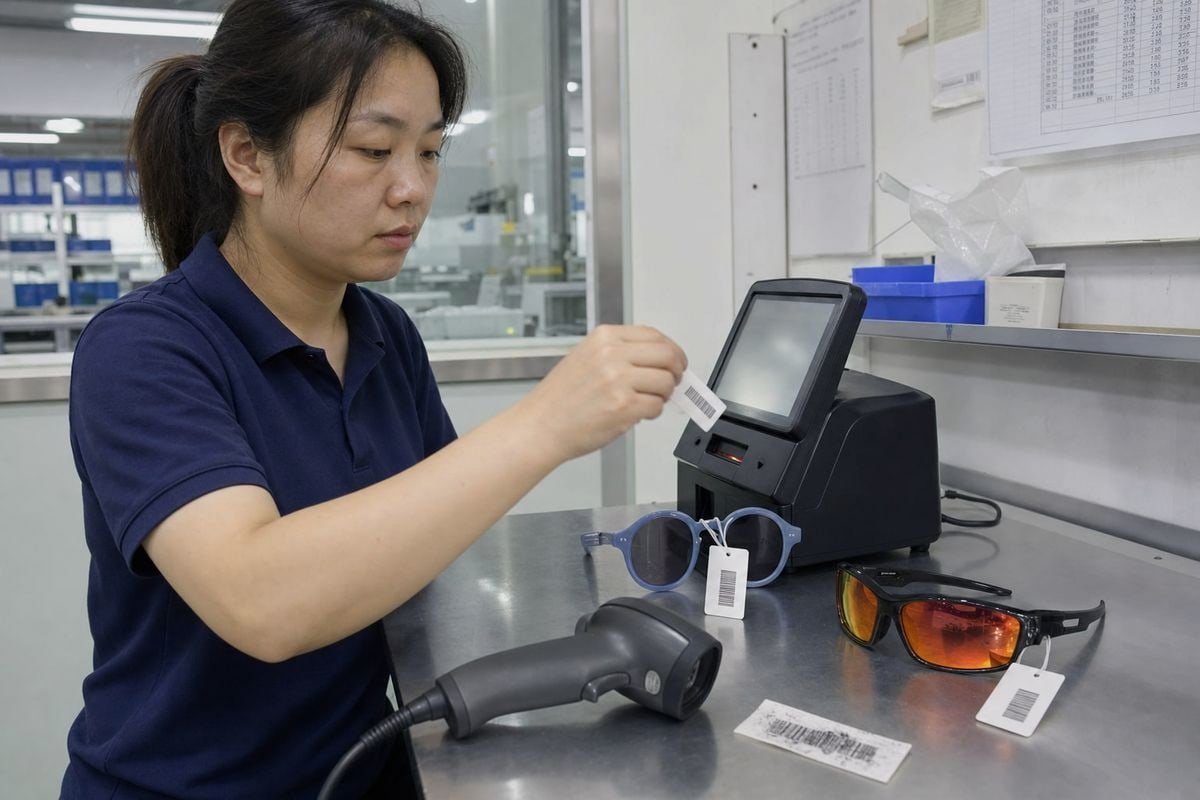
Kids' sunglasses packaging is small. That is the root of most problems. A hangtag for a child-size round frame might be half the size of an adult accessory tag, yet it must carry brand graphics, safety icons, UV400 claims, legal text, and the barcode. Something gets squeezed. Too often, it is the barcode.
The five errors we catch most often
- Shrinking below minimum magnification. Designers scale the symbol down to fit. Below 80% of nominal size, scan rates drop sharply. Redesign the tag instead — we often move to a folded card that doubles the usable area.
- Quiet zone violations. A cartoon character, a border line, or a price flash creeps into the blank margin beside the bars. The scanner reads that graphic as part of the code and fails. Keep the margins empty. Always.
- Truncating bar height. Cutting the bars shorter to save space removes the scanner's angular tolerance. Cashiers then have to align the scanner perfectly, which slows checkout and triggers manual key-ins.
- Edge and fold placement. A barcode that crosses a fold, sits at a die-cut edge, or wraps a corner will distort or tear. Position it in a flat, central zone.
- Obstruction after packing. Tape, shrink-wrap seams, EAS security stickers 5, and price labels applied later can cover the code. Agree on an "obstruction-free zone" with your factory and your retailer's loss-prevention team.
On assembled products, we also check that a swinging hangtag does not fold back on itself in the display hook, hiding the code. These physical details never show up in a flat PDF. They only show up when you hold the finished, tagged sunglasses in your hand — which is exactly why we photograph assembled samples for client approval before packing.
What quality checks should I ask my manufacturer to perform on every barcode before shipment?
A distributor in Europe once asked us why we scan barcodes again at final QC when they were already verified at pre-production. My answer: because production drifts. Ink density shifts. Plates wear. Verification is not a one-time event.
Ask your manufacturer to run in-line print checks during the run, ISO/IEC 15416 verification on sampled units with a minimum grade of C (1.5), physical scan tests on assembled packaging, abrasion testing on the barcode zone, and a documented verification report before shipment.
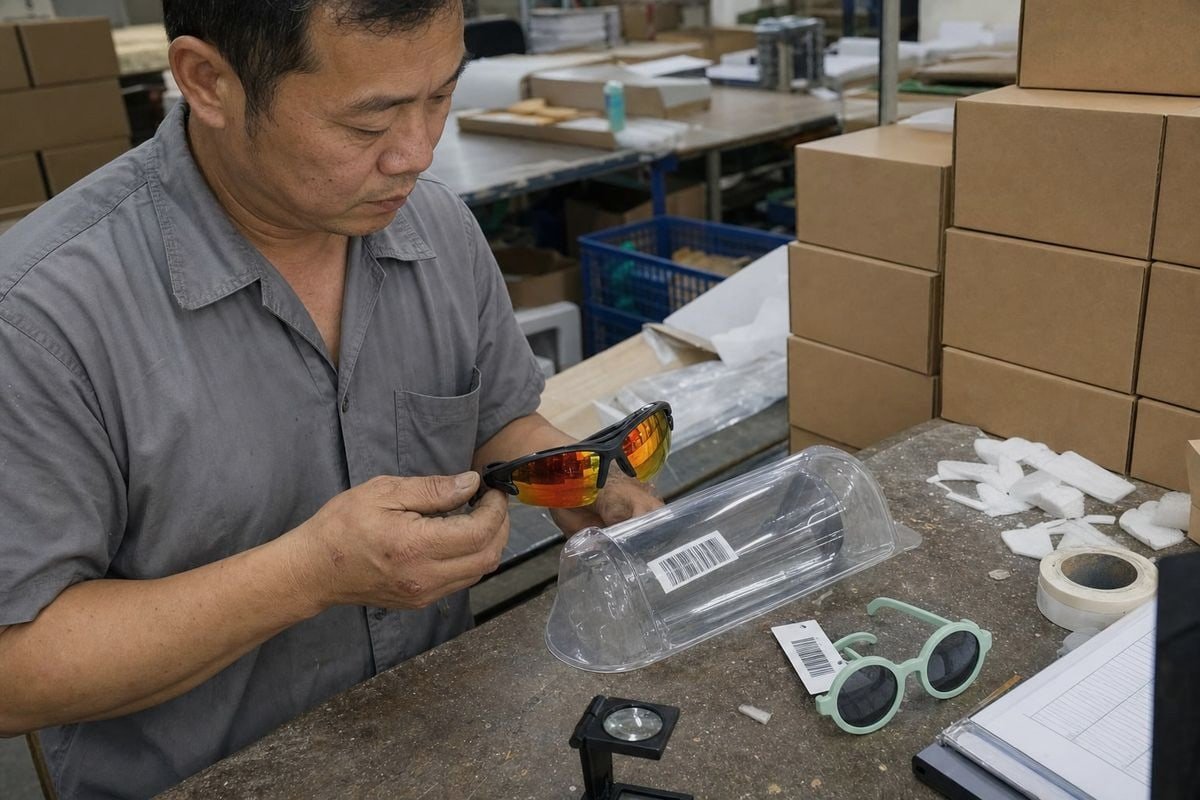
There are two very different tests, and you need both. A scanner test tells you whether a specific scanner reads a specific code today. An ISO verification test 6 grades the symbol's print quality — contrast, edge sharpness, bar-width accuracy, quiet zones — and predicts whether the full range of retail scanners will read it under real conditions. A code can pass a casual scan test and still carry a failing grade that causes trouble at certain registers.
The pre-shipment barcode QC protocol
Here is the checklist we build into our 5S-managed QC process, and what each step catches:
| QC Step | When Performed | What It Catches |
|---|---|---|
| First-article verification | Start of print run | Setup errors, wrong file, ink density |
| In-line spot scans | Every set interval during the run | Plate wear, ink drift, misregistration |
| ISO 15416 verification sample | Post-print, per batch | Grade below C, contrast decay, quiet zone loss |
| Assembled-product scan | After tagging and packing | Obstruction, tag fold-back, sticker overlap |
| Abrasion / rub test | Pre-shipment sample | Ink rubbing off during carton transit |
| Verification report | Before shipment release | Documented proof for retailer compliance |
The abrasion test 7 matters more for children's products than most buyers realize. Kids' sunglasses ship in dense master cartons, and glossy tags rub against each other for weeks in transit. If the barcode ink is not rub-resistant, codes that graded well at the factory arrive scuffed and unreadable. A simple friction test on the printed sample exposes this early.
Finally, ask for the paperwork. A one-page verification report per batch — with the grade, the equipment used, and sample photos — gives you proof for your retailer and a clear trail if anything goes wrong downstream. Any serious factory can provide this. If yours cannot, that tells you something important.
Conclusão
A correct UPC number is only the start. Scan success on kids' sunglasses demands verified data, proper symbol size, flat high-contrast printing, smart placement, and documented ISO verification on every shipped batch.
Notas de rodapé
1. Explains how check digits validate barcode numbers and prevent data entry errors. ↩︎
2. GS1 defines the Global Trade Item Number structure required for unique barcode identifiers. ↩︎
3. Official GS1 tool for recalculating barcode check digits before production approval. ↩︎
4. Background on the UPC symbol structure that retail scanners depend on to read. ↩︎
5. Explains electronic article surveillance tags that can obstruct barcode scanning at checkout. ↩︎
6. ISO develops the print quality verification standards used to grade barcode symbols. ↩︎
7. ASTM publishes standardized abrasion resistance test methods for printed packaging materials. ↩︎
Mais Artigos que Você Pode Gostar

1 de agosto de 2026
A Fábrica Deve Lidar com a Embalagem e Rotulagem de Óculos de Sol Infantis, ou Usar um Fornecedor Designado?

1 de agosto de 2026
Armazém Próprio vs. Envio Direto do Fornecedor: Qual Reduz os Custos de Devolução para Marcas de Óculos de Sol Infantis?

1 de agosto de 2026
Armazém Direto ao Porto ou Estiva no Exterior: Qual Economiza Mais no Envio de Óculos de Sol Infantis?
Procurando um Parceiro Confiável em Óculos Infantis?
Explore mais de 800 estilos prontos e suporte completo OEM/ODM adaptado à sua marca.
Entre em Contato English
  Español de México
  Deutsch
  Français
  日本語
日本語  العربية
  Português do Brasil