How to Design a Size Matrix for Kids’ Optical Frames by Age Group?
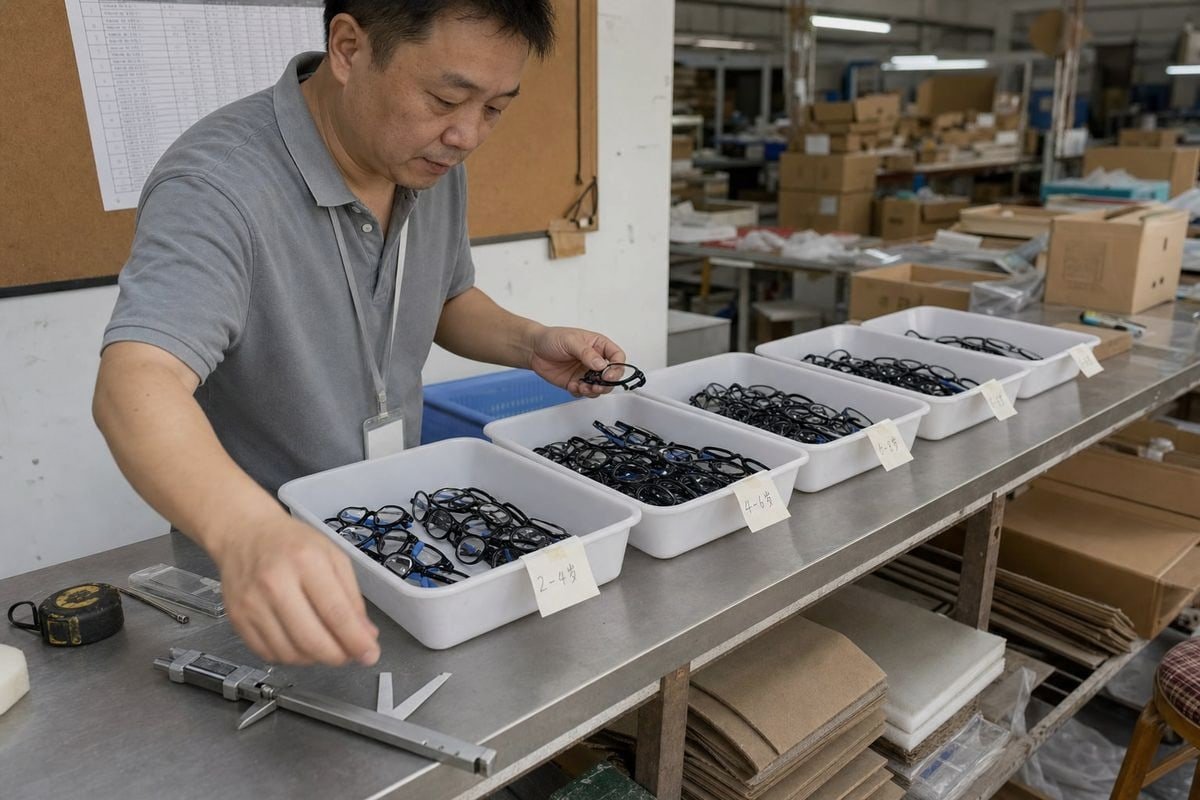
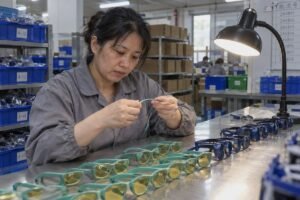
Building a size matrix for kids’ optical frames sounds simple until returns pile up. In our Taizhou workshop, we have seen buyers lose whole seasons to wrong sizing assumptions.
Design a size matrix for kids’ optical frames by segmenting ages into bands (0–2, 2–5, 5–8, 8–12, 13+), then assigning range-based measurements for lens width, bridge width, and temple length to each band, and adding fit-check rules since age alone is only a proxy.
That is the short answer. But each step hides decisions that affect comfort, safety, and your return rate. Let me walk you through how we build these matrices with our B2B clients.
How do I determine the right frame measurements for each age group?
Last spring, a European baby-brand buyer sent us a size chart copied from adult eyewear, just scaled down. Our engineers flagged it immediately — pediatric facial anatomy does not scale linearly.
Determine measurements by mapping each age band to a bundle of dimensions: lens diameter (roughly 35mm for infants up to 52mm for teens), bridge width, temple length (110–155mm), and pupillary distance (40–54mm). Use ranges, not single values, and validate against real face measurements.
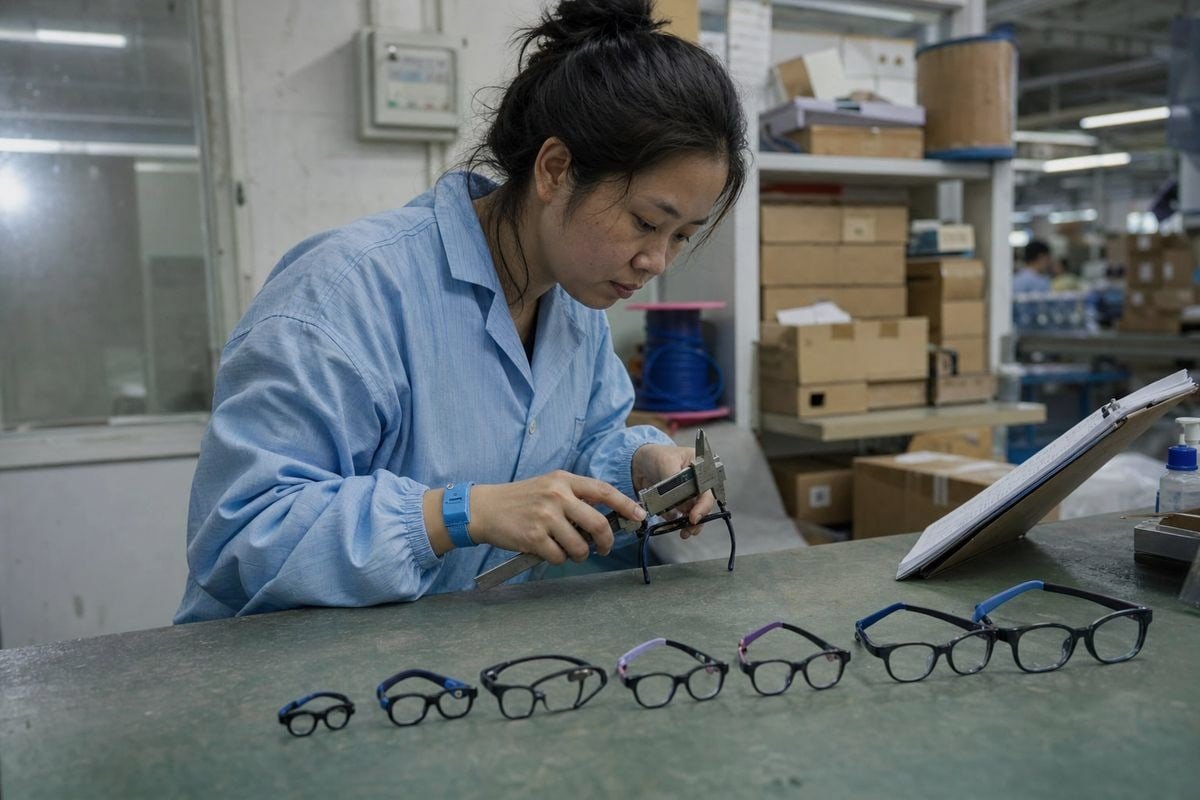
Age is a starting point, not a final answer. Two six-year-olds can need frames two sizes apart. That is why every matrix we help clients build maps age to a bundle of measurements, never just one number. A frame with the correct lens width can still fit badly if the bridge is too narrow or the temples are too long.
The core measurement bundle
Here is the baseline matrix we recommend to buyers who are starting from scratch. Treat every cell as a range, and expect overlap between adjacent bands.
| Age Band | Lens Diameter | Bridge Width (DBL) | テンプル長 | Typical PD |
|---|---|---|---|---|
| Infant (0–2) | 33–37 mm | 12–14 mm | 37〜40 mm | 40~44 mm |
| Toddler (2–5) | 37–42 mm | 13–15 mm | 4〜6歳 | 42~46 mm |
| Young child (5–8) | 41–46 mm | 115〜120 mm | 120~130 mm | まず、子供の顔の幅を測定します。次に、それを総フレーム幅と比較します。総フレーム幅は、おおよそレンズ幅の2倍にブリッジを加えたものです。便利なルール:フレームは顔よりもわずかに広く、約5〜10 mm程度広くてもかまいませんが、狭くなることはありません。わずかに広いフレームでも快適にフィットします。狭いフレームは締め付けられ、1日以内に拒否されます。 |
| Pre-teen (8–12) | まず、子供の顔の幅を測定します。次に、それを総フレーム幅と比較します。総フレーム幅は、おおよそレンズ幅の2倍にブリッジを加えたものです。便利なルール:フレームは顔よりもわずかに広く、約5〜10 mm程度広くてもかまいませんが、狭くなることはありません。わずかに広いフレームでも快適にフィットします。狭いフレームは締め付けられ、1日以内に拒否されます。 | 120〜128 mm | 130–140 mm | 48~52 mm |
| Teen (13+) | 48–53 mm | 16~18 mm | 140~150 mm | 50–54 mm |
Why pupillary distance anchors everything
The optical center of each lens must sit in front of the child's pupil. If 瞳孔間距離 1 and lens placement drift apart, the prescription performs worse. So PD is the anchor. Lens diameter and DBL measurement work together: their sum should roughly match the child’s PD plus a small margin so the eye stays centered in the lens.
Handle the overlap deliberately
Notice how a 4–6 range (41–46mm) and a 7–9 range (46–48mm) nearly touch. That overlap is a feature, not a flaw. It lets your retail team recommend flexibly instead of forcing a rigid rule. We tell buyers: build the overlap in, then let a frame fit guide and an in-person check make the final call.
What fitting features should I prioritize for younger children versus teens?
One trade-off we weigh constantly on our production line is grip versus pressure. A toddler frame must not slide, but it also must not dig in — and the balance point shifts with every age band.
For younger children, prioritize bridge fit for flat nasal bridges, soft flexible materials like TPEE, silicone cable temples, and adjustable straps. For teens, shift priority to style, spring hinges, adult-adjacent sizing, and adjustable nose pads for a more tailored, grown-up fit.
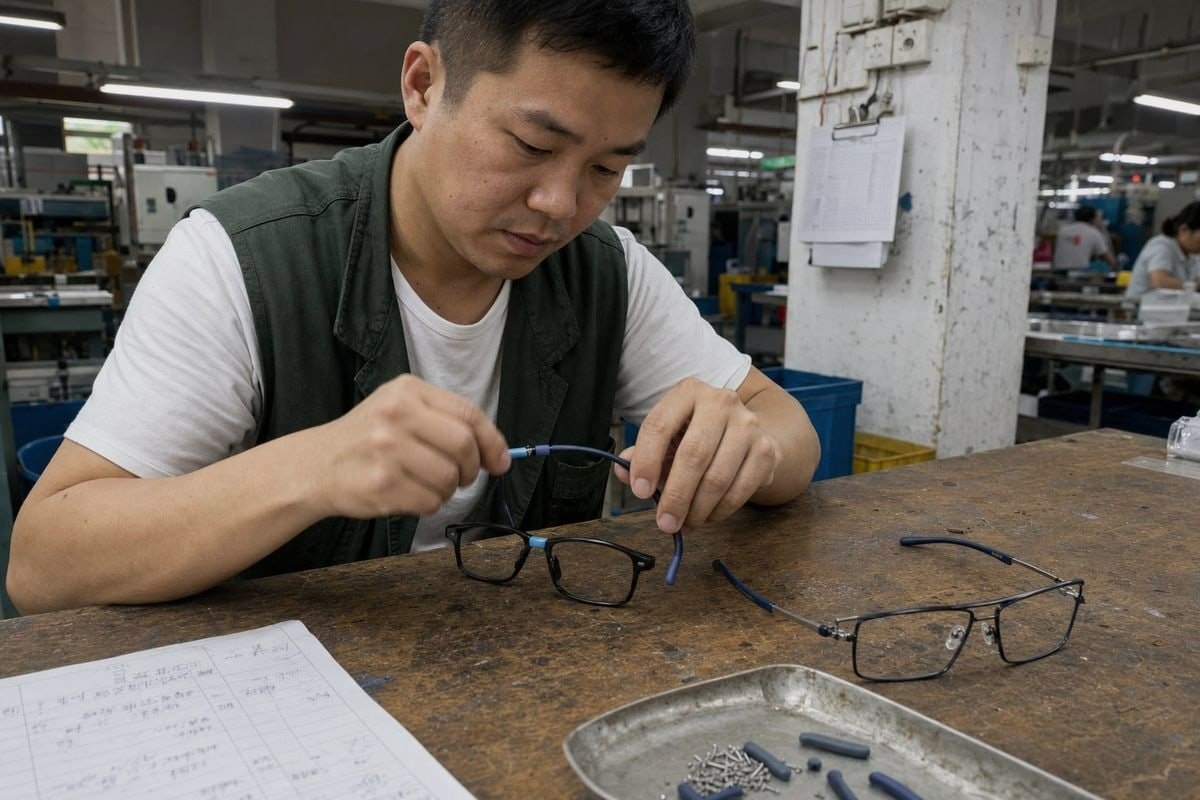
Fitting priorities are not the same across childhood. A matrix that treats a two-year-old and a twelve-year-old as smaller and bigger versions of the same wearer will fail both of them.
Younger children: retention and softness first
Infants and toddlers have flat, underdeveloped nasal bridges. A standard bridge just slides down. So for the 0–5 bands, we design low, wide saddle bridges that spread contact across the nose. This is where genuine material expertise matters. Our TR90 2 fronts with TPEE temples flex under twisting and snap back, because small children pull glasses off constantly. One style we produce pairs a glossy front with two-tone rubbery temples, light silicone hinge connectors, and downward-curving ear hooks — the whole retention system works even during a tantrum. Silicone cable temples or elastic head straps belong in your matrix notes for these bands, especially for high-activity wear.
School-age children: durability under play
For the 5–8 and 8–12 bands, physical stress peaks. Playground impacts, backpack crushing, sports. テンプルが頭に対して剛性に押し付けられるのではなく、外側に曲がるようにすることで快適さを向上させます。TPEEは、1つのヒンジポイントではなく、アーム全体にわたって素材自体を通じて同様の効果を達成します。一部のスタイルでは、両方を組み合わせています。その結果、座られたり、片手で引っ張られたり、バックパックに詰め込まれたりしても耐えられる、ぴったりとした、許容範囲の広いグリップが得られます。 3 earn their cost here, and impact-resistant flexible plastics keep frames alive through a school year. Sensory-friendly touches — soft-touch elastomers and pressure-diffusing contact points — also matter for children with tactile hypersensitivity, and we see more buyers requesting them.
Teens: fit meets identity
Teens reject anything that looks childish. For 13+, we borrow adult styling — translucent アセテート 4 looks, minimalist shapes — in small-adult dimensions. Adjustable nose pads become useful because teen bridges are near adult development. One more modern point: consider pantoscopic tilt for digital posture, angling the lens slightly for the downward gaze of tablet use.
| 必須 | Ages 0–5 | Ages 5–12 | Ages 13+ |
|---|---|---|---|
| Bridge design | Flat saddle bridge | Molded or keyhole bridge | 調節可能なノーズパッド |
| 保管 | Cable temples, straps | Curved rubber tips | Standard temples |
| ヒンジ | Flexible/hingeless | テンプルが頭に対して剛性に押し付けられるのではなく、外側に曲がるようにすることで快適さを向上させます。TPEEは、1つのヒンジポイントではなく、アーム全体にわたって素材自体を通じて同様の効果を達成します。一部のスタイルでは、両方を組み合わせています。その結果、座られたり、片手で引っ張られたり、バックパックに詰め込まれたりしても耐えられる、ぴったりとした、許容範囲の広いグリップが得られます。 | テンプルが頭に対して剛性に押し付けられるのではなく、外側に曲がるようにすることで快適さを向上させます。TPEEは、1つのヒンジポイントではなく、アーム全体にわたって素材自体を通じて同様の効果を達成します。一部のスタイルでは、両方を組み合わせています。その結果、座られたり、片手で引っ張られたり、バックパックに詰め込まれたりしても耐えられる、ぴったりとした、許容範囲の広いグリップが得られます。 |
| 素材 | TPEE, soft flex | TR90 + TPEE テンプル | TR90, acetate looks |
| Style weight | 低 | 中程度 | 高い |
How can I use a manufacturer's existing size range to build my matrix faster?
A procurement manager from Australia once asked me how long a full custom size run would take. My honest answer changed her whole launch plan: months for new molds, or weeks if she built on our existing catalog.
Start with a manufacturer's existing style library, sort those frames by their actual lens, bridge, and temple measurements into your age bands, and fill gaps with targeted additions. This validates your matrix against proven tooling and avoids heavy mold investment before market testing.
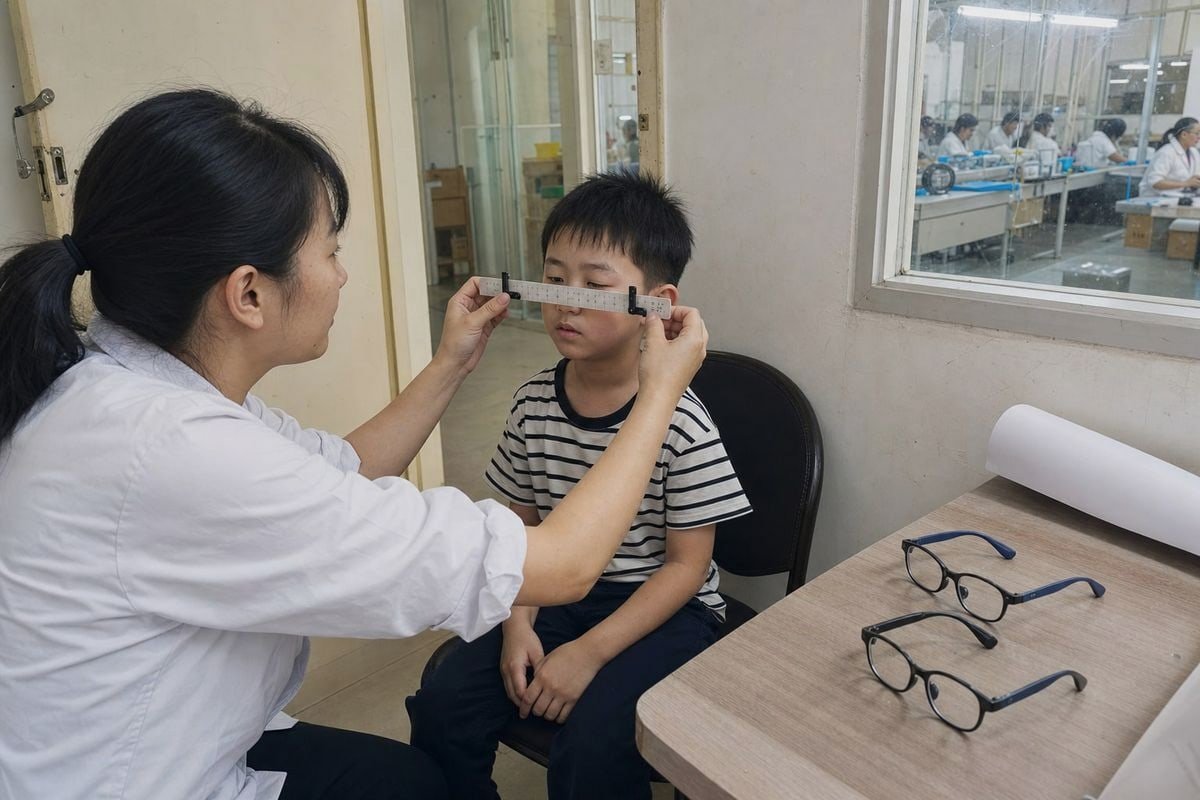
New frame molds are expensive and slow. If you build your matrix in the abstract first and then hunt for products to match it, you will find gaps everywhere. The faster path runs the other way. Here is the process we walk our clients through:
- Request the full spec sheet. We maintain around 800 existing styles, each with recorded lens diameter, DBL measurement, and temple length. Ask any factory for the same data before you design anything.
- Sort styles into your age bands. Drop each frame into the band whose measurement ranges it fits. Most catalogs cluster naturally around the 5–8 and 8–12 bands, because those are the biggest prescription markets.
- Identify the gaps. Maybe you have plenty of 44–46mm options but nothing under 38mm for toddlers. Now you know exactly what to source or develop.
- Test the market before tooling up. Launch with existing styles in custom colors and branding. Our 真剣な子供向けブランドは、ベビーサイズ、幼児サイズ、子供サイズ、ユースサイズという旅を販売しています。1つの製造パートナーがすべてを生産する場合、素材、 5 process covers custom colors, logos, lenses, and retail-ready packaging, so an existing mold can still look fully proprietary.
- Invest in molds only where sales prove demand. After one or two seasons of data, you know which bands and shapes deserve custom development.
Some buyers worry this approach makes their range look generic. In practice, the opposite risk is bigger: sinking tooling budget into unproven sizes. Custom colorways, temple graphics, and packaging differentiate the product; the mold geometry is invisible to the parent. Modular thinking helps too — some designs allow interchangeable temples or bridge variants, effectively letting one front serve adjacent age bands.
What quality and comfort factors should I confirm before finalizing my size chart?
A lesson I learned early in our fifteen years of eyewear production: a size chart that is dimensionally correct can still fail on comfort. Numbers on paper do not feel pressure points.
Before finalizing, confirm material safety and flexibility, hinge durability, bridge comfort under real wear, temple retention during activity, lens centering against PD, and weight per band. Run physical fit checks on real children, then add a "verify fit before purchase" note to every band.

The size chart is a promise to parents. Quality control is how you keep it. In our 5S-managed workshop, size verification is a standard checkpoint, because a frame that leaves tolerance by even a couple of millimeters at the bridge behaves like a different size on a small face.
The four-point fit check
Train your retail or e-commerce team on this final filter, and print it beside your chart:
- The frame sits stable on the nose without sliding when the child looks down.
- Lenses are centered on the pupils, matching the pupillary distance.
- The lower rim does not touch the cheeks when the child smiles.
- Temple tips curve behind the ears without digging in or leaving red marks.
Confirm before you print
| 要因 | 確認すること | なぜ重要なのか |
|---|---|---|
| 材料安全性 | BPAフリー 6, skin-safe, eco-friendly compounds | Children chew and handle frames constantly |
| 柔軟性 | Frame twists and recovers without cracking | Prevents breakage injuries during play |
| Hinge durability | Spring hinges survive repeated cycling | ヒンジは最も一般的な故障箇所です |
| Weight per band | Lighter frames for smaller bands | Heavy frames slide and cause pressure |
| Tolerance control | Bridge and temple dimensions held consistently | A chart is useless if production drifts |
| Retention parts | Silicone ear hooks and grips stay attached | Loose small parts are a safety hazard |
Keep the chart honest
Finally, add one sentence to every band of your published frame fit guide: "Sizes are a starting point — always check fit on your child." Opticians will trust your brand more for it, and looking forward, 3D biometric scanning 7 and statistical face modeling will make range-based, fit-checked matrices even more precise. Building yours around ranges now positions you for that shift.
結論
An age-only chart invites returns and frustrated parents. A range-based size matrix — built on real measurements, proven styles, and fit checks — protects your brand and every small face wearing it.
脚注
1. Defines the key optical measurement anchoring frame lens centering for children. ↩︎
2. Explains the thermoplastic material class used in flexible pediatric frame construction. ↩︎
3. Background on hinge mechanisms relevant to durability discussion in eyewear design. ↩︎
4. Background on the eyewear material referenced for teen frame styling choices. ↩︎
5. Clarifies manufacturing model referenced for custom branding on existing frame molds. ↩︎
6. FDA guidance on BPA safety supports the material safety confirmation step for kids’ products. ↩︎
7. Authoritative source on biometric scanning technology mentioned as a future fitting method. ↩︎

 English
  Español de México
  Deutsch
  Français
  日本語
日本語  العربية
  Português do Brasil