子供用メガネフレームの光学中心位置公差とは?
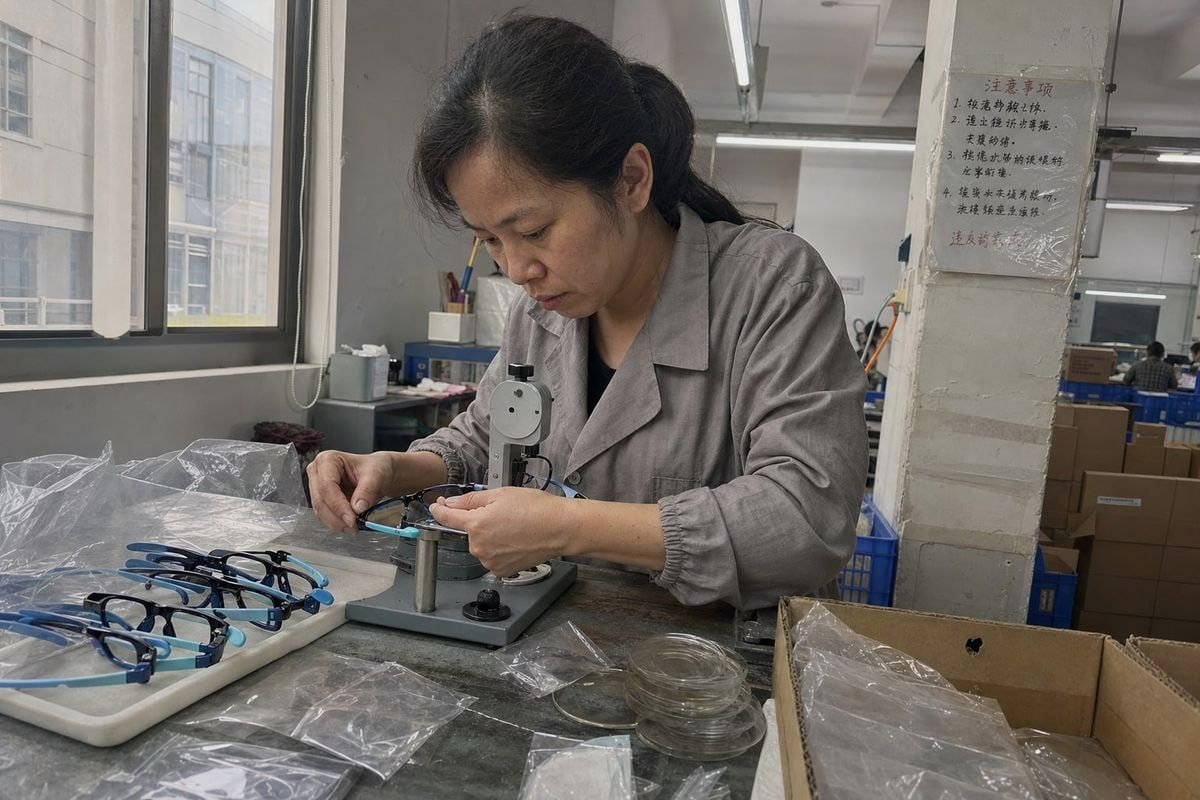
子供用メガネフレームの光学中心位置公差は、私が会う多くの新規購入者を混乱させます。 両眼視の発達 1. 私たちの生産ラインでは、完璧に見えるフレームでも子供の目に不適合となることがあります。.
子供用メガネフレームの光学中心位置公差は、レンズの中心が子供の瞳孔からどれだけ離れていてもよいかを定義します。一般的な許容範囲は、プリズムに応じて水平方向に2〜4 mm以内であり、誘発プリズムは、ANSI Z80.1などの適用可能な規格に従って0.25〜0.67プリズムジオプター未満に保たれます。.
技術的に聞こえるかもしれませんが、分解すれば理解しやすくなります。以下では、規格、子供がより厳密な管理を必要とする理由、および出荷前にフレームを検査する方法について説明します。.
子供用フレームの光学中心公差が安全基準を満たしているかどうかを確認するにはどうすればよいですか?
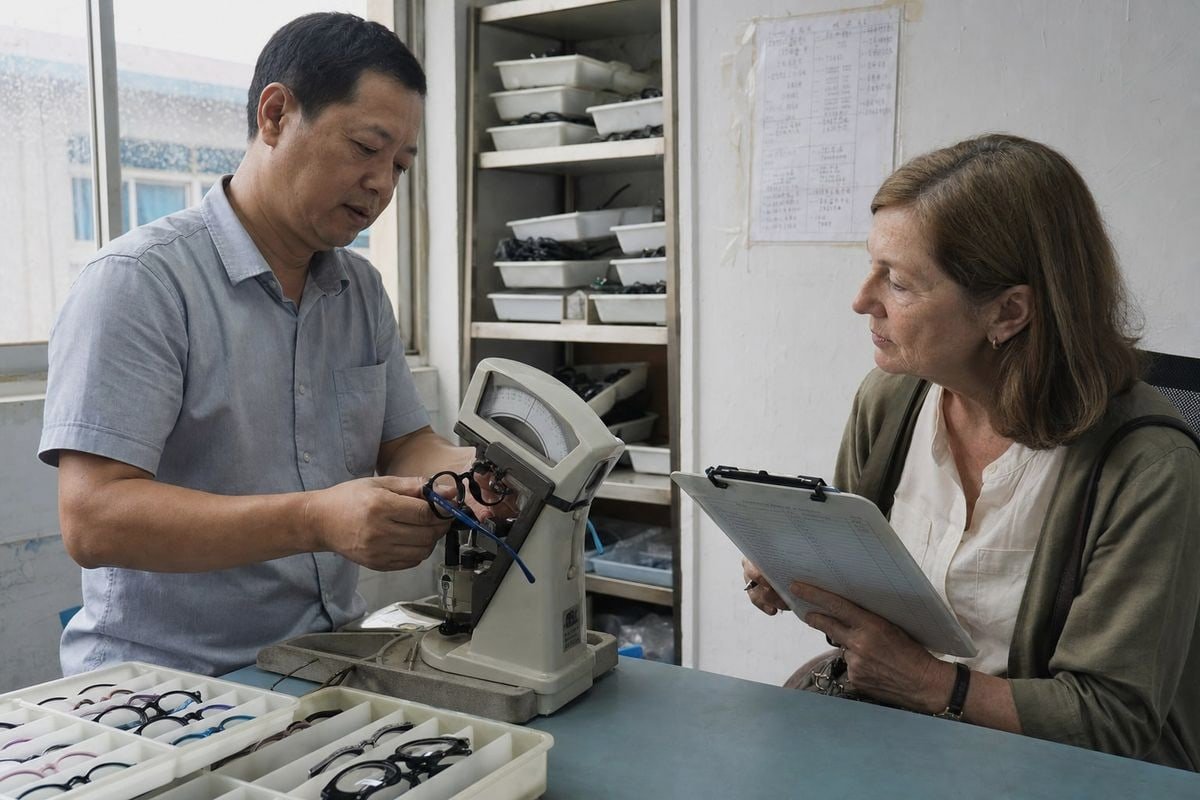
オーストラリアの調達マネージャーが、台州での工場監査中にチームにこの質問をしました。彼女の懸念は単純でした。どの数字が実際に合格とみなされるのか?
レンズメーターでマークされた瞳孔位置で誘導プリズムを測定することにより、光学中心公差を確認します。ANSI Z80.1規格では、ほとんどの小児用処方箋において、水平プリズムの不均衡は0.67プリズムジオプターを超えてはならず、垂直の不均衡は0.33プリズムジオプター以内に収まる必要があります。.
子供用メガネフレームの光学中心位置公差に、単一の普遍的な数値はありません。代わりに、さまざまな規格や管轄区域が関連する制限を設定しています。賢明なアプローチは、主要なものを知り、市場に合った最も厳しい制限を適用することです。.
主要な公差ベンチマーク
現在の眼鏡レンズ処方で使用されている公差の概要を以下に示します。
| 標準 / 出典 | 公差 | 対象範囲 |
|---|---|---|
| ANSI Z80.1規格 | 水平方向0.67Δ / 垂直方向0.33Δの不均衡 | ほとんどの処方箋におけるプリズム不均衡 |
| ANSI Z80.1規格 | ±1.0 mm | 多焦点レンズのフィッティングクロスと指定単眼PD |
| ANSI Z80.1規格 | ±1.0 mm | 多焦点レンズのセグメント高さ |
| ニュージャージー州の最低基準 | 4 mm以内(プリズム0.50Δ未満) | 指定された光学中心位置 |
| ニュージャージー州の最低基準 | 2 mm以内(プリズム0.50Δ超) | 指定された光学中心位置 |
| カナダの推奨公差 | 主要基準点あたりレンズ0.25Δ | 基準点でのプリズム |
| カナダの推奨公差 | 合計水平方向0.50Δ / 合計垂直方向0.25Δ | 両眼プリズム不均衡 |
| 市販の処方ガイド | 中心幾何学的中心から5 mm以内 | 光学中心の高さ |
プリズムが真のテストである理由
最も厳格な規格はミリメートルではなくプリズムを測定していることに注意してください。これは、 プレンティスの法則 2 がレンズパワーとずれを関連付けているためです。処方箋が強いほど、レンズが許容できる水平または垂直のずれは少なくなり、それによって 誘発プリズム効果 3 が制限を超えます。+6.00 Dの小児用レンズは、同じ距離だけずれた-1.00 Dのレンズよりも早くプリズム制限に達します。したがって、公差を確認するときは、物理的なずれだけでなく、実際のレンズパワーのずれから常にプリズムを計算してください。一部の購入者は、「数ミリ以内」であれば常に安全だと考えています。高出力の子供用レンズでは、そうではありません。.
子供用の光学フレームでは、大人のフレームよりも光学中心のずれがなぜより重要なのでしょうか?
眼鏡業界での15年の経験の初期に、私たちは厳しい教訓を学びました。子供はめったに正確に文句を言いません。大人は「これはおかしい」と言いますが、子供は単にメガネをかけなくなります。.
光学中心のずれは、子供たちが重要な両眼視の発達中に眼鏡を常に着用し、視覚的な不快感をはっきりと説明できず、しばしば誘導プリズムに非常に敏感な処方箋を持っているため、子供たちにとってより重要です。わずかなずれは、頭痛、眼精疲労、およびコンプライアンスの低下を引き起こします。.
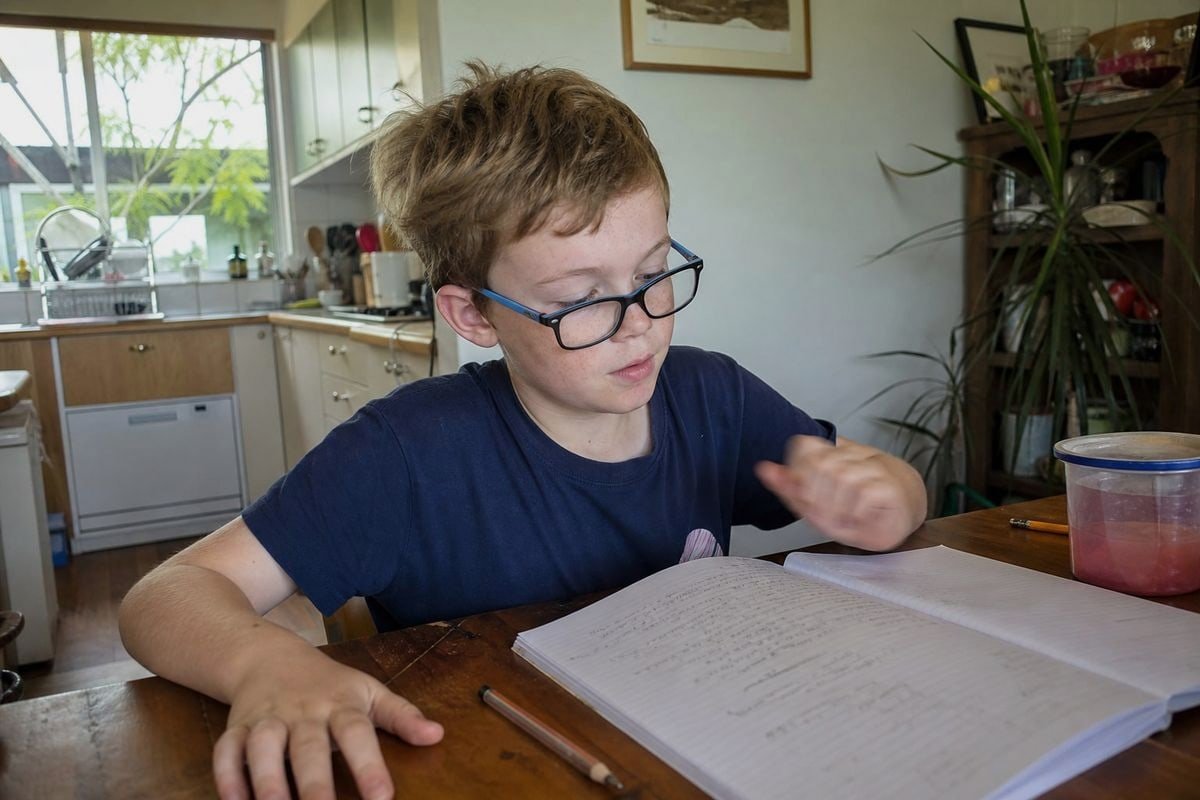
成人は、視覚システムが成熟しているため、小さな中心ずれを許容できます。子供にはその贅沢はありません。彼らの目と脳はまだ協力することを学んでおり、不要なプリズムを誘発するメガネはそのプロセスを妨げる可能性があります。.
子供が許容できない3つの理由
第一に、着用時間です。多くの子供は、朝から晩まで矯正レンズを着用しています。大人が2時間で気づくような小さな誘発プリズム効果は、子供にとっては一日中の負担になります。垂直方向のレンズ中心ずれは、頭痛や急速な視覚疲労につながることが多いため、特に厳しいです。.
第二に、コミュニケーションです。6歳の子供は、眼鏡技師に「わずかな垂直方向のずれが見える」と言うことはできません。彼らは目をこすったり、鼻の上にフレームを押し上げたり、メガネをかけようとしなかったりすることでそれを表現します。私たちは、TPEEおよびTR90フレームが小さな顔にしっかりと固定されるように設計しています。これは、ずれが光学中心を視軸より下に静かに移動させるためです。.
第三に、処方箋の感度です。小児の症例では、白内障のような高出力が含まれる場合があります。この場合、フレーム位置の1 mmのずれが有効パワーを0.10 D以上変化させる可能性があります。レンズ素材を考慮に入れると、ポリカーボネートとTrivexは子供の安全基準ですが、それらの低いアッベ値は、光学中心からのわずかなずれでさえ、端に顕著な色収差を引き起こすことを意味します。.
新しい要因もあります。 周辺フォーカルゾーン, を持つ近視管理レンズ、例えばDIMSまたはHALTデザインは、サブミリメートルの中心精度が必要です。その治療ゾーンは瞳孔と同心円状に配置される必要があります。そうでなければ、臨床効果は弱まります。この傾向だけでも、小児の中心公差基準を、成人基準よりも厳しくしています。.
光学フレームメーカーにどの程度の公差範囲を要求すべきですか?
Buyers weighing this question face a real trade-off we discuss often: tighter specs cost more in QC time, while looser specs risk returns. Where should you draw the line?
仕様に対して±1.0 mm以内の箱型中心間距離、±1.0 mm以内の光学中心高さ、左右レンズ間の対称性0.5 mm以内、およびパントスコピックティルトはゼロ度近くであることを要求します。最終的なレンズ加工では、最小限またはゼロのディセンタレーションが必要であることを指定してください。.
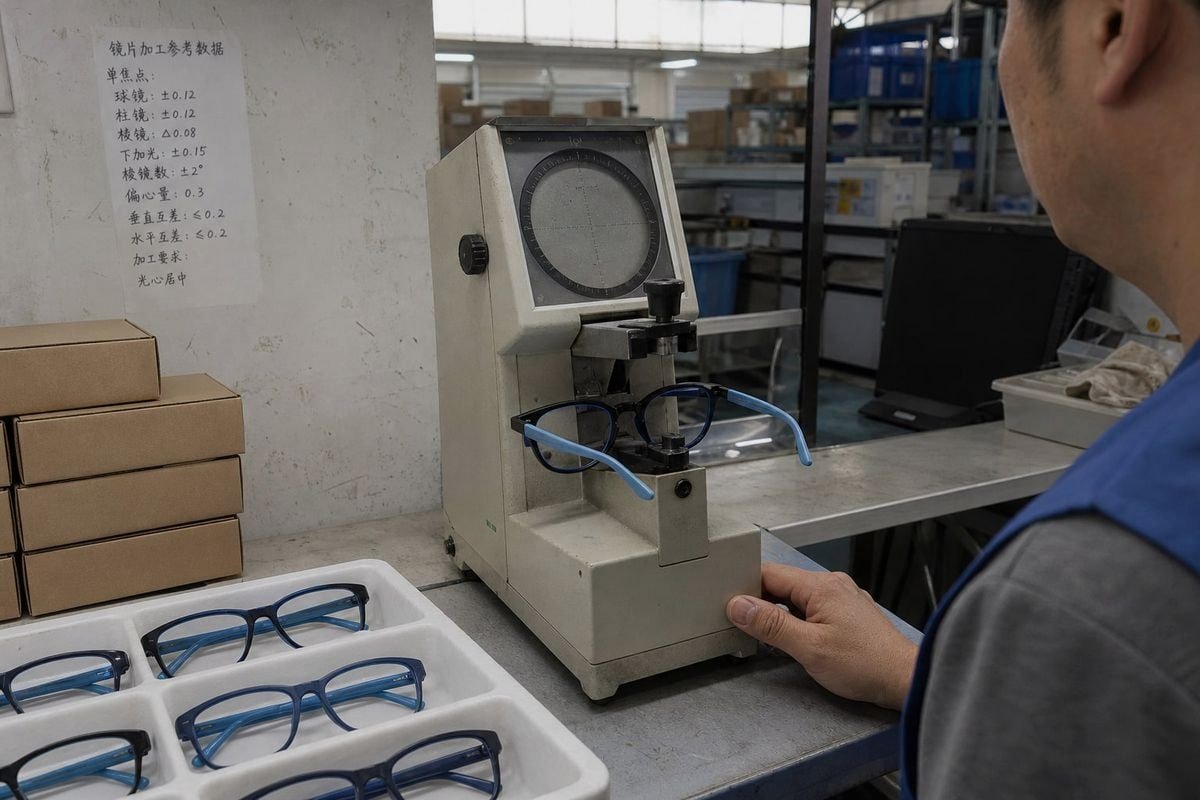
Frame tolerance and lens tolerance are two different things, and confusing them causes most supplier disputes. Your lab controls lens centration. Your frame supplier controls whether that centration is even achievable. The frame's boxed center distance 4 should be practically equal to the child's PD range you target, so no decentration is required when glazing.
A practical specification checklist
When brands develop custom kids' optical frames with us, we recommend writing these items directly into the purchase order:
| Specification Item | 推奨される許容誤差 | なぜ重要なのか |
|---|---|---|
| Boxed center distance | ±1.0 mm from spec | Matches target PD range, minimizes decentration |
| Lens aperture symmetry | Within 0.5 mm left/right | Prevents uneven monocular PD placement |
| Pantoscopic tilt | 0° to 4°, near zero preferred | Zero pantoscopic angle is optimal for a child |
| Bridge width and splay angle | ±0.5 mm / per drawing | Stops slippage on flatter nasal anatomy |
| Temple length and angle | ±1.0 mm | Keeps frame stable at correct height |
| フレームラップ | Minimal, per drawing | Excess frame wrap and tilt shift effective centers |
Account for pantoscopic tilt rules
If your design does carry tilt, the optical center should drop below the pupil by a known rule: about 0.5 mm for every 1° of pantoscopic angle, or roughly 1 mm per 2° in some references. Some general dispensing guides even suggest placing the optical center 4 to 5 mm below pupil center on average for adult frames. For children, we take the opposite approach. We engineer near-zero tilt into our pediatric geometry — smaller frontal width, reduced crest height, shorter bridge projection, and wider splay angle — so the optical center can sit right at the pupil without compensation math. That keeps glazing simple for your optical lab and centration stable in real wear. For high-power or myopia-management programs, also ask about digital free-form surfacing; compensated prescriptions adjusted for vertex distance and tilt can effectively tighten functional tolerance beyond standard ANSI requirements.
出荷前の品質検査中に、光学中心の精度をどのように確認できますか?
During a pre-shipment inspection last season, our QC team caught a batch where lens apertures sat 0.8 mm asymmetric. Catching that before glazing saved the client a costly recall.
PDルーラーまたはプロジェクターを使用してボックス化された中心間距離を測定し、左右のレンズ開口部の対称性を確認し、図面に対してパントスコピックティルトを確認し、デモレンズの中心にドットを付けて比較し、子供サイズのヘッドフォームで装着シミュレーションチェックを実行することにより、光学中心の精度を確認します。.

Pre-shipment inspection is where tolerance promises become measurable facts. In our 5S-managed workshop, we run frame-level checks before any order leaves for a customer, because a frame that fails geometry cannot be fixed by even the best optical lab afterward.
A step-by-step inspection sequence
- Measure the boxed center distance. Use a calibrated ruler or a lens projector. Compare against the specification, not against another sample.
- Check aperture symmetry. Measure each lens aperture from the frame's vertical centerline. Left and right should match within 0.5 mm, or monocular PD alignment becomes impossible during glazing.
- Verify vertical geometry. Confirm the datum line height and check that both apertures sit at equal height. Vertical lens centration errors induce the prism type children tolerate least.
- Confirm pantoscopic tilt. Lay the frame on a flat surface and measure the tilt angle. For pediatric designs, it should be at or near zero.
- Dot and compare demo lenses. Mark the geometric center of each demo lens and check consistency across the sampled batch.
- Run a wear simulation. Place the frame on a child-sized head form. Check that the frame does not touch cheeks or eyelashes and that the pupil position falls at the center of each lens.
Sampling and documentation
For B2B orders, we suggest AQL-based sampling with tightened checks on geometry-critical dimensions. Record actual measurements, not just pass/fail. When we supply OEM kids' optical frames from our roughly 800 existing styles, buyers receive dimension reports they can hand directly to their glazing partners. That paper trail matters. If a lab later reports pupillary distance measurement mismatches, you can prove whether the frame or the glazing caused it.
結論
Optical center position tolerances for kids' optical frames are prescription-dependent, prism-based, and tighter than adult norms. Specify frame geometry clearly, inspect before shipment, and centration problems disappear.
脚注
1. National Eye Institute resource on how children’s vision and eye coordination develop. ↩︎
2. Mathematical formula used to calculate induced prism from lens decentration. ↩︎
3. Professional medical explanation of how prism correction and displacement work in eyewear. ↩︎
4. Industry standard for measuring frame dimensions and lens positioning. ↩︎


 English
  Español de México
  Deutsch
  Français
  日本語
日本語  العربية
  Português do Brasil