How to Match Kids Eyewear Frame Size with Pupillary Distance (PD)?
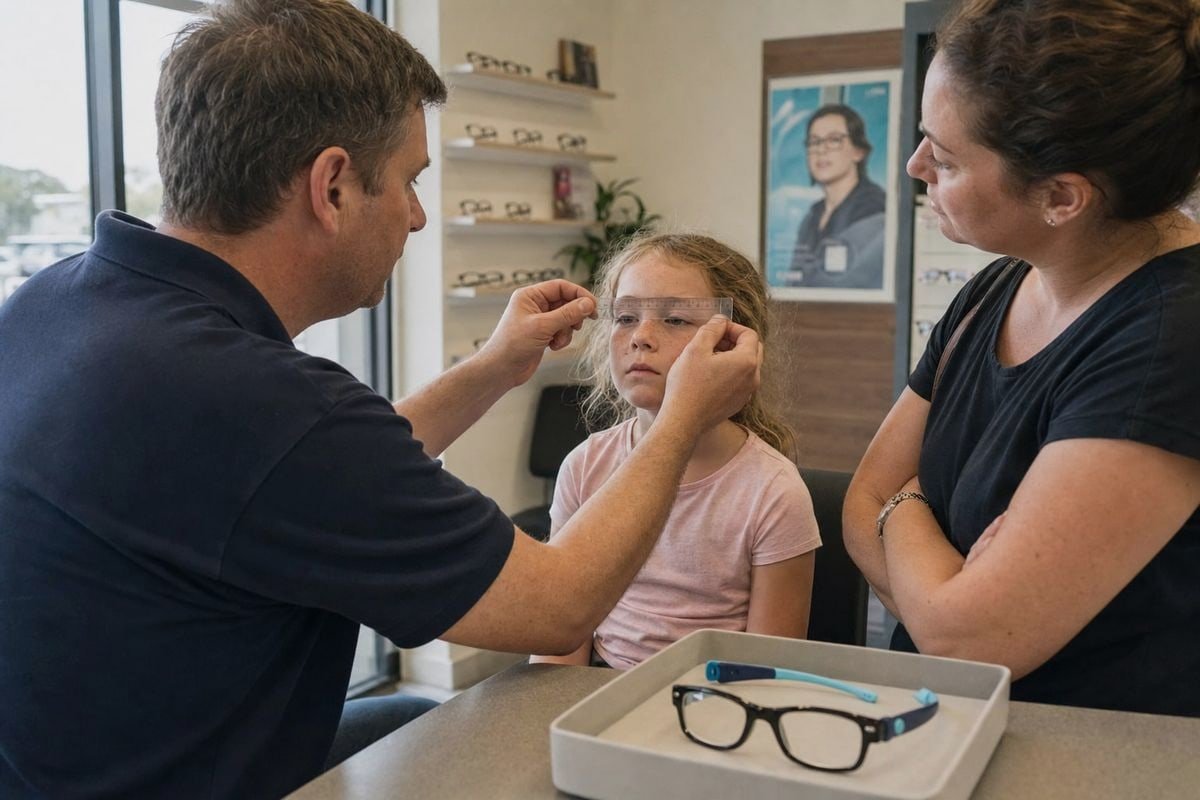
Matching kids eyewear frame size with distancia pupilar 1 is where most sizing mistakes happen. On our production line in Taizhou, I see brands order frames that look adorable but sit wrong on real children’s faces — pupils drifting toward the lens edges, headaches, and glasses left in schoolbags. The fix starts with one measurement done right.
To match kids eyewear frame size with pupillary distance, measure the child’s PD in millimeters, then choose a frame where lens width plus bridge width roughly equals that PD. Keep each pupil within 3–4 mm of the lens center, with a total mismatch under 8 mm.
That is the short answer. Below, I will walk through measuring PD, why the match matters, which frame sizes suit which ages, and how to get this right across a whole product line.
How do I measure my child's pupillary distance accurately before choosing a frame?
A buyer from Australia once asked me why two frames with the same lens width fit her test group so differently. The answer traced back to inconsistent PD measurements. Getting the number right comes first, before any frame sizing chart matters.
Measure PD by having the child look straight at a distant object, holding a millimeter ruler flat against the brow line, and reading the distance between pupil centers. Repeat two or three times, average the results, and confirm professionally for strong or complex prescriptions.
Pupillary distance is the horizontal distance, in millimeters, between the centers of the two pupils. It tells the lab where to place the optical center of each lens so it lines up with the child's visual axis. Most children fall between 41 and 55 mm, and children aged 5–8 often measure around 46–50 mm. But these are ranges, not answers. You still need to measure the individual child.
The two-person method at home
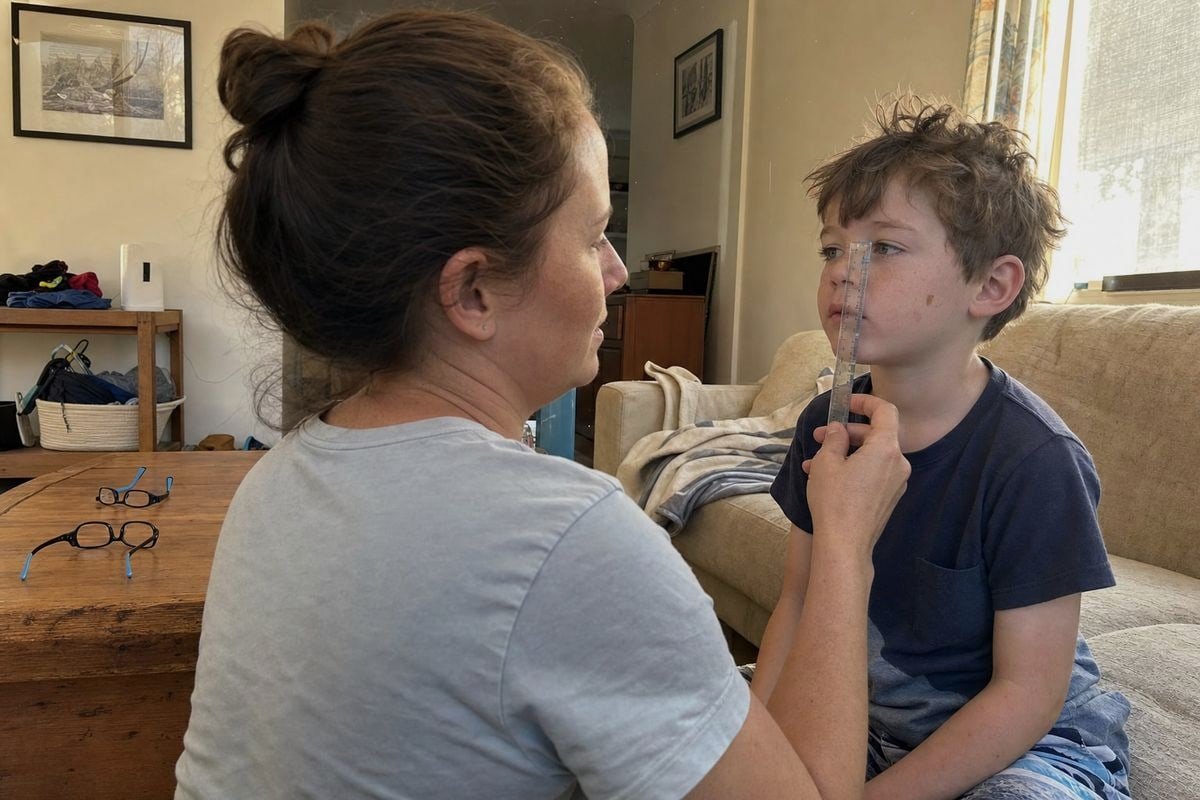
In my experience, the two-person method works best for kids. One adult holds the ruler; the child looks past that adult's shoulder at a distant object, such as a picture on the far wall. Looking far away relaxes eye convergence 2 and gives a truer distance PD. Then follow these steps:
- Have the child sit still and look straight ahead at the distant target.
- Rest a millimeter ruler flat against the forehead or nose bridge.
- Align the zero mark with the center of one pupil.
- Read the number at the center of the other pupil.
- Repeat two or three times and average the readings.
Smartphone PD apps can help, but with wiggly toddlers they often misfire. If the readings differ by more than 1–2 mm, take the child to an optician.
When professional measurement is worth it
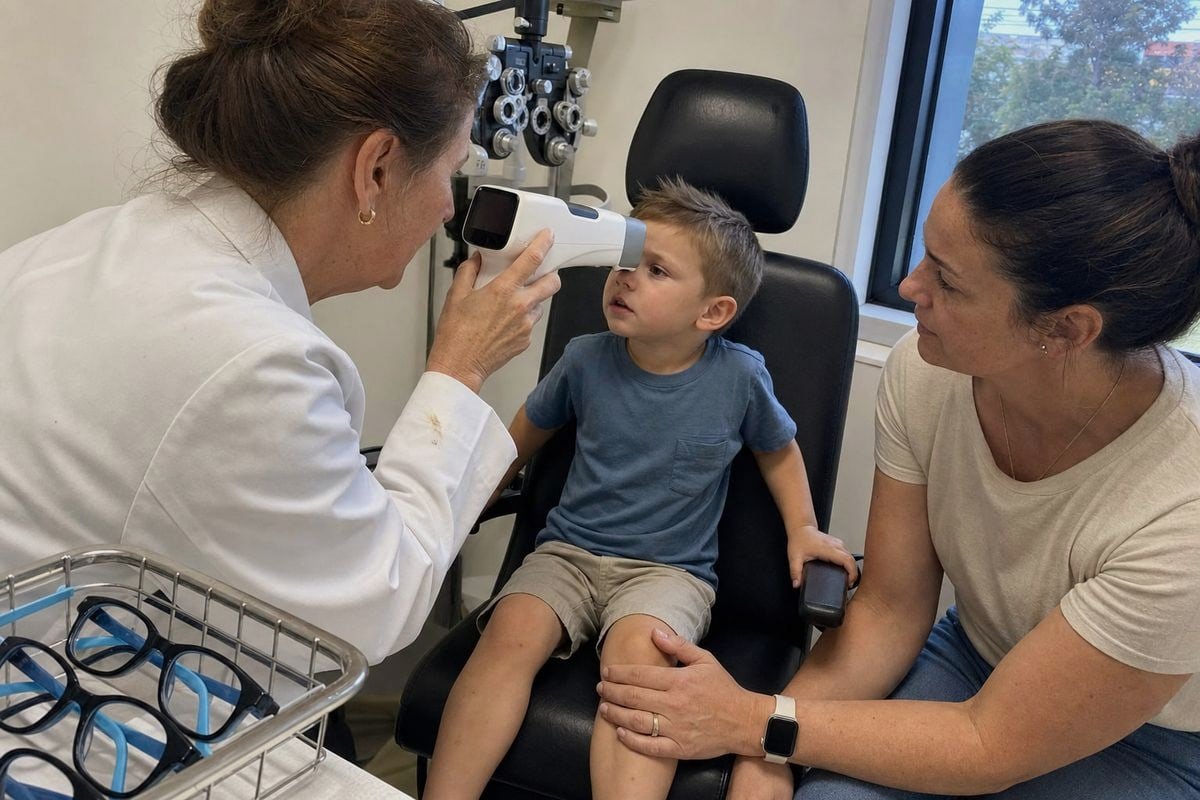
For high-power prescriptions, lentes de control de miopía 3, or children under five, get a professional measurement. An optician can also record monocular PD 4 — the distance from each pupil to the center of the nose bridge — which matters because many children's faces are slightly asymmetric. Also remember that PD is dynamic. It grows as the child's face grows, so re-measure at every prescription update rather than reusing last year's number.
Why does matching PD with frame size matter for children's eye health and comfort?
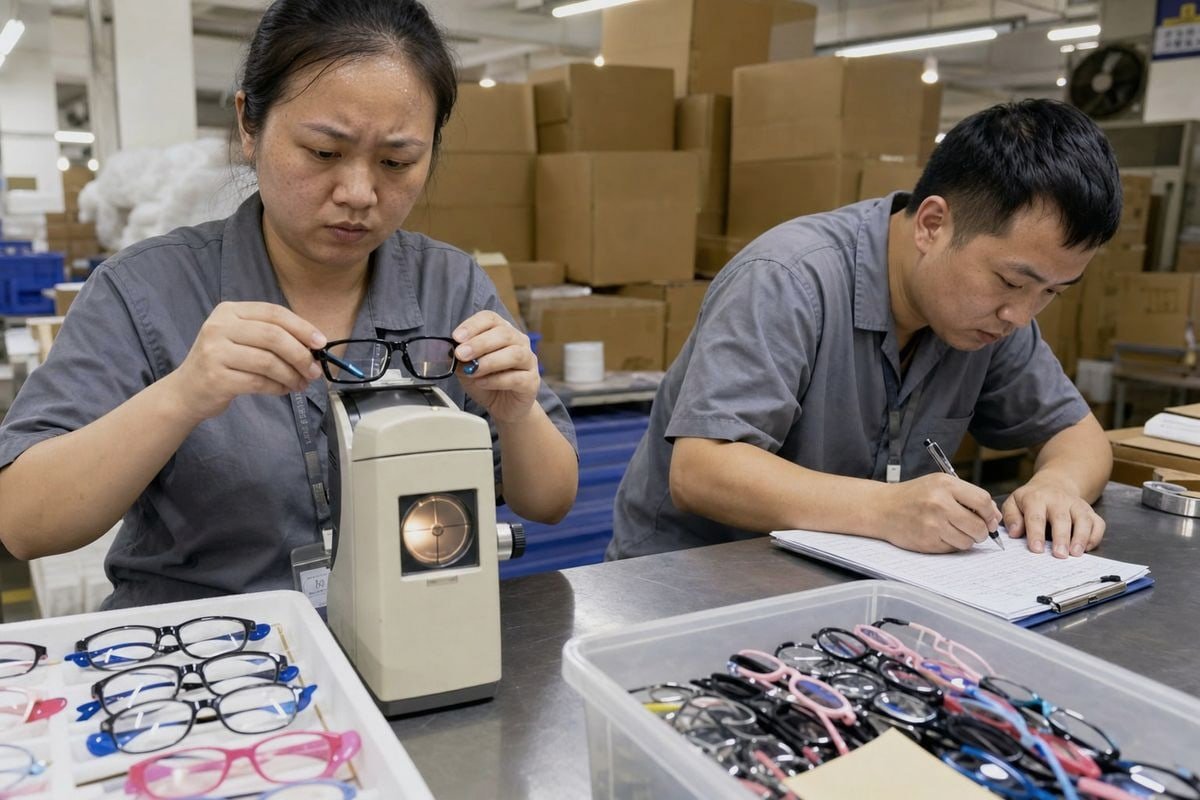
During a QC review at our factory, we once rejected a sample batch not for material flaws but because the lens centration drifted outward on a small-face fit model. That experience shaped how seriously we treat optical center alignment in pediatric eyewear fitting.
Matching PD with frame size keeps each lens's optical center aligned with the child's pupil. A mismatch creates induced prism, causing eye strain, headaches, blurred vision, and thicker lens edges — problems that often make children simply refuse to wear their glasses.
Every prescription lens has one sweet spot: its optical center. When the pupil looks through that point, light passes without unwanted bending. When a frame is too wide for the child's PD, the lab must decenter the lenses, or worse, the pupils simply sit inward of the optical centers. Either way, the eyes look through the wrong part of the lens.
What decentration actually does
The result is induced prism 5 — a small, constant shift of the image that the child's visual system must fight all day. Children rarely describe this well. Instead, they get headaches, rub their eyes, tilt their heads, or push the glasses down their nose. Many just take the glasses off. Parents then think the child is being difficult, when the real problem is optical.
There is also a cosmetic and weight cost. Lenses grow thicker for every millimeter they are decentered. For higher prescriptions, this means heavier glasses, more visible edge thickness, and stronger peripheral distortion 6 — the fishbowl effect. That is why smaller, rounder frames are usually the right call for kids with strong prescriptions.
The tolerance numbers that matter
Two practical tolerance rules appear consistently in pediatric guidance:
| Rule | Tolerancia | Cuándo se aplica |
|---|---|---|
| Per-eye off-center limit | 3–4 mm per eye | All children's prescriptions |
| Total mismatch limit | 8 mm maximum combined | All children's prescriptions |
| Online fitting heuristic | PD within 4–6 mm of frame lens-center distance | Low to moderate prescriptions |
| Stronger prescriptions | Tighter than 4 mm | High-power and myopia-control lenses |
For specialized myopia-control lenses such as DIMS or HALT designs, precise PD matching is even more critical, because the therapeutic peripheral zones only work when the central zone sits exactly over the pupil. And for school-aged children doing heavy reading or screen work, near PD — typically about 3 mm narrower than distance PD — deserves attention too, since converging eyes look through a slightly more nasal point on the lens.
What frame width and bridge fit options work best for different age groups and PD ranges?
One trade-off I weigh constantly when developing new molds is size versus stability. A frame front sized perfectly for a five-year-old's PD still fails if the nose bridge fit is wrong and the glasses slide with every jump. Width and bridge must be designed together.
Choose lens widths of roughly 39–43 mm for toddlers, 44–46 mm for ages 5–8, 47–50 mm for pre-teens, and 50–54 mm for teens, then verify that lens width plus bridge width sits close to the child's measured PD.
Dimensionamiento basado en la edad is a shortcut, not a rule. Children's facial proportions vary widely, so treat the table below as a starting point for shortlisting frames, then confirm against the actual PD.
| Grupo de edad | Typical PD range | Suggested lens width | Typical bridge width (DBL) | Approx. lens width + bridge |
|---|---|---|---|---|
| Niños pequeños (2-4 años) | 41–47 mm | 39–43 mm | 13–15 mm | 60–66 mm |
| Young children (5–8) | 46–50 mm | 44–46 mm | 14–16 mm | 58–62 mm |
| Pre-teens (9–12) | 48–54 mm | 47–50 mm | 15–17 mm | 62–67 mm |
| Teens (13+) | 52–60 mm | 50–54 mm | 16–18 mm | 66–72 mm |
Notice that lens width plus bridge width runs a little wider than PD in every row. That is normal. The goal is to get the geometric lens centers close to the pupils, then let the lab handle the last few millimeters through lens centration — as long as you stay inside the 3–4 mm per-eye tolerance.
Reading the numbers on a frame
Product pages list three key numbers, usually printed on the temple as something like 45-15-125:
- Lens width: the horizontal width of one lens.
- Bridge width (DBL): the gap between the lenses across the nose.
- Temple length: the arm length from hinge to ear tip.
Bridge design for young noses
Young children have low, soft nose bridges, so nose bridge fit deserves as much attention as width. A bridge that is too wide lets the frame slide down, which increases vertex distance 7 and weakens the effective prescription. Frames with adjustable nose pads let opticians fine-tune vertex distance and vertical alignment as the bridge matures. Our Marcos ópticos TR90 8 for younger kids use a lower, keyhole-style bridge shape for exactly this reason. And in ultra-flexible TPEE or silicone constructions, a rigid bridge bar is essential — without it, the lenses splay outward during play and the effective PD spacing drifts.
How can I work with a manufacturer to get accurate PD-to-frame sizing across my product line?
A lesson I learned early in our fifteen years of eyewear work: a brand's sizing problems are almost never about one frame. They come from a product line built without a coherent size ladder. Fixing that is a joint job between buyer and factory.
Share your target age segments and PD ranges with your manufacturer, request a frame sizing chart covering lens width, bridge width, and temple length for every SKU, and validate samples on real children before production. A capable OEM partner will adjust molds, bridges, and specs to your market.
At our Taizhou factory, we run about 800 existing kids' styles, and the most productive sourcing conversations start with the buyer's end user, not with our catalog. Tell us which age bands you sell to, whether the frames carry prescription lenses or plano sun lenses, and which markets you serve — facial anatomy differs between regions, and bridge specs should reflect that.
A practical development workflow
Here is the process we typically follow with brands building a PD-correct line:
- Define the size ladder. Map each SKU to an age band and PD range so the line covers toddlers through teens without gaps or overlaps.
- Request full specs. Every style should document lens width, bridge width (DBL), temple length, and total frame width — not just a vague small/medium/large label.
- Review material behavior. Flexible TPEE and TR90 frames are safe and comfortable for active kids, but we engineer bridge rigidity so lens spacing stays stable under flex.
- Sample and wear-test. Put samples on real children in your target age groups. Check lens centration visually: pupils should sit at or slightly above the horizontal lens midline.
- Lock QC tolerances. Agree on dimensional tolerances for the frame front before mass production, so every batch matches the approved sample.
What good OEM/ODM support looks like
Working from existing molds keeps your investment low, but a real factory partner will still tailor bridge height, temple length, and nose pad options for your market. We do this routinely for children's brands in Europe, Japan, and Australia — adjusting a bridge by a millimeter or two, or swapping a fixed bridge for adjustable pads on optical styles. For optical programs, we also flag which frames suit high-power lenses (smaller, rounder eye shapes) versus fashion sun styles. Add clear size labeling on your retail-ready packaging, and parents can shop your line by PD instead of guessing.
Conclusión
Matching kids eyewear frame size with pupillary distance protects vision, comfort, and compliance. Measure PD, respect the 3–4 mm tolerance, size by age wisely, and partner with a factory that engineers fit deliberately.
Notas al pie
1. Defines pupillary distance and its role in lens optical alignment for readers unfamiliar with the term. ↩︎
2. Describes the physiological process of eyes turning inward, which affects pupillary distance measurements. ↩︎
3. Provides authoritative information on specialized pediatric lenses that require precise centration for effectiveness. ↩︎
4. Explains the measurement of each eye individually, crucial for children with facial asymmetry. ↩︎
5. Explains the optical phenomenon where decentered lenses create unwanted prismatic effects and eye strain. ↩︎
6. Technical resource detailing how lens power and decentration affect image quality at the edges. ↩︎
7. Defines the distance between the eye and lens, which is critical for maintaining prescription accuracy. ↩︎
8. Technical data on the high-performance polymer used for durable and flexible children’s eyewear frames. ↩︎
Más artículos que te podrían gustar

¿Buscas un socio confiable en gafas para niños?
Explore más de 800 estilos listos y soporte OEM/ODM completo adaptado a su marca.
Ponte en contacto English
  Español de México
  Deutsch
  Français
  日本語
日本語  العربية
  Português do Brasil