How to Choose Kids Sunglasses Nose Bridge Design for Your Market’s Face Shapes?
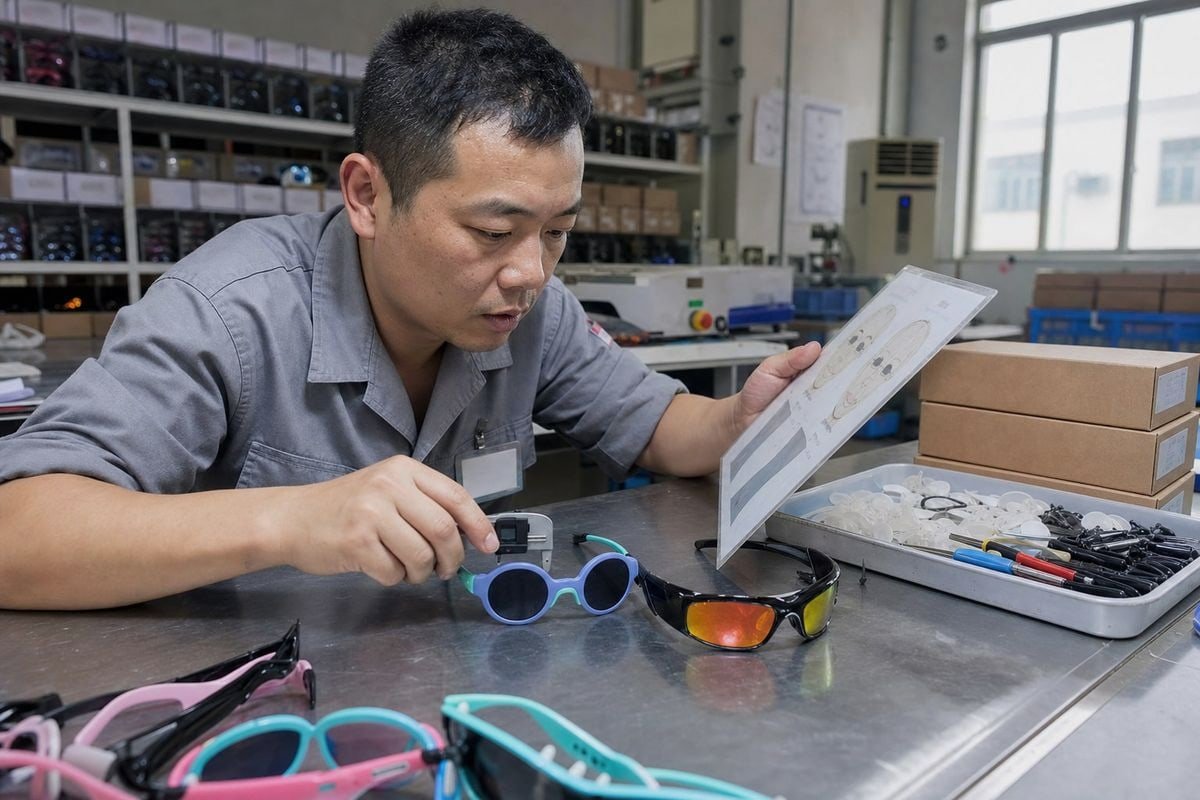
Choosing the right kids sunglasses nose bridge design decides whether frames stay on a child’s face or end up returned. On our production line, we see this problem every week: buyers pick styles by color and shape, ship them to their market, and then discover the frames slide down flat nose bridges or dig into narrow ones. Returns pile up, reviews mention “keeps falling off,” and the brand takes the blame — not the factory. The fix is simpler than most buyers expect: match bridge geometry to the facial anatomy of your target market before you order, not after complaints arrive.
Choose kids sunglasses nose bridge design by matching bridge height, bridge width, and cheekbone prominence to your market’s facial anatomy. Use low bridge fit with larger pads for flatter profiles, saddle bridges for active kids, and adjustable nose pads where face shapes vary widely.
That is the short answer. The rest of this guide breaks it down step by step. I will cover ethnic face profiles, pre-production fit testing, materials that stop slipping, and how to customize bridges without paying for new molds.
あなたのターゲット市場における、異なる民族的顔のプロファイルに最適な鼻梁の形状は何ですか?
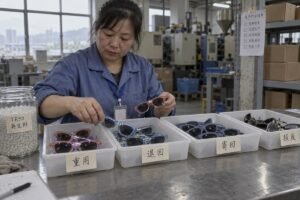
A distributor from Southeast Asia once returned a sample set to our Taizhou factory with one note: "Beautiful frames, but they sit on the cheeks." That single sentence taught our design team more than any spec sheet. The frames were built for a higher 鼻筋 1 than his market's children actually have.
より平坦な鼻筋と高い頬骨を持つ市場では、背が高く大きなノーズパッドを備えたローブリッジフィットのデザインが必要です。より高く狭いブリッジを持つ市場は、キーホールブリッジまたは標準的なサドルブリッジの形状に適しています。国別だけでなく、顔の構造(ブリッジの高さ、幅、頬骨の突出度)でセグメント化してください。.
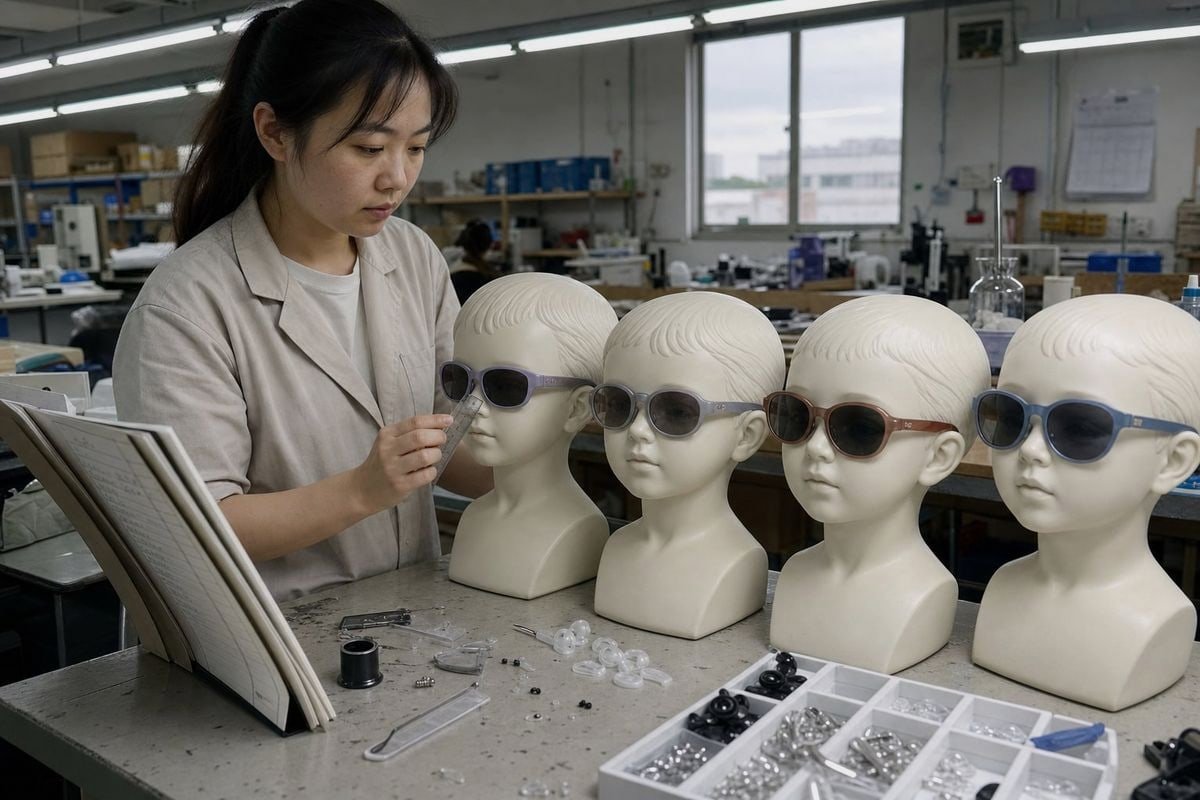
The first thing to understand is that three different measurements get confused all the time: bridge height, bridge width, and cheekbone height 2. They are separate fit problems. Bridge height is how high the nasal root sits relative to the pupils. Bridge width is the gap the frame must span, often listed as Distance Between Lenses (DBL) 3 on spec sheets. Cheekbone height determines whether the lens bottom touches the face. Mixing these up leads to poor product selection, because a frame can have the right width but the wrong height, and it will still slide.
Children add another layer. Kids have lower, less developed nose bridges, fuller cheeks, and smaller ears than adults. This is why shrunken adult frames almost always fail on toddlers. Pediatric eyewear sizing 4 has to start from a child's facial anatomy, not a scaled-down adult template.
Matching Bridge Geometry to Regional Profiles
Some advanced brands now use craniofacial cluster mapping — regional anthropometric data 5 that distinguishes "low-wide" nasal profiles from "low-narrow" ones. You do not need a research lab to apply the same logic. Here is a practical starting matrix we share with buyers from over 20 countries:
| Market Profile | Typical Anatomy | Recommended Bridge Design |
|---|---|---|
| East / Southeast Asian markets | Lower bridge, higher cheekbones, wider nasal base | Low bridge fit: taller built-up pads, adjusted lens tilt, curved temples |
| Northern European markets | Higher, narrower bridge | Keyhole bridge 6 or narrower saddle bridge with smaller DBL |
| Mediterranean / Middle Eastern markets | Medium-high bridge, prominent root | Standard saddle bridge, medium DBL |
| Mixed / multicultural markets (US, AU, UK) | Wide variation within one market | Adjustable nose pads or dual-fit SKU strategy |
| African markets | Often lower, wider nasal base | Low-wide bridge geometry with broad, soft pad contact |
The keyhole bridge deserves a special note. Its shape grips higher on the nasal root, so it works well for narrow or underdeveloped bridges where a flat saddle would slip. For flatter profiles, though, a keyhole just floats above the nose — that is where built-up low bridge fit pads earn their keep by preventing the frame from resting on the cheeks and fogging the lenses.
鼻梁的贴合度和舒适度如何测试,才能在下订单生产前做出决定?
Before any of our buyers confirm a container order, we push them through a sampling loop — even the ones in a hurry. One Australian brand skipped local wear testing on their first order years ago, and the lesson cost them a season of reviews. They never skipped it again.
試作品を注文し、実際の市場で10〜20人の子供たちに短期間の着用テストを実施し、3つのシグナル(5分以内のずれ、30分以内の赤い圧迫痕、ブリッジと鼻の間の隙間)を確認して、量産前にフィット感をテストしてください。フル生産の金型作成前に仕様を調整してください。.
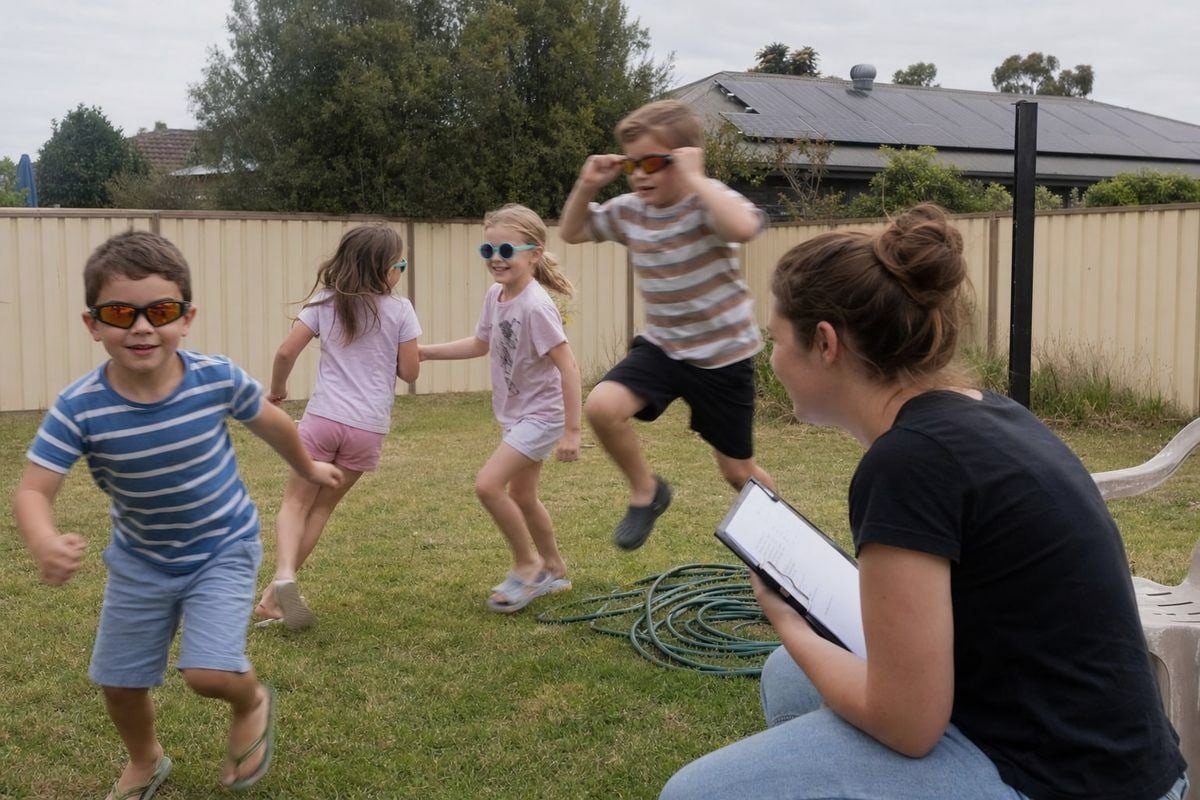
Fit testing does not require expensive equipment. It requires discipline and real children from your real market. Here is the process we recommend to procurement managers, refined over fifteen years of running samples through our workshop:
A Five-Step Pre-Production Fit Protocol
- Request physical samples in your target bridge specs. Ask your factory for the exact DBL, pad height, and lens tilt you plan to order. Photos and CAD files hide fit problems that a real face reveals in seconds.
- Recruit a small local panel. Ten to twenty children across your target age range is enough to spot patterns. Include the youngest age you plan to sell to, because toddlers expose bridge flaws fastest.
- Run a static check first. Look for gaps. A good fit leaves little to no space between the bridge and the nose. A visible gap means the geometry is wrong for that face, no matter how the frame looks.
- Run an active wear trial. Have kids run, jump, and look down at a tablet for fifteen to thirty minutes. The head-down posture is important — modern bridge design increasingly considers pantoscopic tilt so the lens stays properly positioned during screen use.
- Read the two failure signals. Constant sliding means the bridge is too wide or the height is mismatched. Quick red marks mean the bridge is too narrow or the pressure is too concentrated.
Interpreting the Spec Sheet
When you review samples, check these numbers against what you observed:
| Spec | 子供の一般的な範囲 | それがあなたに伝えること |
|---|---|---|
| Bridge width / DBL | 12–19 mm | Whether the optical center aligns with the child's pupils |
| Pad height | Low / built-up | Whether the frame clears the cheeks on flatter profiles |
| Lens tilt (pantoscopic) | Slight forward tilt | Whether the lens stays aligned when the child looks down |
| Temple curve | Gentle wrap | Whether frame stability comes from the ears, not just the nose |
Bridge width matters more than lens size here. If the DBL is wrong, the optical center sits off-pupil, and even a comfortable frame delivers poor vision and glare protection. We flag this on every sample sheet we send out, because it is the number buyers most often ignore.
アクティブな子供の顔での滑りや刺激を防ぐノーズブリッジの素材は?
Material choice is a trade-off we weigh on every new style. A harder polymer holds its shape and its optics, but it punishes a wider nasal base. A softer one grips and flexes, but it must still keep the lens stable. Our answer, after years of iteration in TPEE and TR90, is usually a combination rather than a single material.
柔軟なTR90フレームは、TPEEまたはシリコン製のブリッジ接触部により、滑りや刺激を効果的に防ぎます。TR90は安定した軽量な構造を提供し、柔らかいTPEEまたはシリコン製のノーズパッドインサートは肌に優しくフィットし、動きに合わせて柔軟に動き、アクティブな遊び中の圧迫痕を防ぎます。.

Frame stability on a running, sweating child comes down to two things: grip at the contact points and flex across the structure. Rigid frames transfer every impact and every head shake directly to the nose. Flexible materials absorb that movement instead.
Why Flexibility Is a Fit Feature, Not Just a Safety Feature
TR90は thermoplastic with memory 7. It bends and returns to shape, which lets the frame "splay" slightly to adapt to a wider nasal base without pinching. That splay is a real fit mechanism — it spreads contact pressure across a broader area of the bridge instead of clamping two small points. TPEE goes further. It is softer, rubbery to the touch, and grippy even when a child sweats. On many of our best-performing kids styles, we pair a TR90 front with TPEEテンプル 8, and we use TPEE or silicone in the bridge contact zone. Both materials are also environmentally friendlier options than many legacy plastics, which matters to the European and Australian brands we supply.
The sport shield styles in our range — the wraparound single-lens designs built for cycling and outdoor play — show this clearly. Their molded nose bridge cutout only works because the surrounding material flexes; a rigid shield with the same cutout would bounce on every stride.
| Bridge Material Approach | Grip When Sweaty | Pressure Comfort | Durability for Active Play | 最適な用途 |
|---|---|---|---|---|
| Hard molded plastic saddle | 低 | 中程度 | 高い | Casual, short wear only |
| TR90 molded bridge | 中程度 | High (flexes) | 非常に高い | Everyday kids frames |
| TPEE / rubberized contact zone | 高い | 非常に高い | 高い | Toddlers, sport styles |
| Silicone nose pad inserts 9 | 非常に高い | 非常に高い | Medium (replaceable) | Sports, low bridge fit SKUs |
| Adjustable metal-arm pads with silicone tips | 高い | High (tunable) | 中程度 | 年長の子供、光学フレーム |
One emerging option worth watching: thermal-adaptive polymers that soften slightly at body temperature, letting the bridge self-mold to a child's contours over a few minutes of wear. It is promising for bespoke-feel comfort, though for most volume orders today, a well-designed TPEE contact zone delivers ninety percent of the benefit at a proven cost.
A saddle bridge in a soft material remains the workhorse for active kids. It distributes frame weight evenly across the nasal ridge, which minimizes pressure points and the red marks parents complain about in reviews.
既存のフレームスタイル全体で、新しい金型費用なしで鼻ブリッジのデザインをカスタマイズできますか?
A question I hear from nearly every new buyer at trade shows is some version of: "I love this frame, but my market needs a different bridge — do I have to pay for a new mold?" The honest answer is usually no, and it is one of the reasons we keep roughly 800 existing styles on our shelves for brands to build from.
Yes. You can localize bridge fit without new molds by adding silicone nose pad inserts, switching to adjustable nose pads, using modular snap-in bridge inserts, or selecting an existing frame variant with different bridge geometry. Full retooling is only needed for entirely new frame silhouettes.
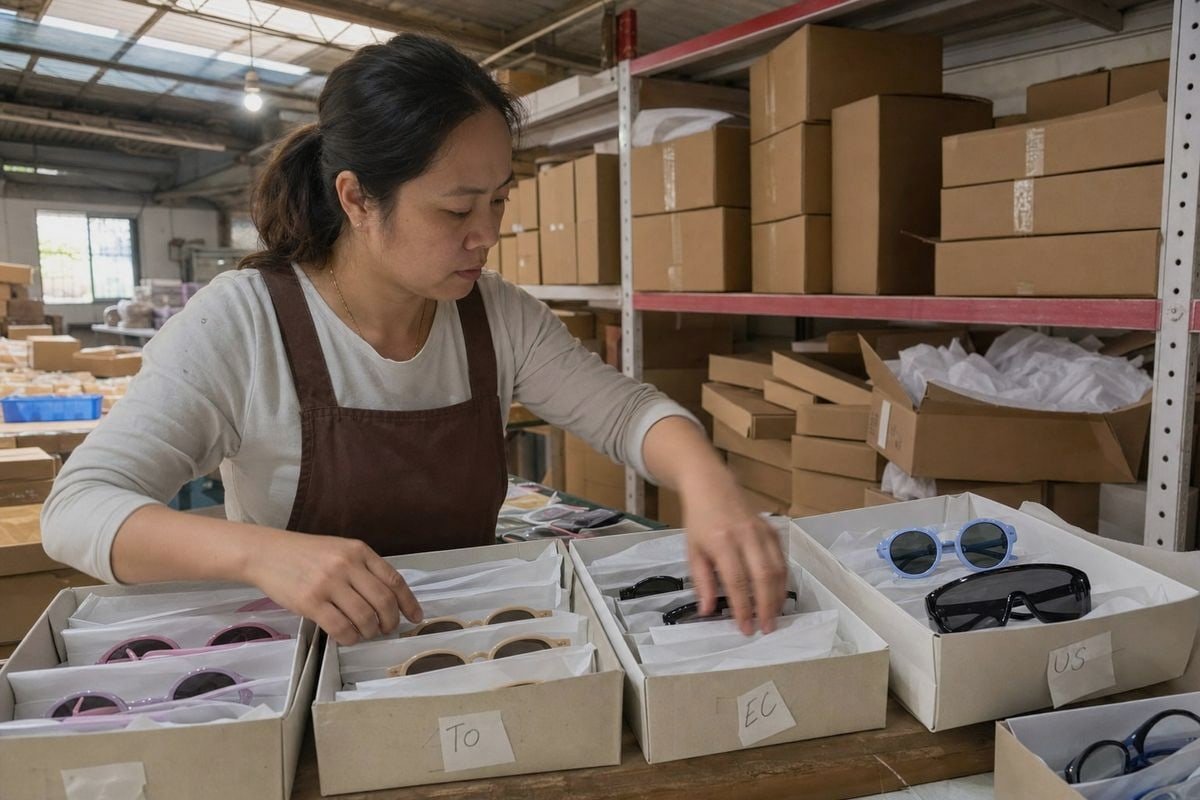
Molds are the biggest fixed cost in eyewear development, so smart buyers exhaust the no-mold options first. In our OEM/ODM work, we walk brands through four escalating levels of bridge customization.
Four Levels of Bridge Customization, From Cheapest to Most Involved
- Add-on pads and inserts. Bonded silicone nose pad inserts or overmolded soft zones can raise the effective pad height on an existing frame. This is often enough to convert a standard style into a low bridge fit variant for Asian or other flat-bridge markets.
- Adjustable nose pads. Swapping a molded bridge for adjustable pad arms lets each family fine-tune height and width at home. This suits asymmetrical faces and fast-growing children, and it extends the usable life of the frame — a genuine selling point on product pages.
- Modular bridge systems. Interchangeable snap-in bridge inserts of varying depths let one frame platform serve multiple markets. You order the same front and temples, then specify shallow inserts for one region and built-up inserts for another. Some pediatric frame catalogs already offer multiple bridge options within a single frame family for exactly this reason.
- Existing-style selection. Sometimes the cheapest customization is choosing a different base. With a large enough style library, there is usually already a frame with the DBL, pad height, and tilt your market needs — no engineering required. That is precisely why we built our catalog to 800 styles: new brands can test a market with low bridge fit and standard fit versions side by side, without any mold investment at all.
There is a real debate here worth addressing head-on. Some buyers insist adjustable nose pads are always the answer, since they compensate for growth and varied bridge shapes. Others prefer simple molded saddle bridges — lighter, nothing for a child to bend or break, nothing for a parent to fiddle with. Both views are partly right. Our position after fifteen years: molded soft bridges win for toddlers and sport styles, adjustable pads win for school-age optical frames and multicultural markets, and a multiple-fit inventory strategy beats forcing either choice when your market spans several facial profiles. So-called universal fit frames sound efficient on paper, but in practice a two-SKU fit strategy — standard fit plus alternative fit — usually cuts returns more than any single "universal" geometry can. Label the fits clearly on your product pages so parents can self-select correctly; anatomy-based fit language now outperforms generic "kids size" wording.
結論
Poor bridge fit quietly kills kids’ eyewear brands through returns and bad reviews. The solution is deliberate: map your market’s facial anatomy, test samples on real children, choose flexible materials, and localize bridge geometry using existing tooling. At our Taizhou factory, we help brands work through exactly these decisions across our TPEE and TR90 kids ranges — because a frame that stays comfortably on a child’s face is the cheapest marketing a brand will ever buy.
脚注
1. Background on nasal anatomy explains why bridge height varies across populations. ↩︎
2. Authoritative NIH StatPearls guide on zygomatic bone anatomy and facial prominence. ↩︎
3. ISO 12312-1 sunglasses standard formally defines frame measurement specs like DBL. ↩︎
4. FDA consumer guidance on choosing properly fitting sunglasses for children. ↩︎
5. Defines the population measurement science behind regional facial clustering methods. ↩︎
6. Ophthalmology guidance on sunglasses fit supports discussion of bridge geometry choices. ↩︎
7. Background on thermoplastic materials explains TR90’s flexible, shape-retaining properties. ↩︎
8. Comprehensive Wikipedia entry covering thermoplastic elastomers including TPEE. ↩︎
9. Detailed breakdown of eyeglass components and nose pad functionality. ↩︎


 English
 Español de México
 Deutsch
 Français
 日本語
 العربية
 Português do Brasil